
Adventures With Wild Clays
Since 2021, I’ve been working with local clay—especially from my own backyard garden. When I first moved to Pennsylvania, I was frustrated by how difficult gardening was due to the massive amount of clay in the soil. But then it hit me: I was literally sitting on top of free art-making material! My first attempt was a great success. My mentor, Sheila Barnum at Rowantree Pottery, would have been proud—her studio once used local clay sourced from a nearby elementary school when they expanded the schoolyard in Blue Hill, Maine.
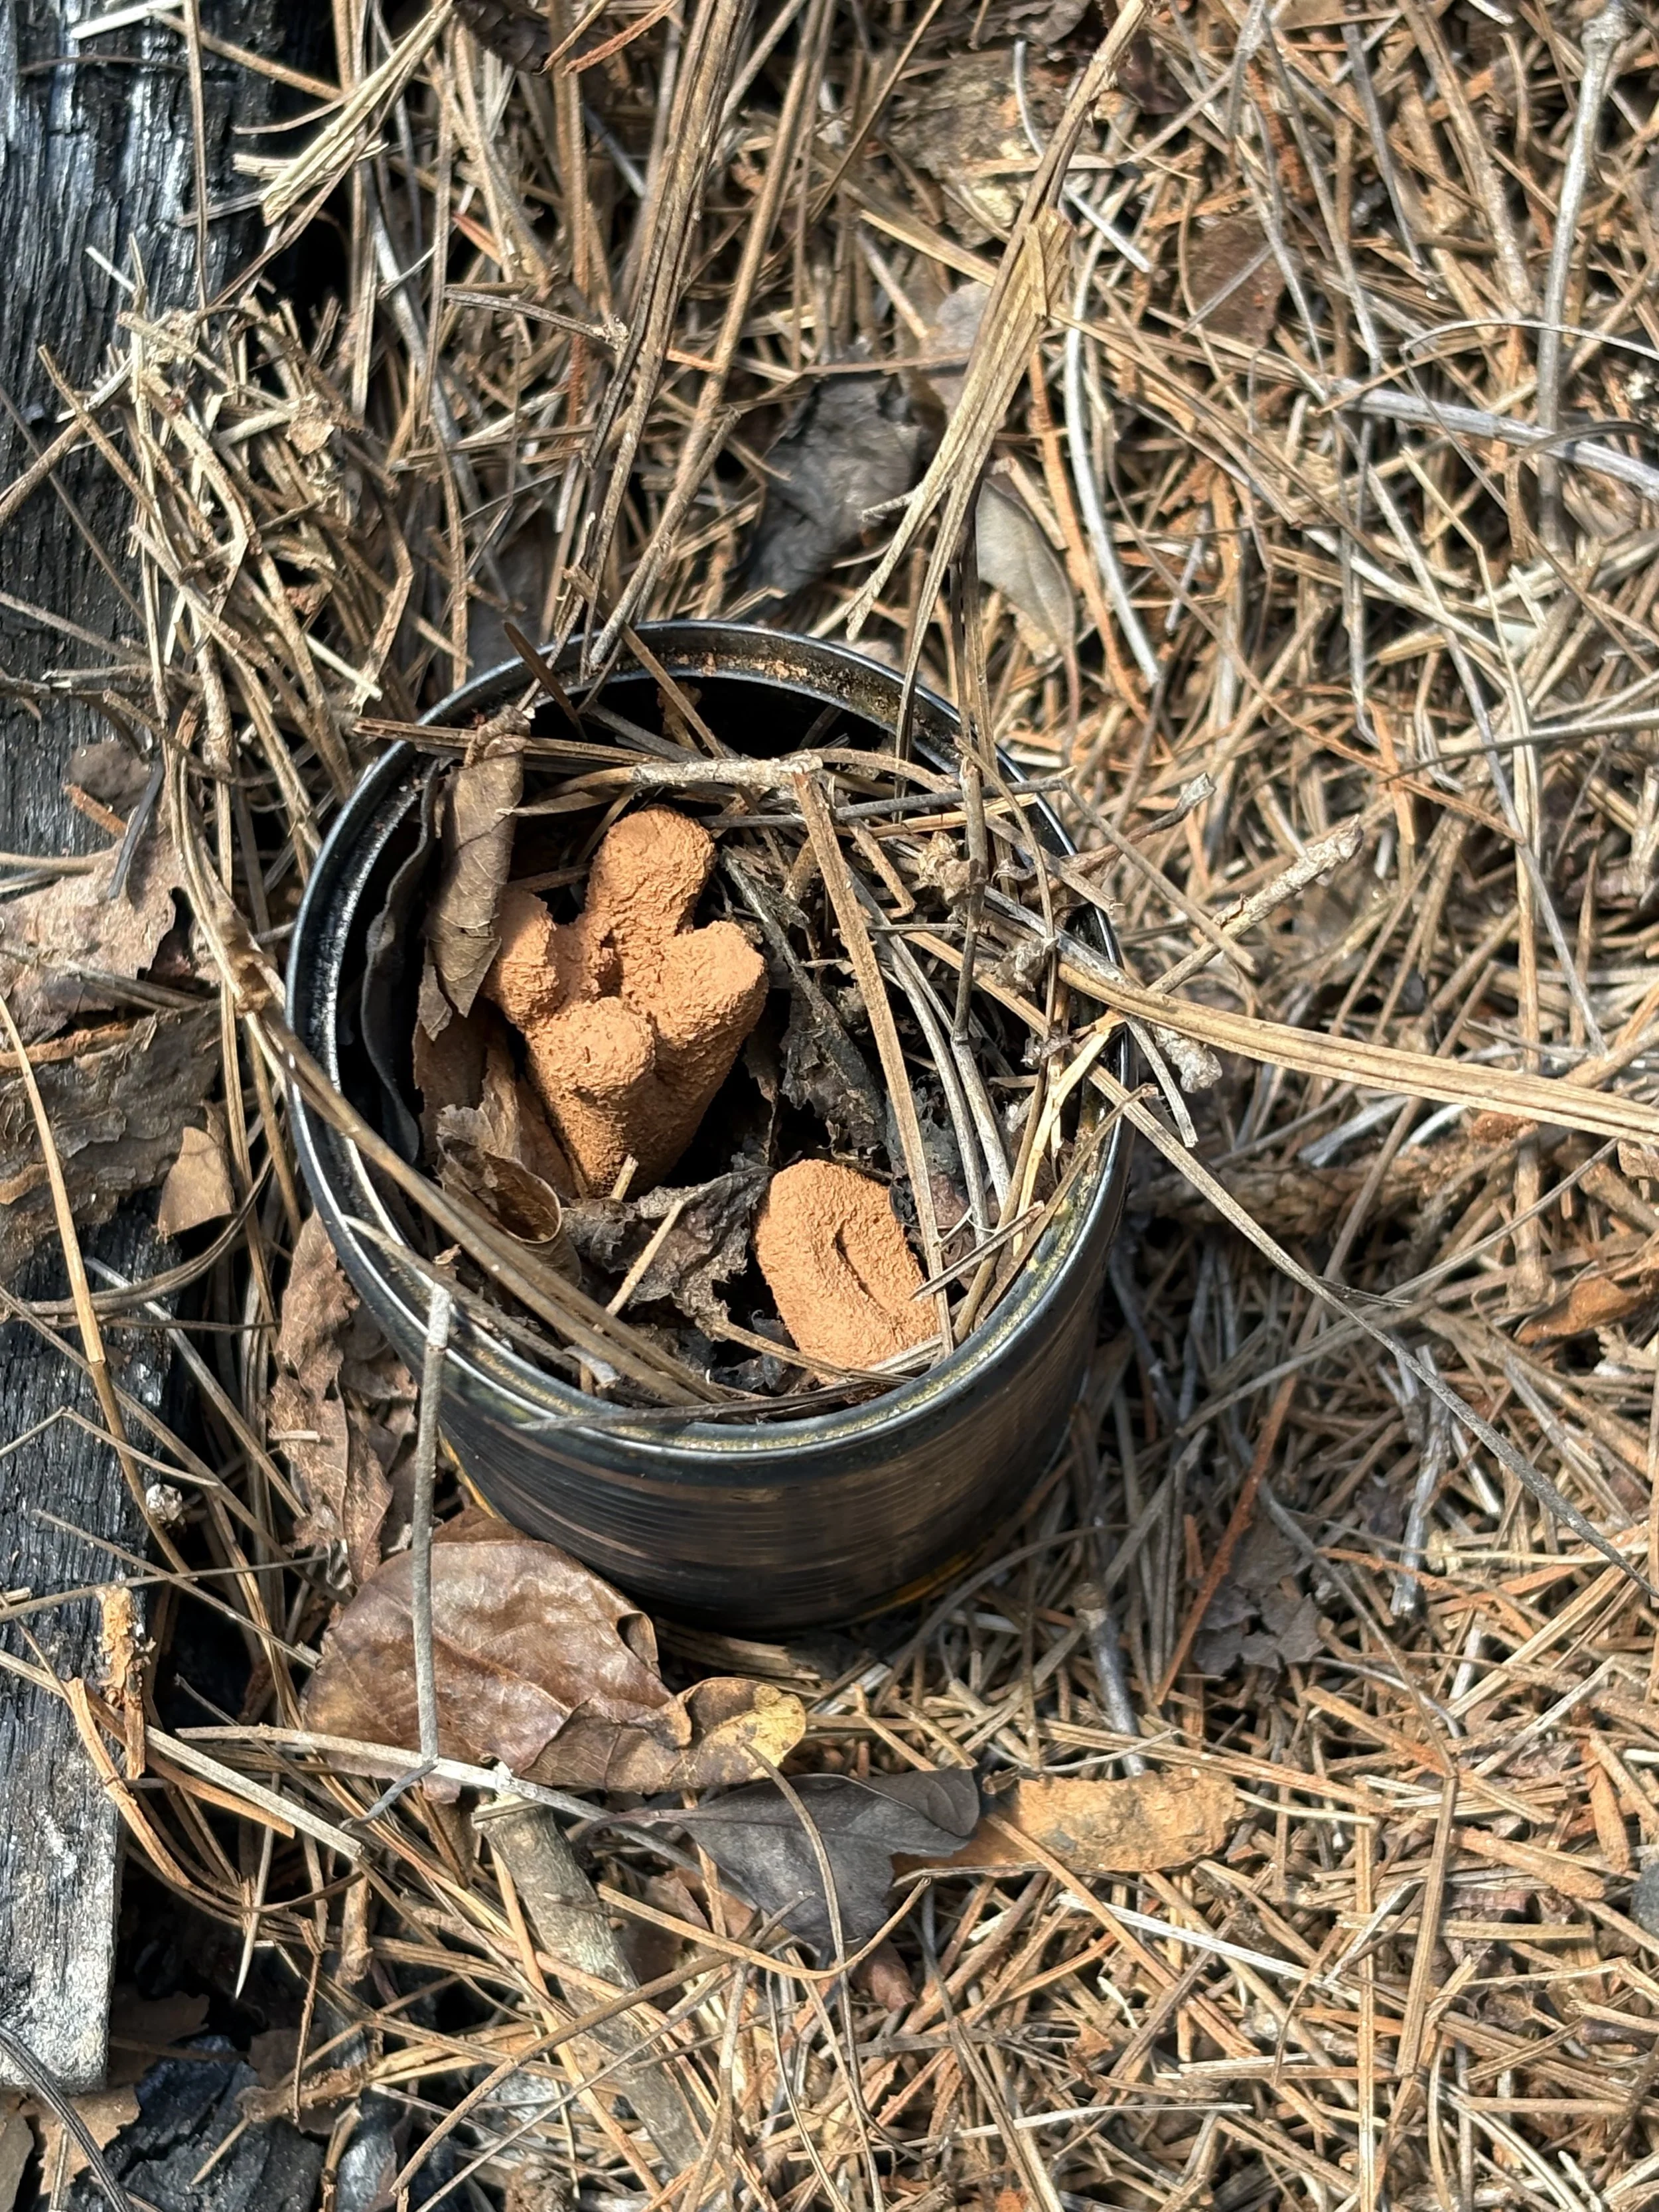
I want to encourage others to test their local clay to see if it’s workable, to explore its possibilities, and to have fun with what they discover. It’s a way to feel more connected to the earth—to realize that clay truly comes from the ground beneath us—and to appreciate our ancestors and their wisdom. Every time I open a metal can after a pit fire, I feel a sense of awe, just as my ancestors must have felt with each firing, long before kilns existed.
You can find out today whether you’re living on top of workable clay—just follow a few simple steps! I hope this inspires you to explore the natural materials around us, to see how simple ceramic-making can be, and to enjoy the process as a playful science experiment. Just be sure to check your local fire regulations first. Be safe, and have fun!
Tools you need to process clay
1.Local clay (enough to fill a 2 lbs. yogurt container)
2.Shovel or something to dig up clay
3.Kitchen sieve (any mesh)
4.2 medium size buckets
5.Plaster mold or bisqued mold, or a glazed ceramic bowl
6.Metal spoon for sieving
7.Plastic bag or sheet (grocery bag or trash can bag)
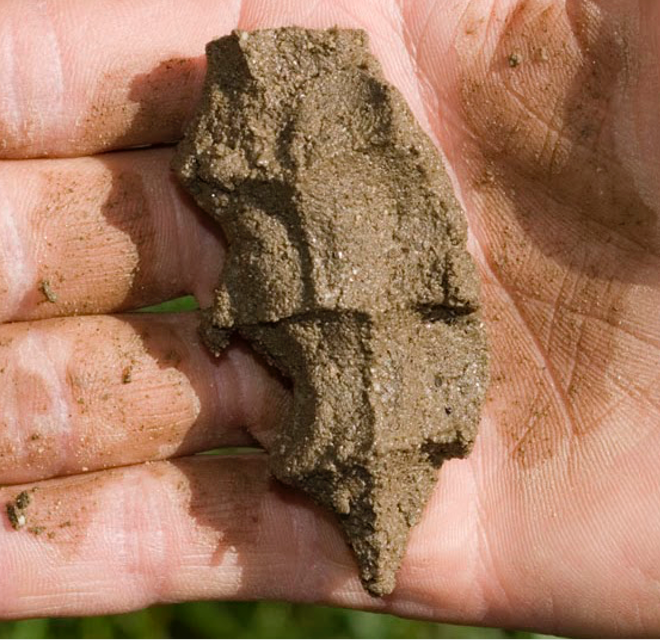
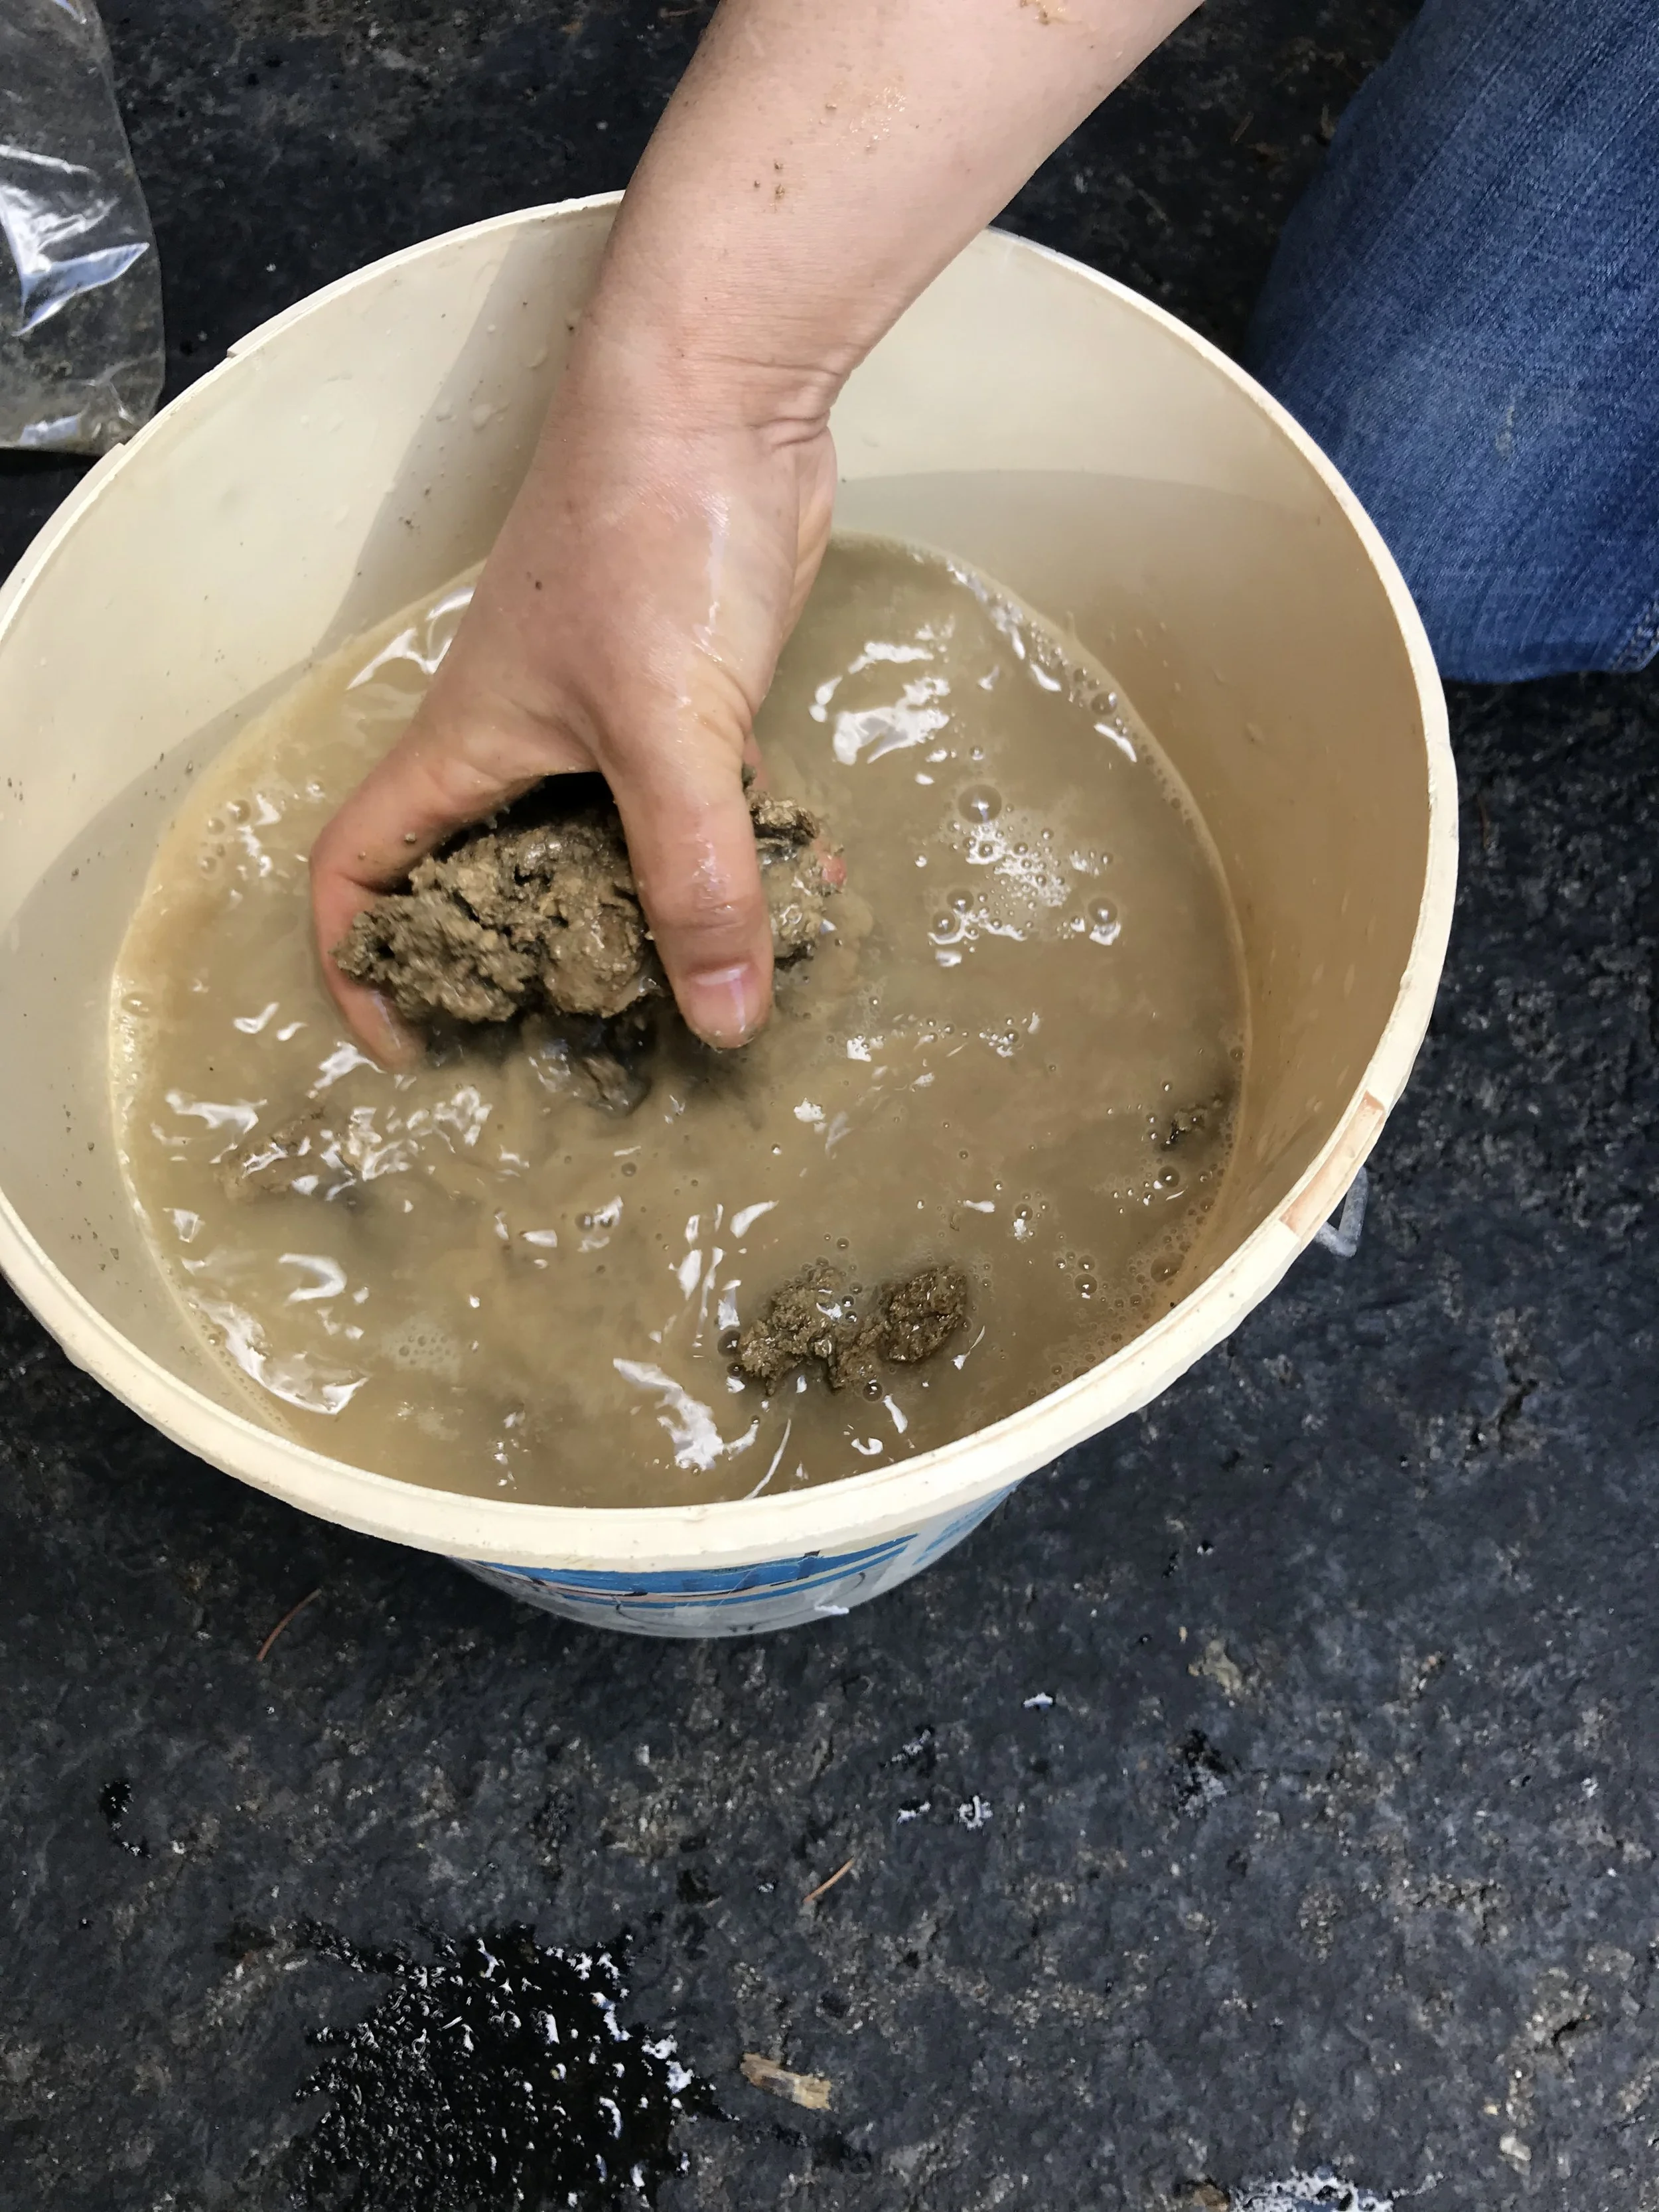
Squeeze Test: Is this clay or something else?
If you're not sure whether what you've found is clay, try testing it by squeezing it in your hand. If it's clay, it should retain its shape and show the pattern of your squeeze (see picture). If it's sand, it will fall apart. You can also test it by mushing it between your fingertips—clay should feel slightly tacky.
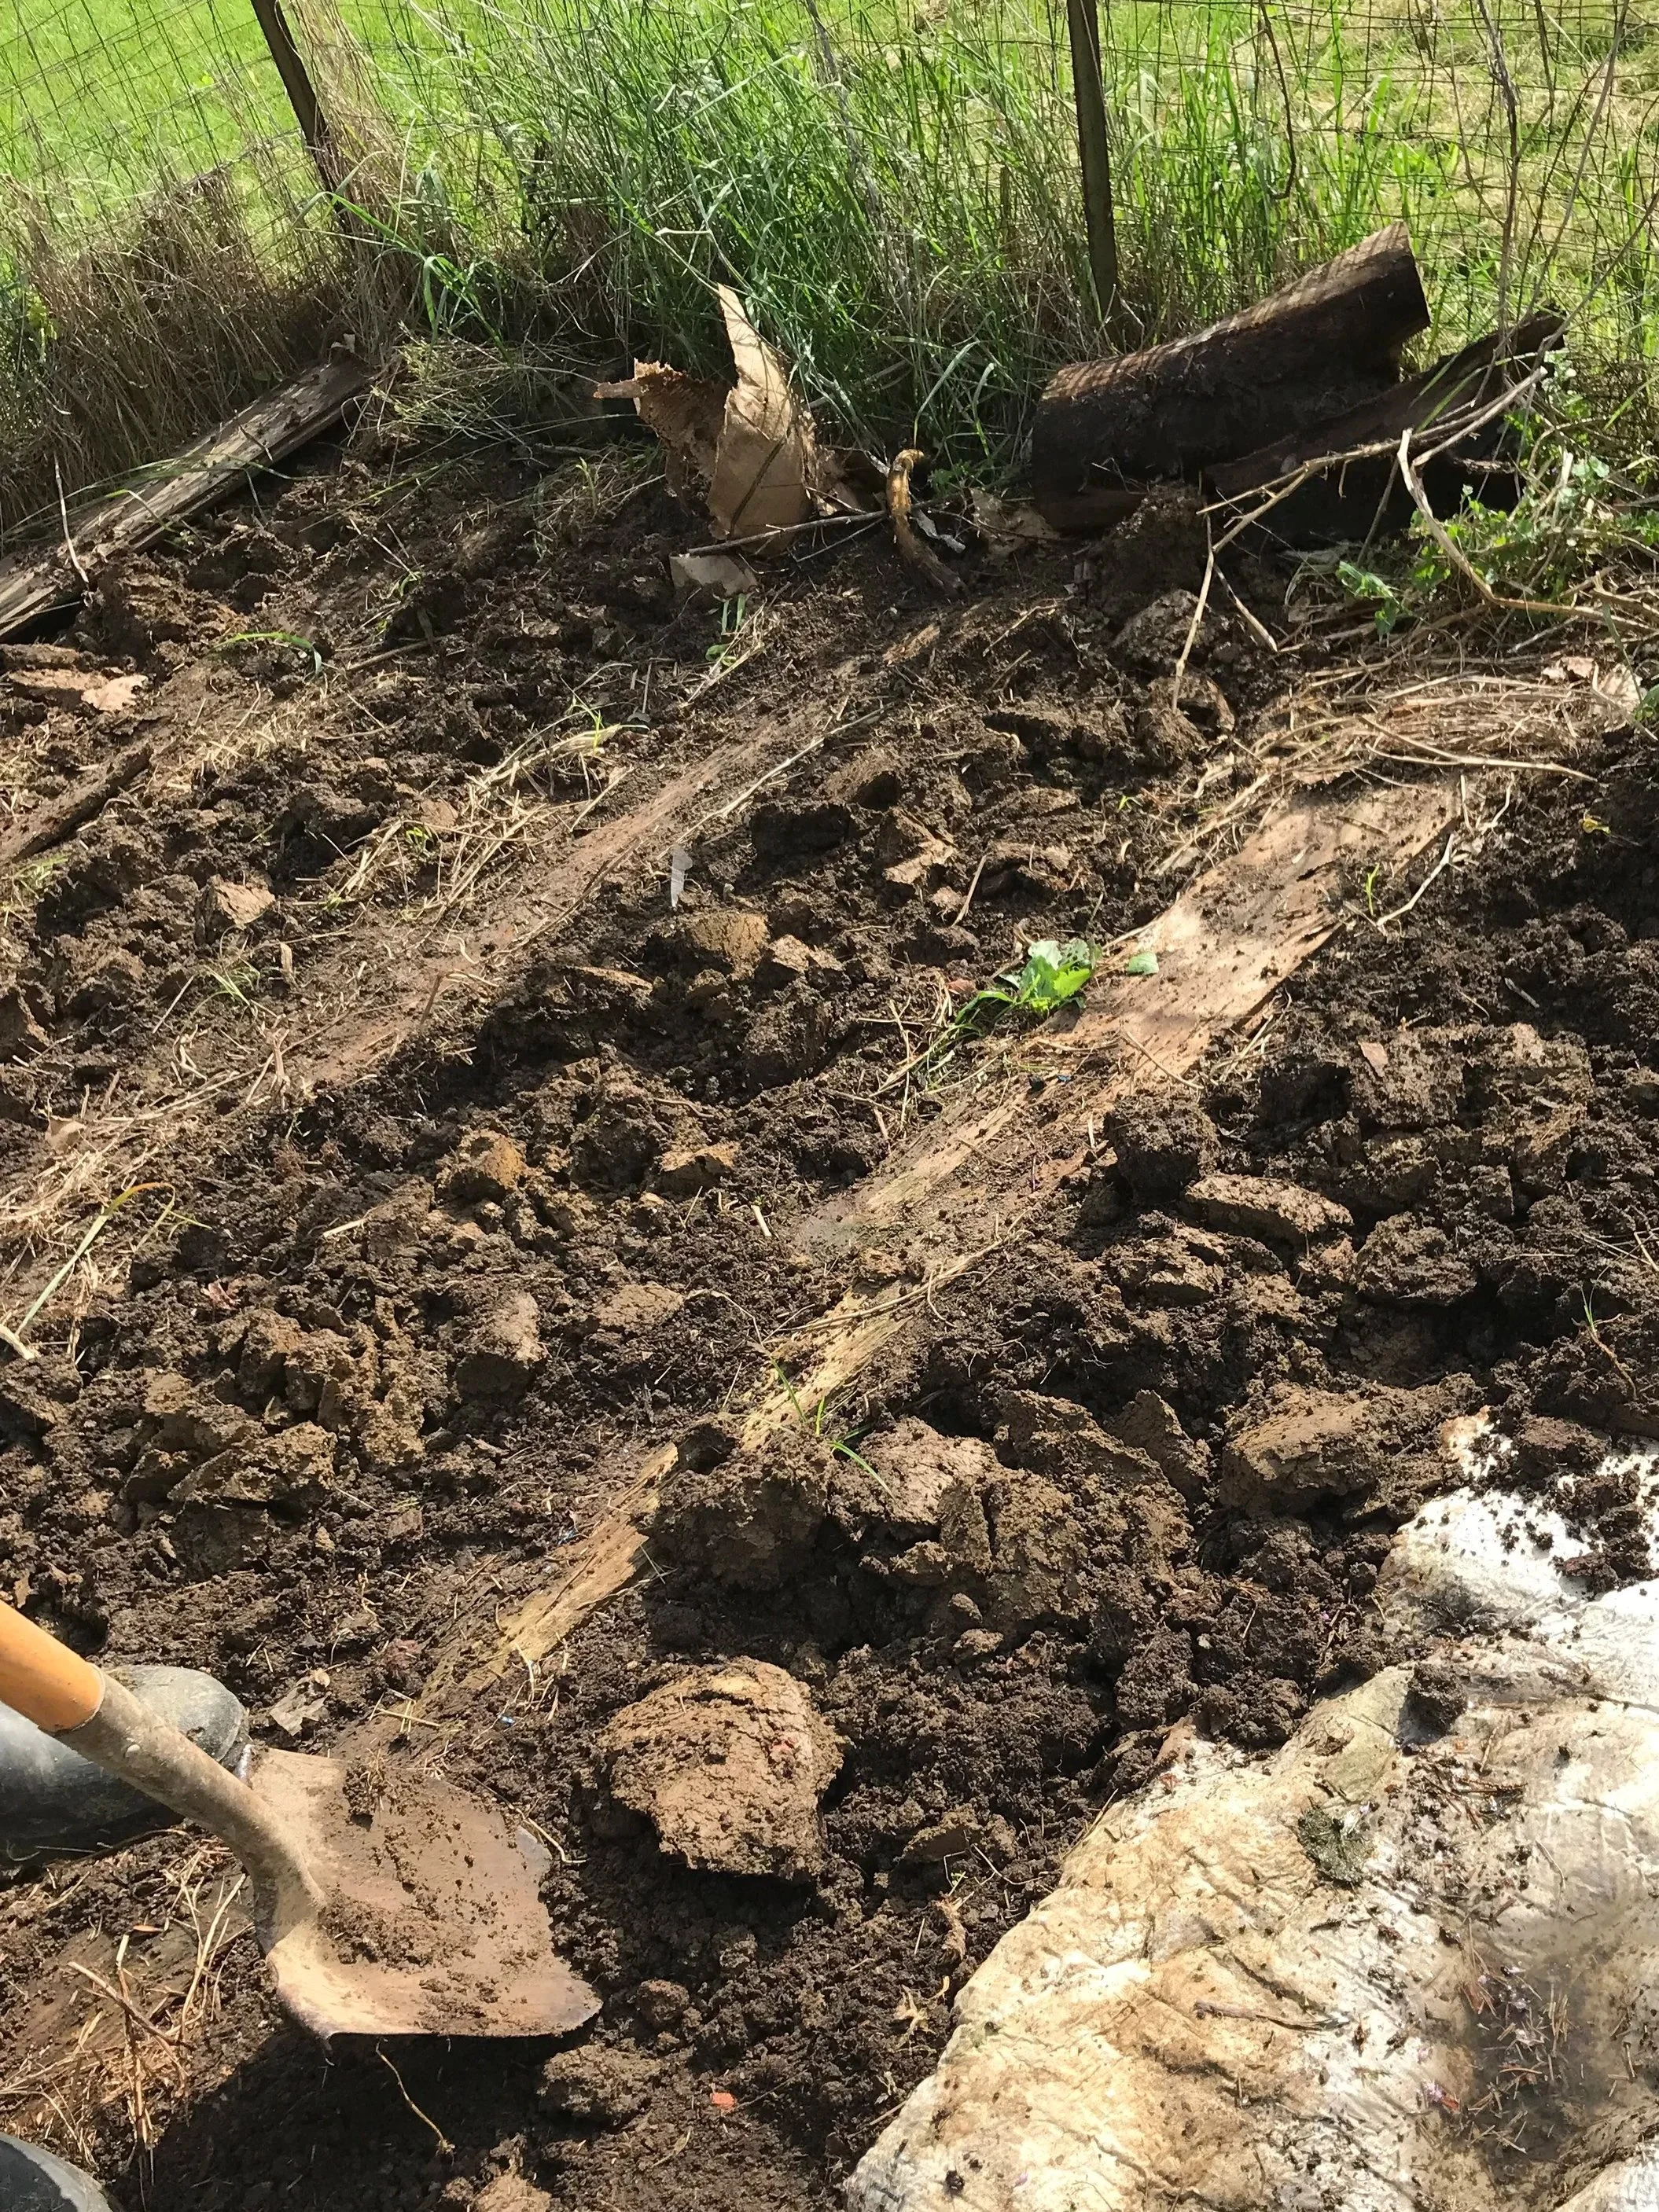
Quick process of harvesting clay:
1. Harvest clay from a deposit – near water, construction sites, or your backyard. Look for clean, pure clay chunks if possible.
2. Mix clay with water, leave it overnight (soaking)
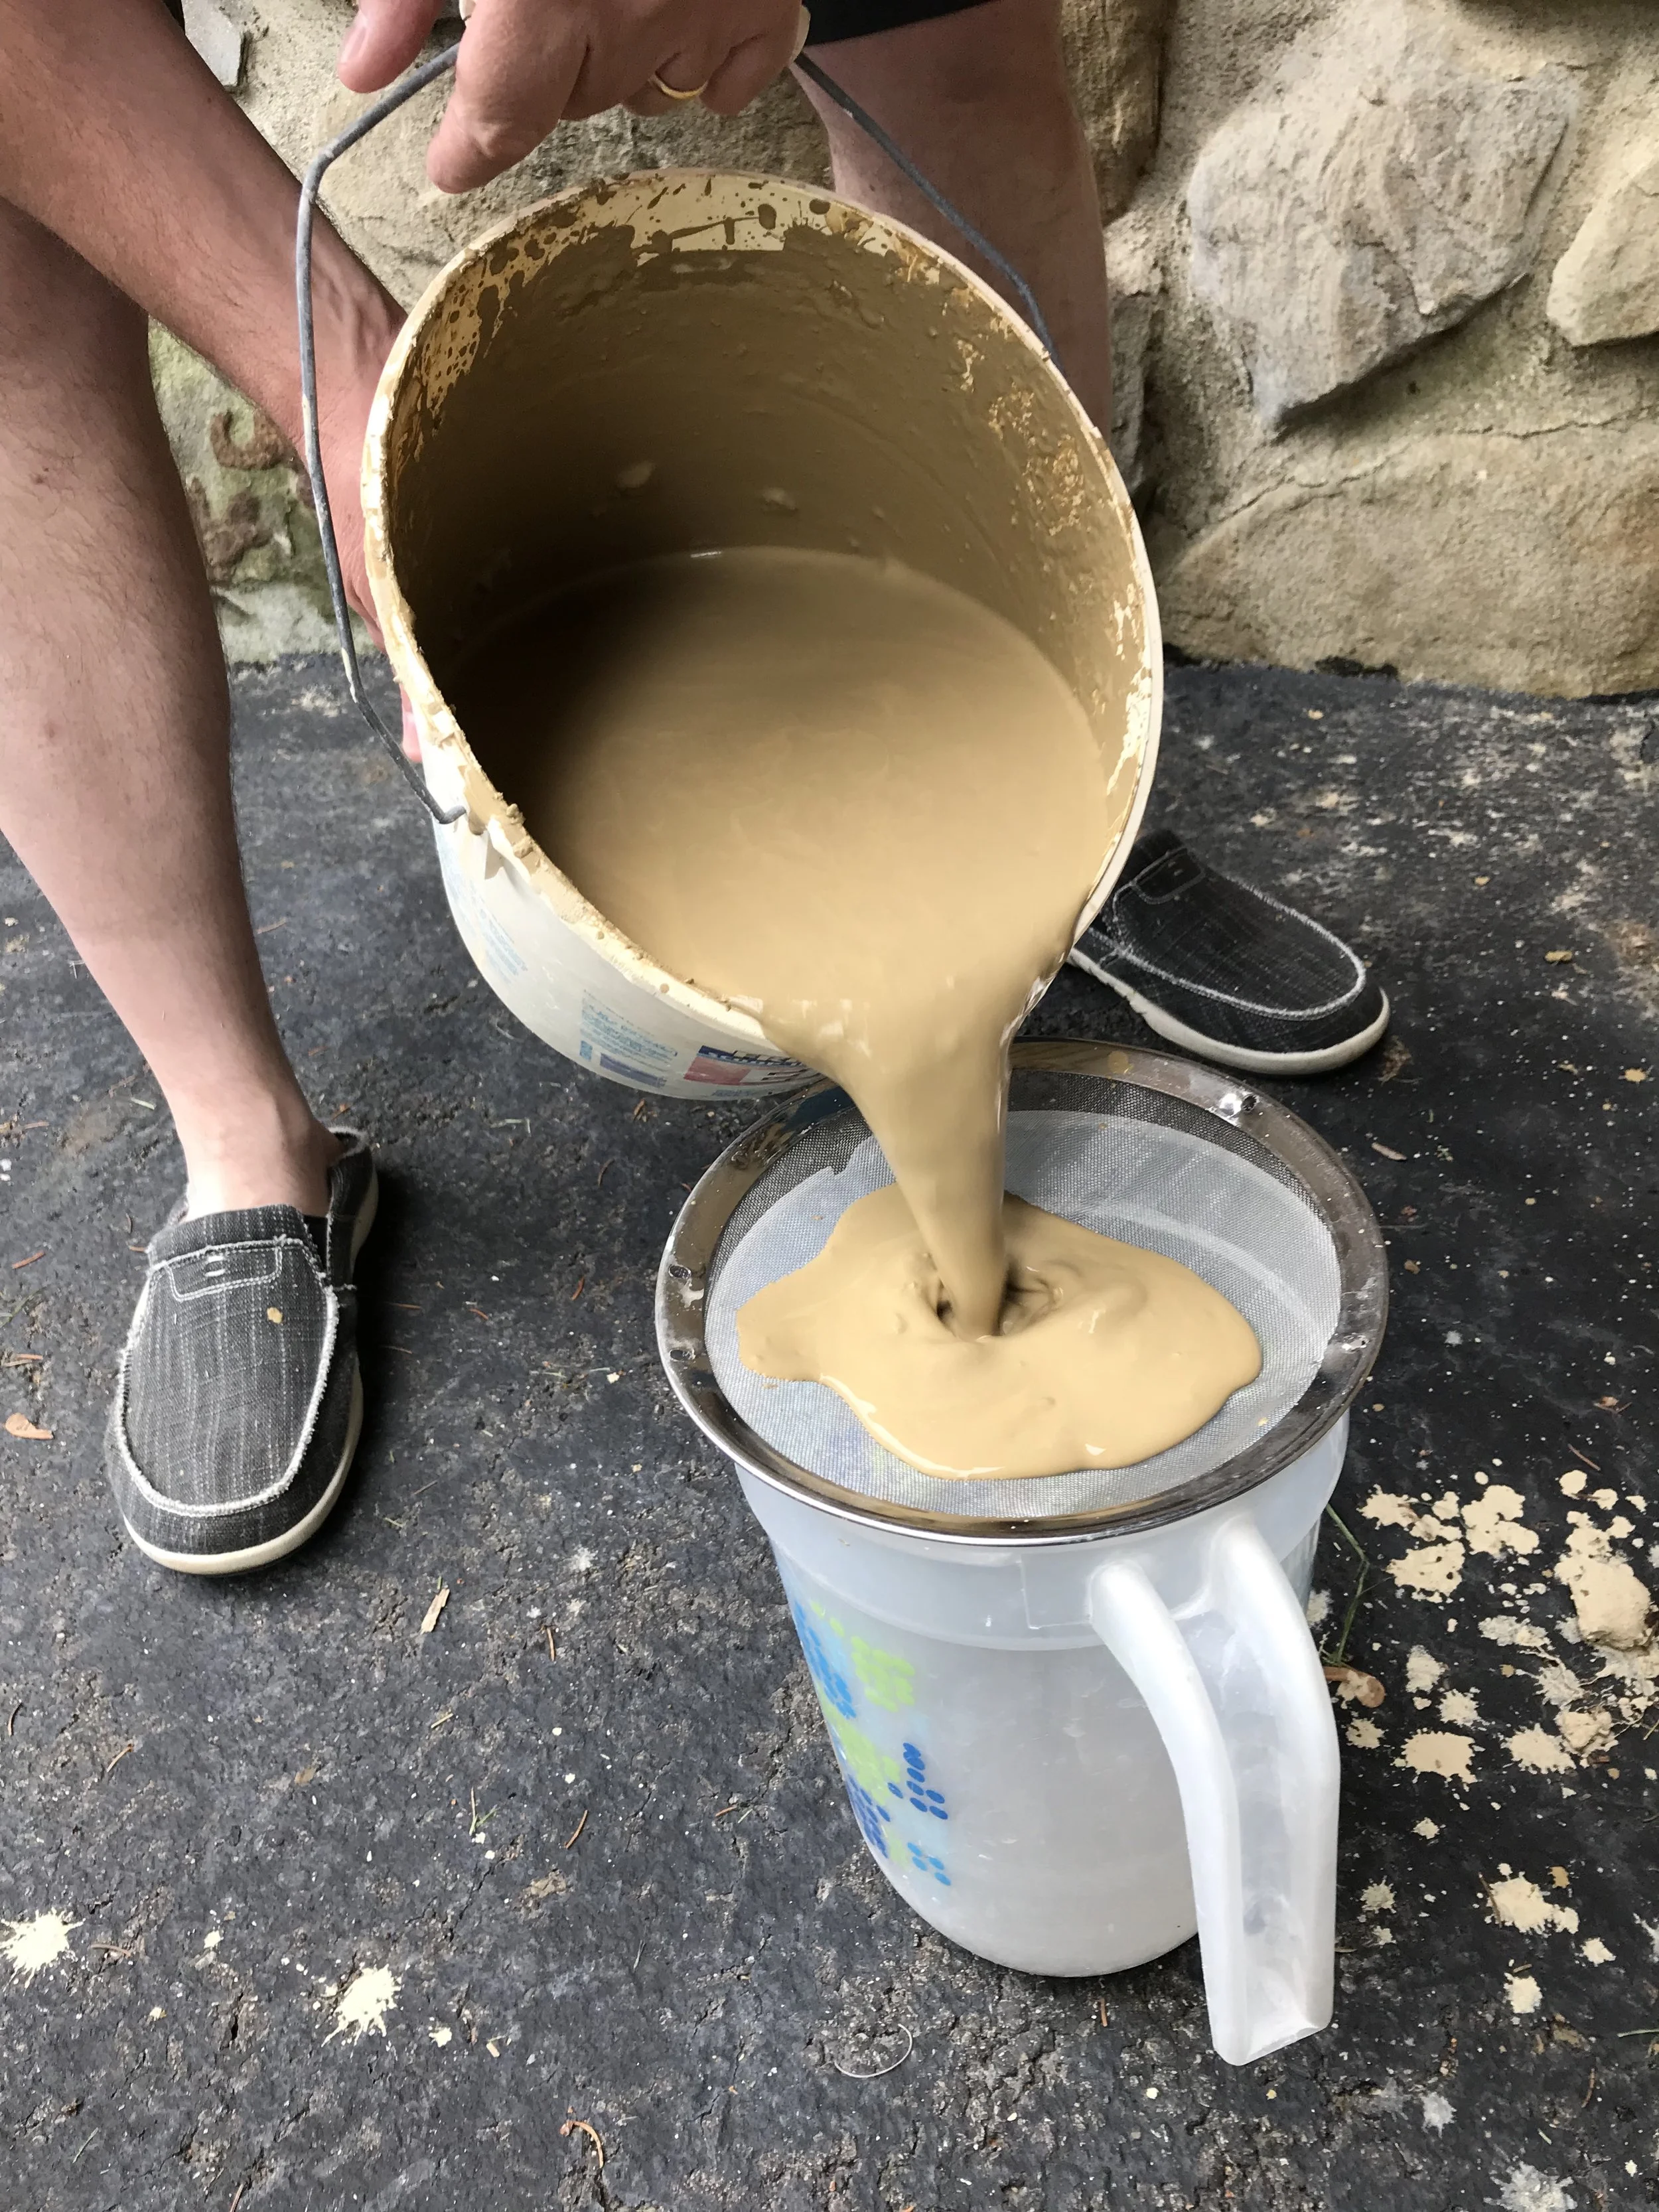
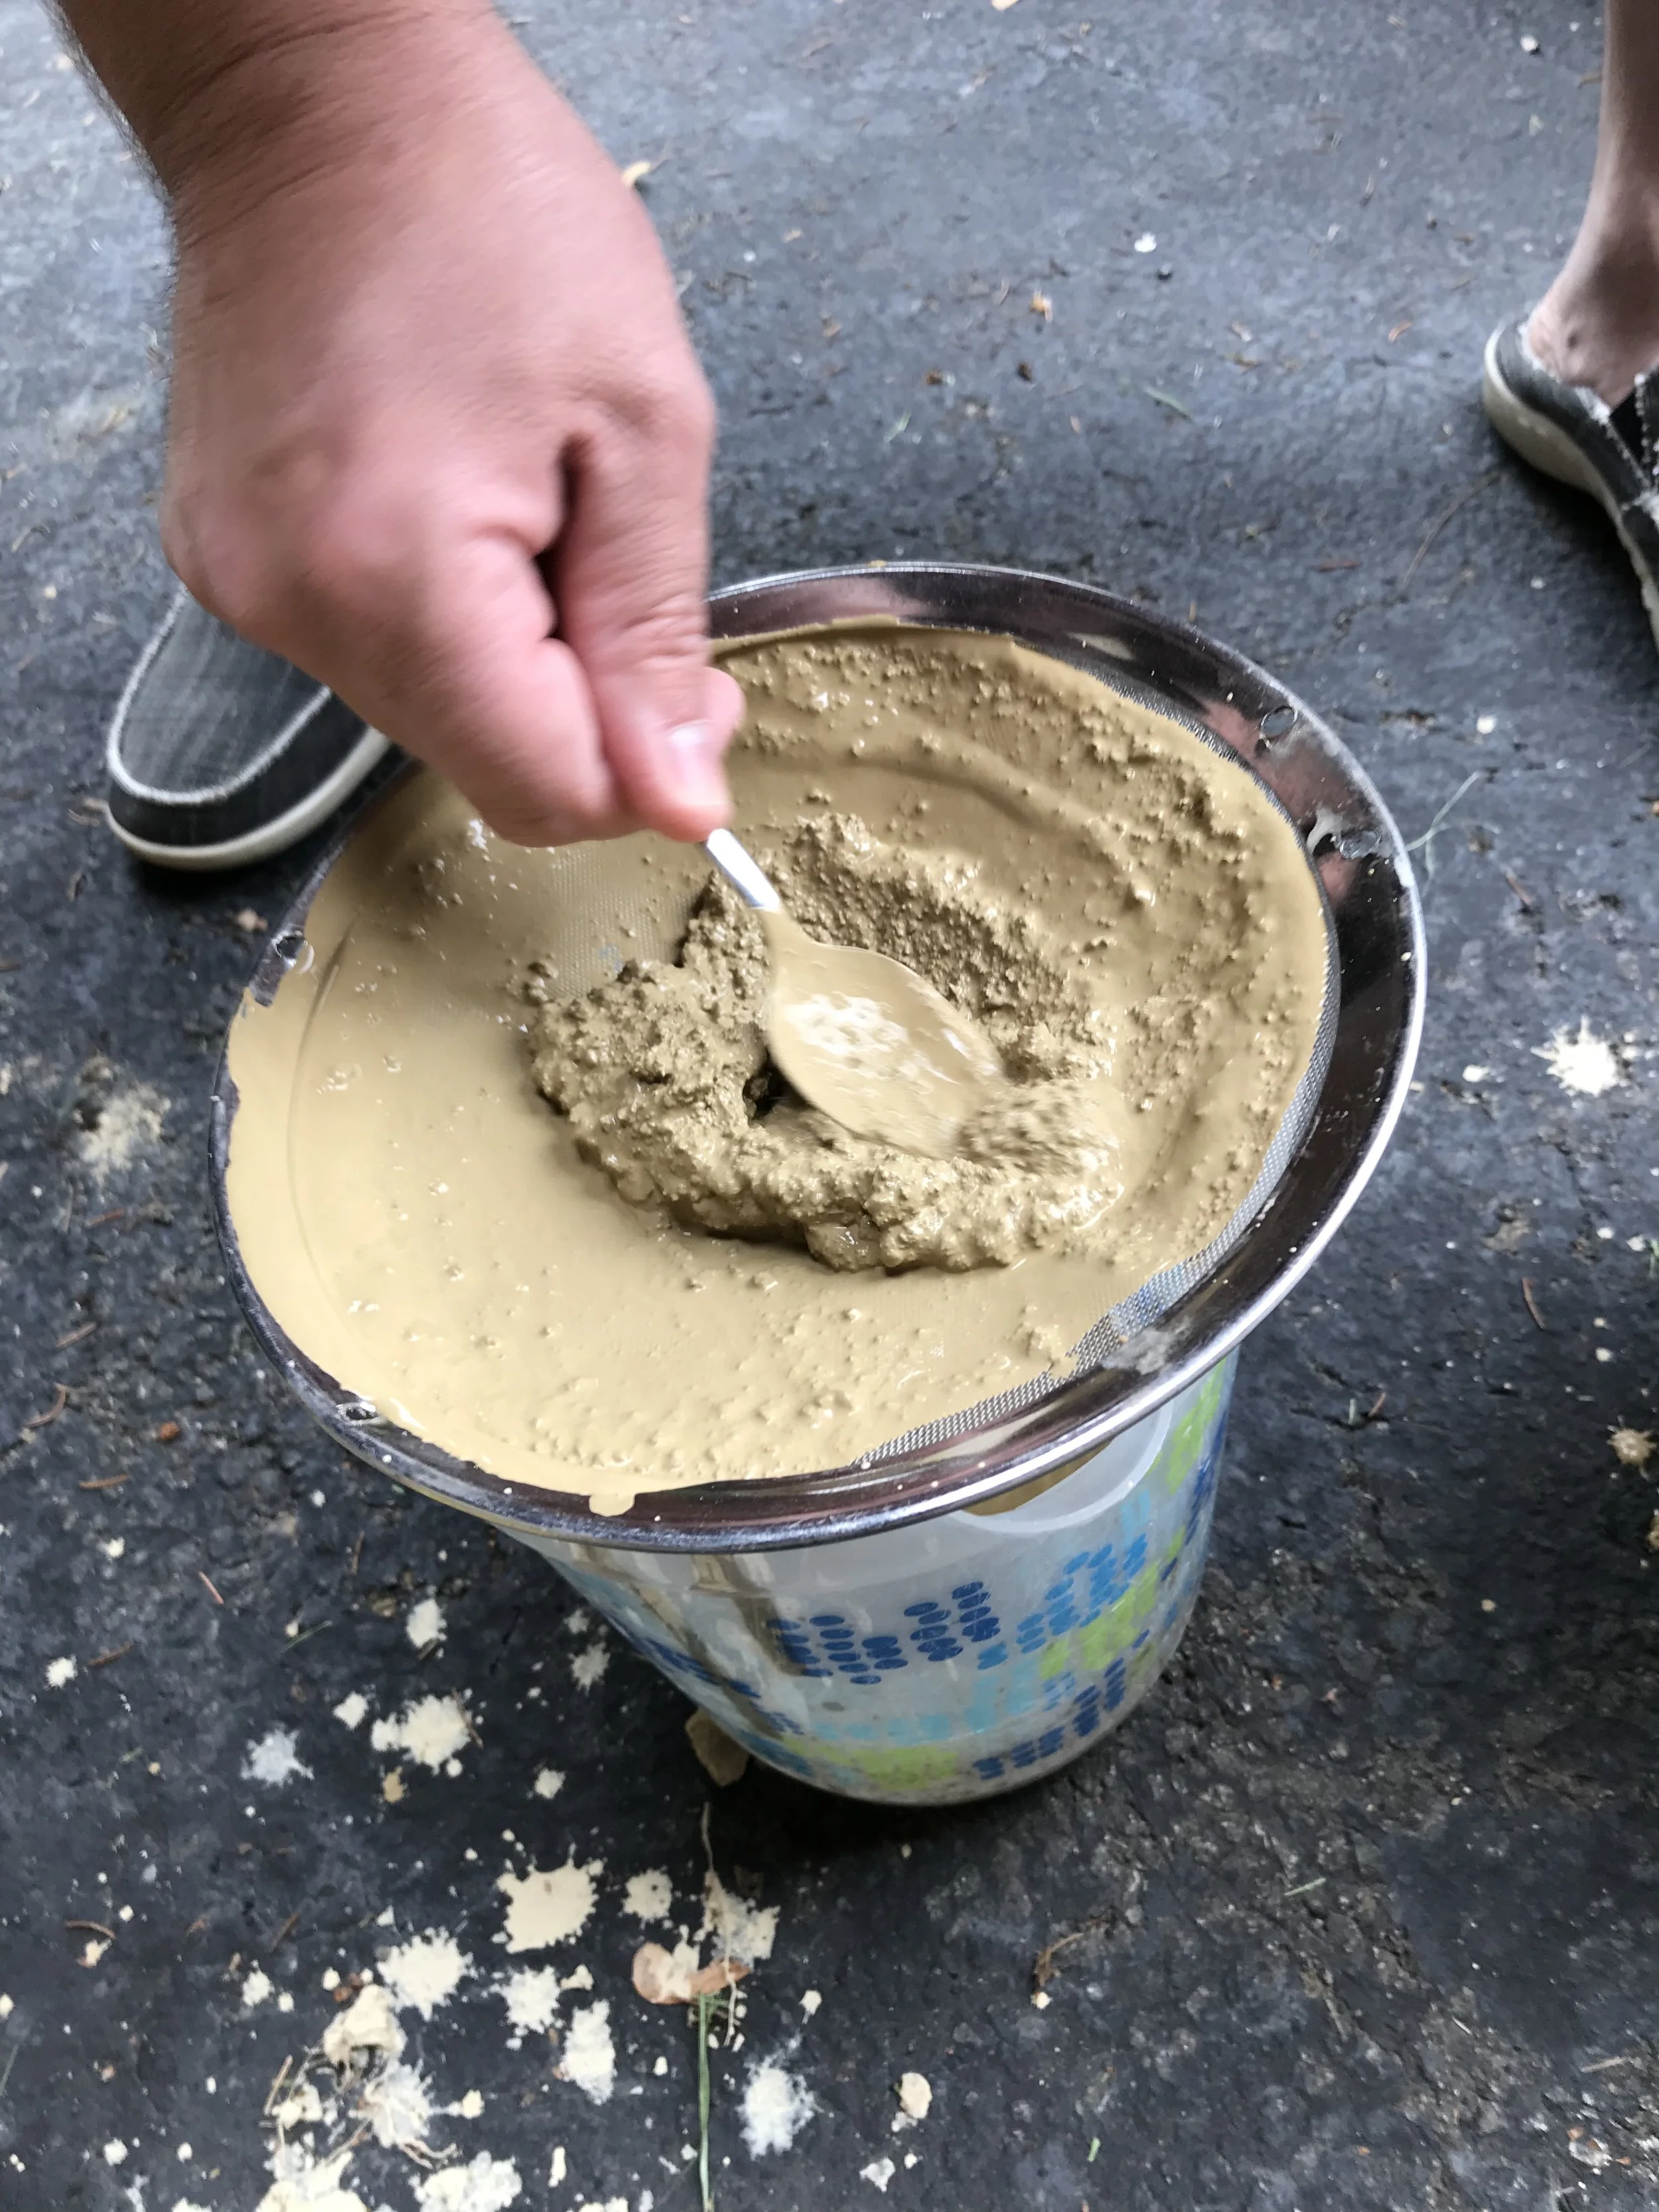
3. Screen clay slip
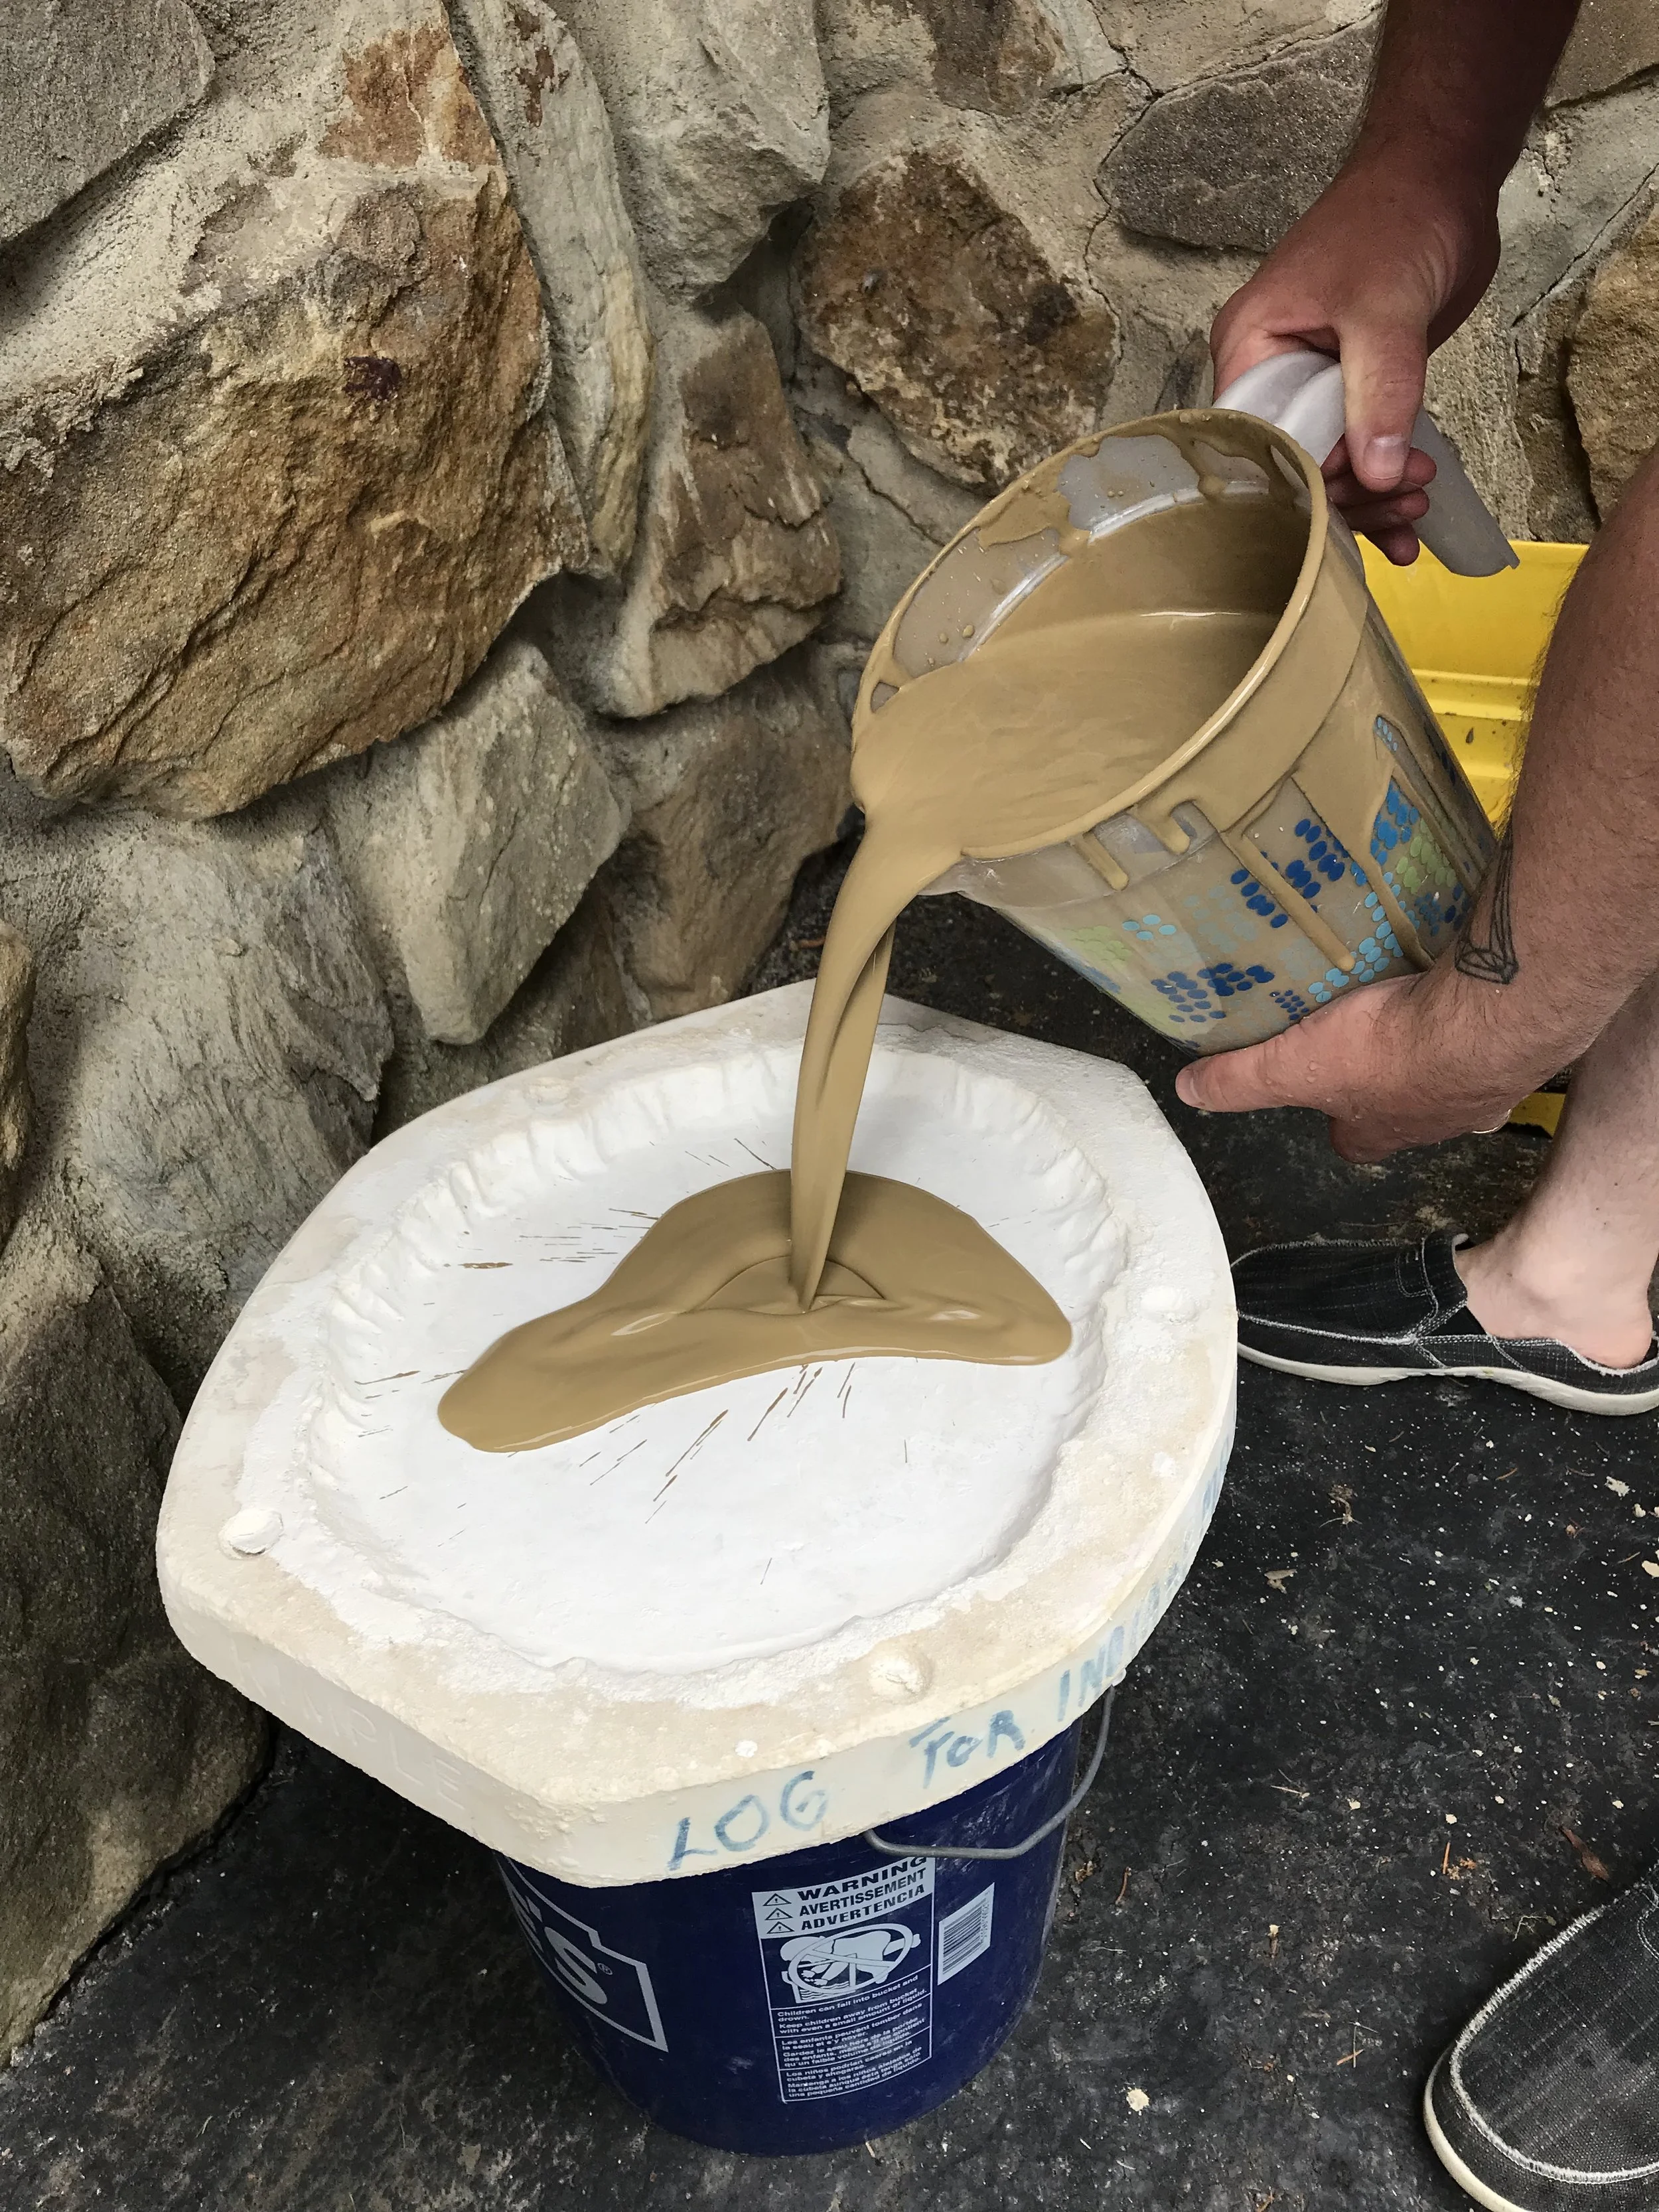
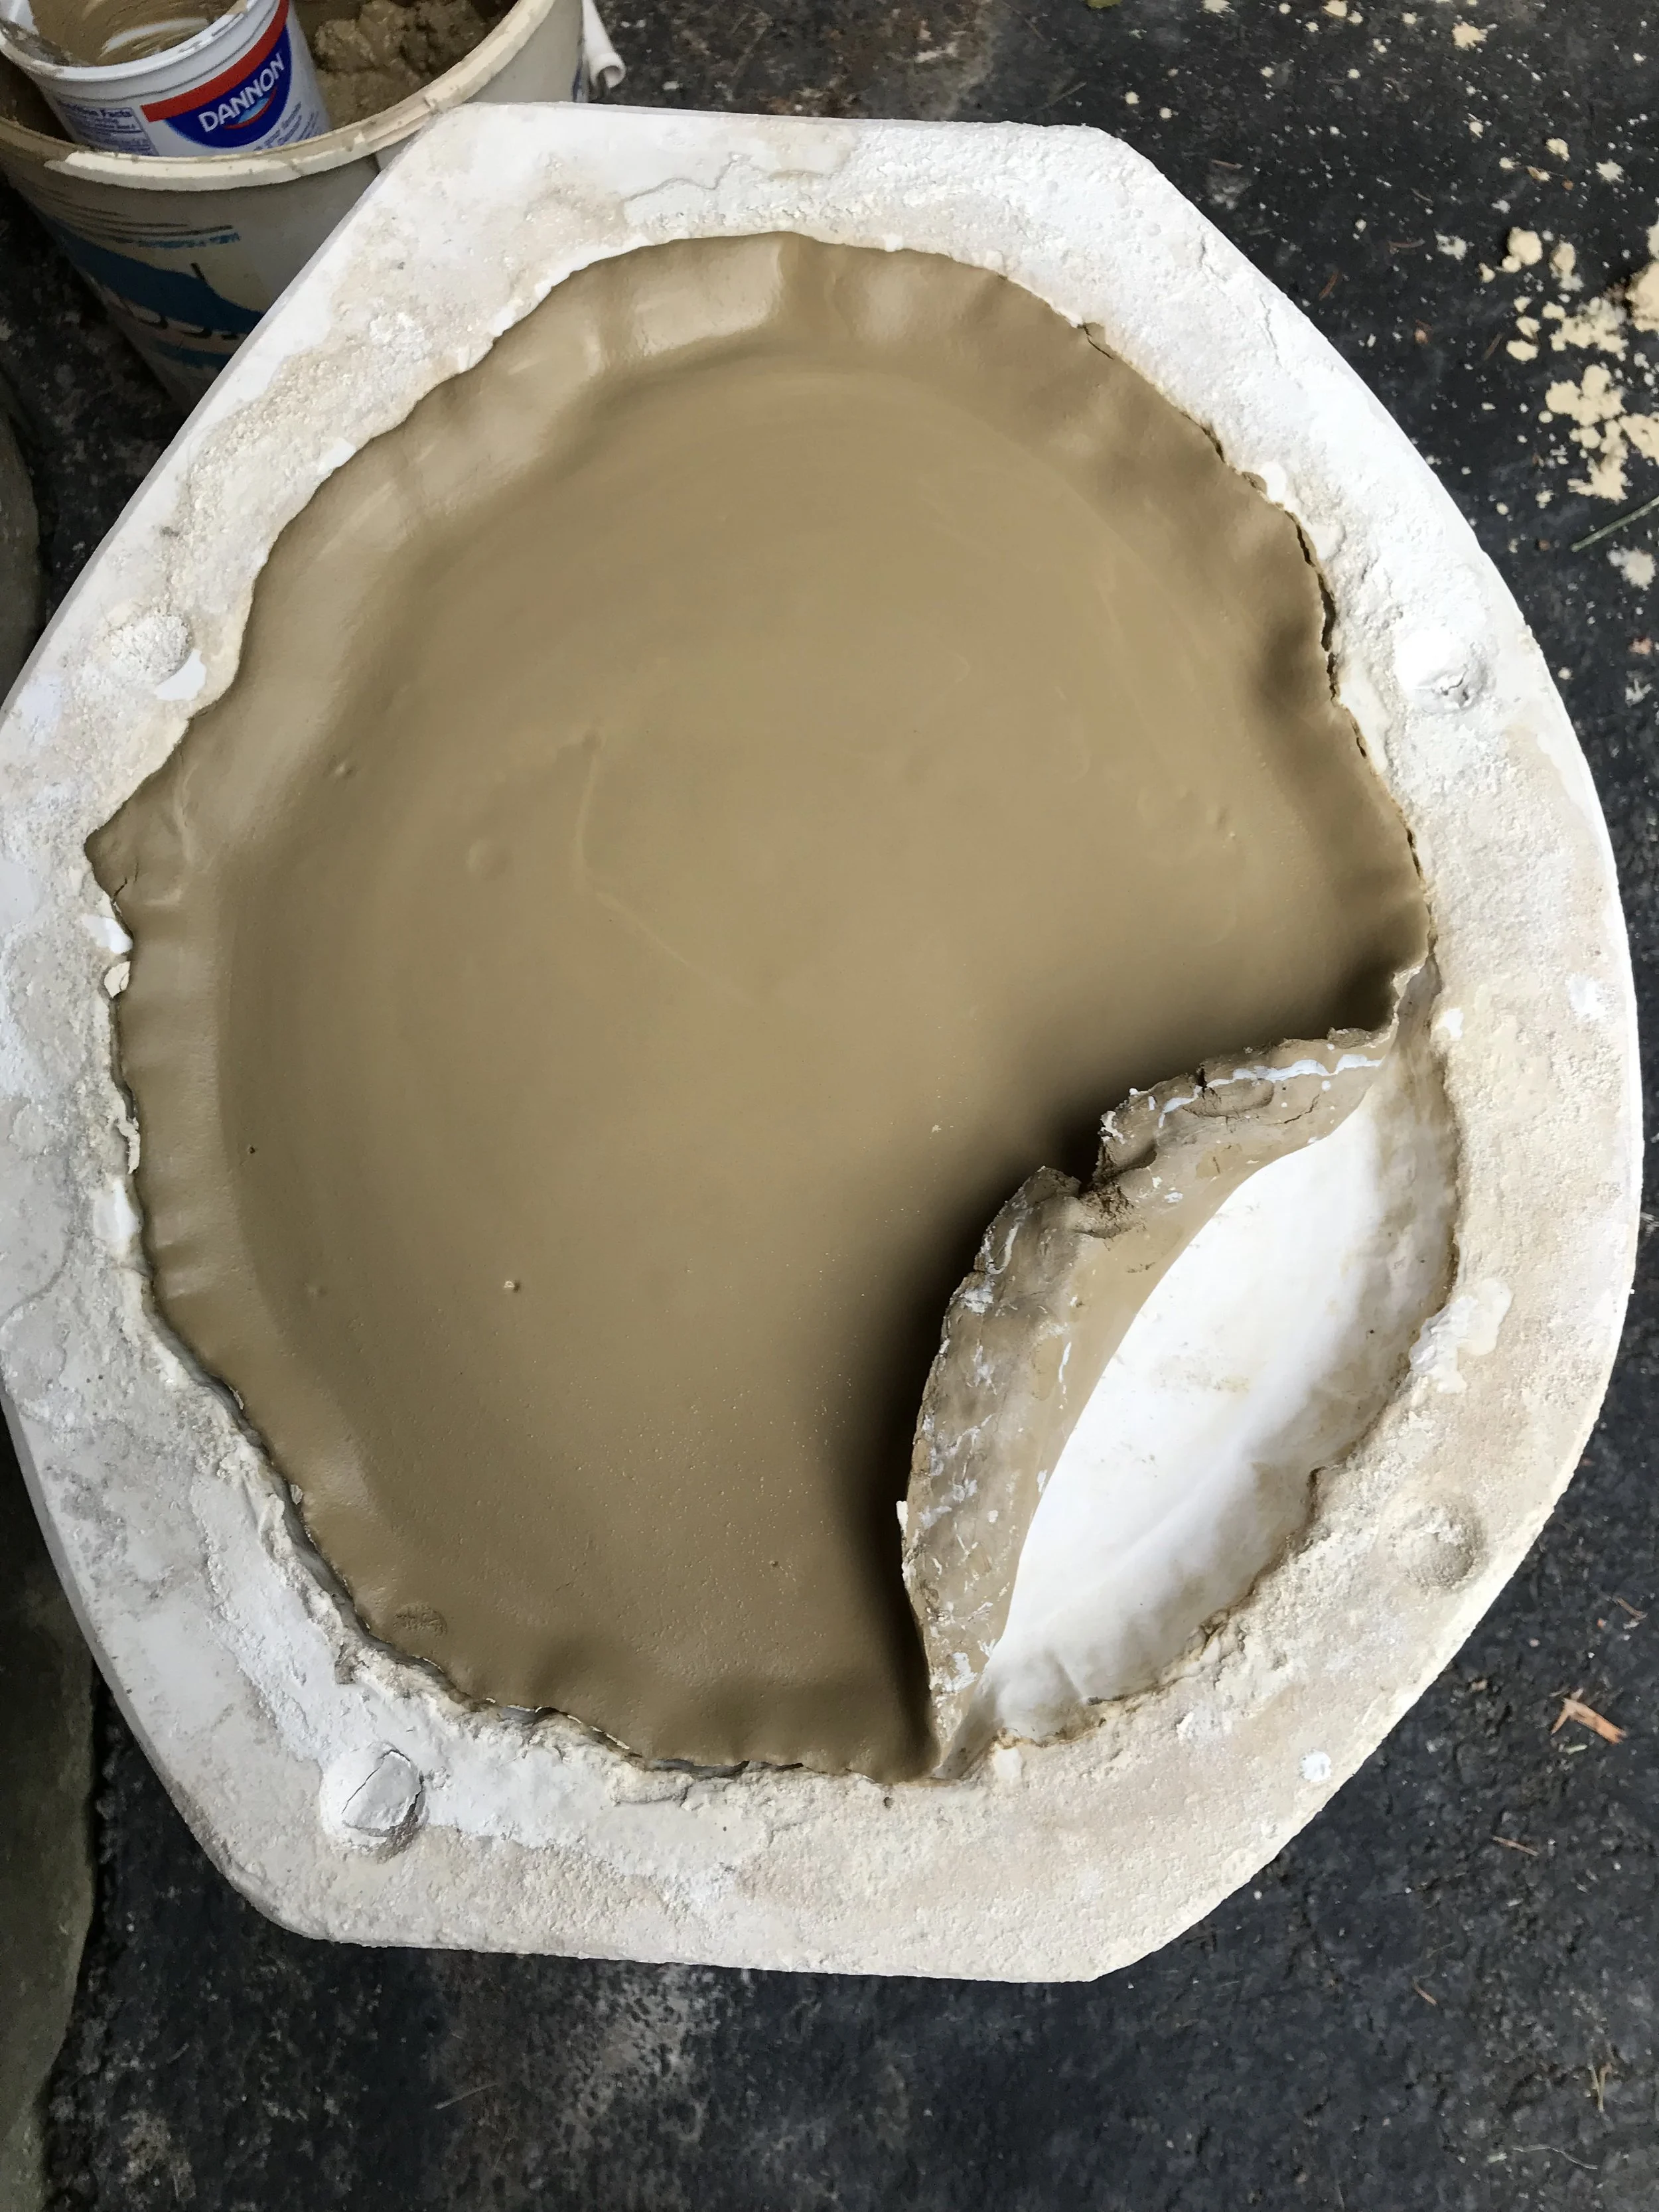
4. Pour clay slip into a plaster mold and let it dry. If you don’t have a mold bowl, you can use a glazed ceramic bowl instead. It will take longer for the clay to dry, but it will eventually.
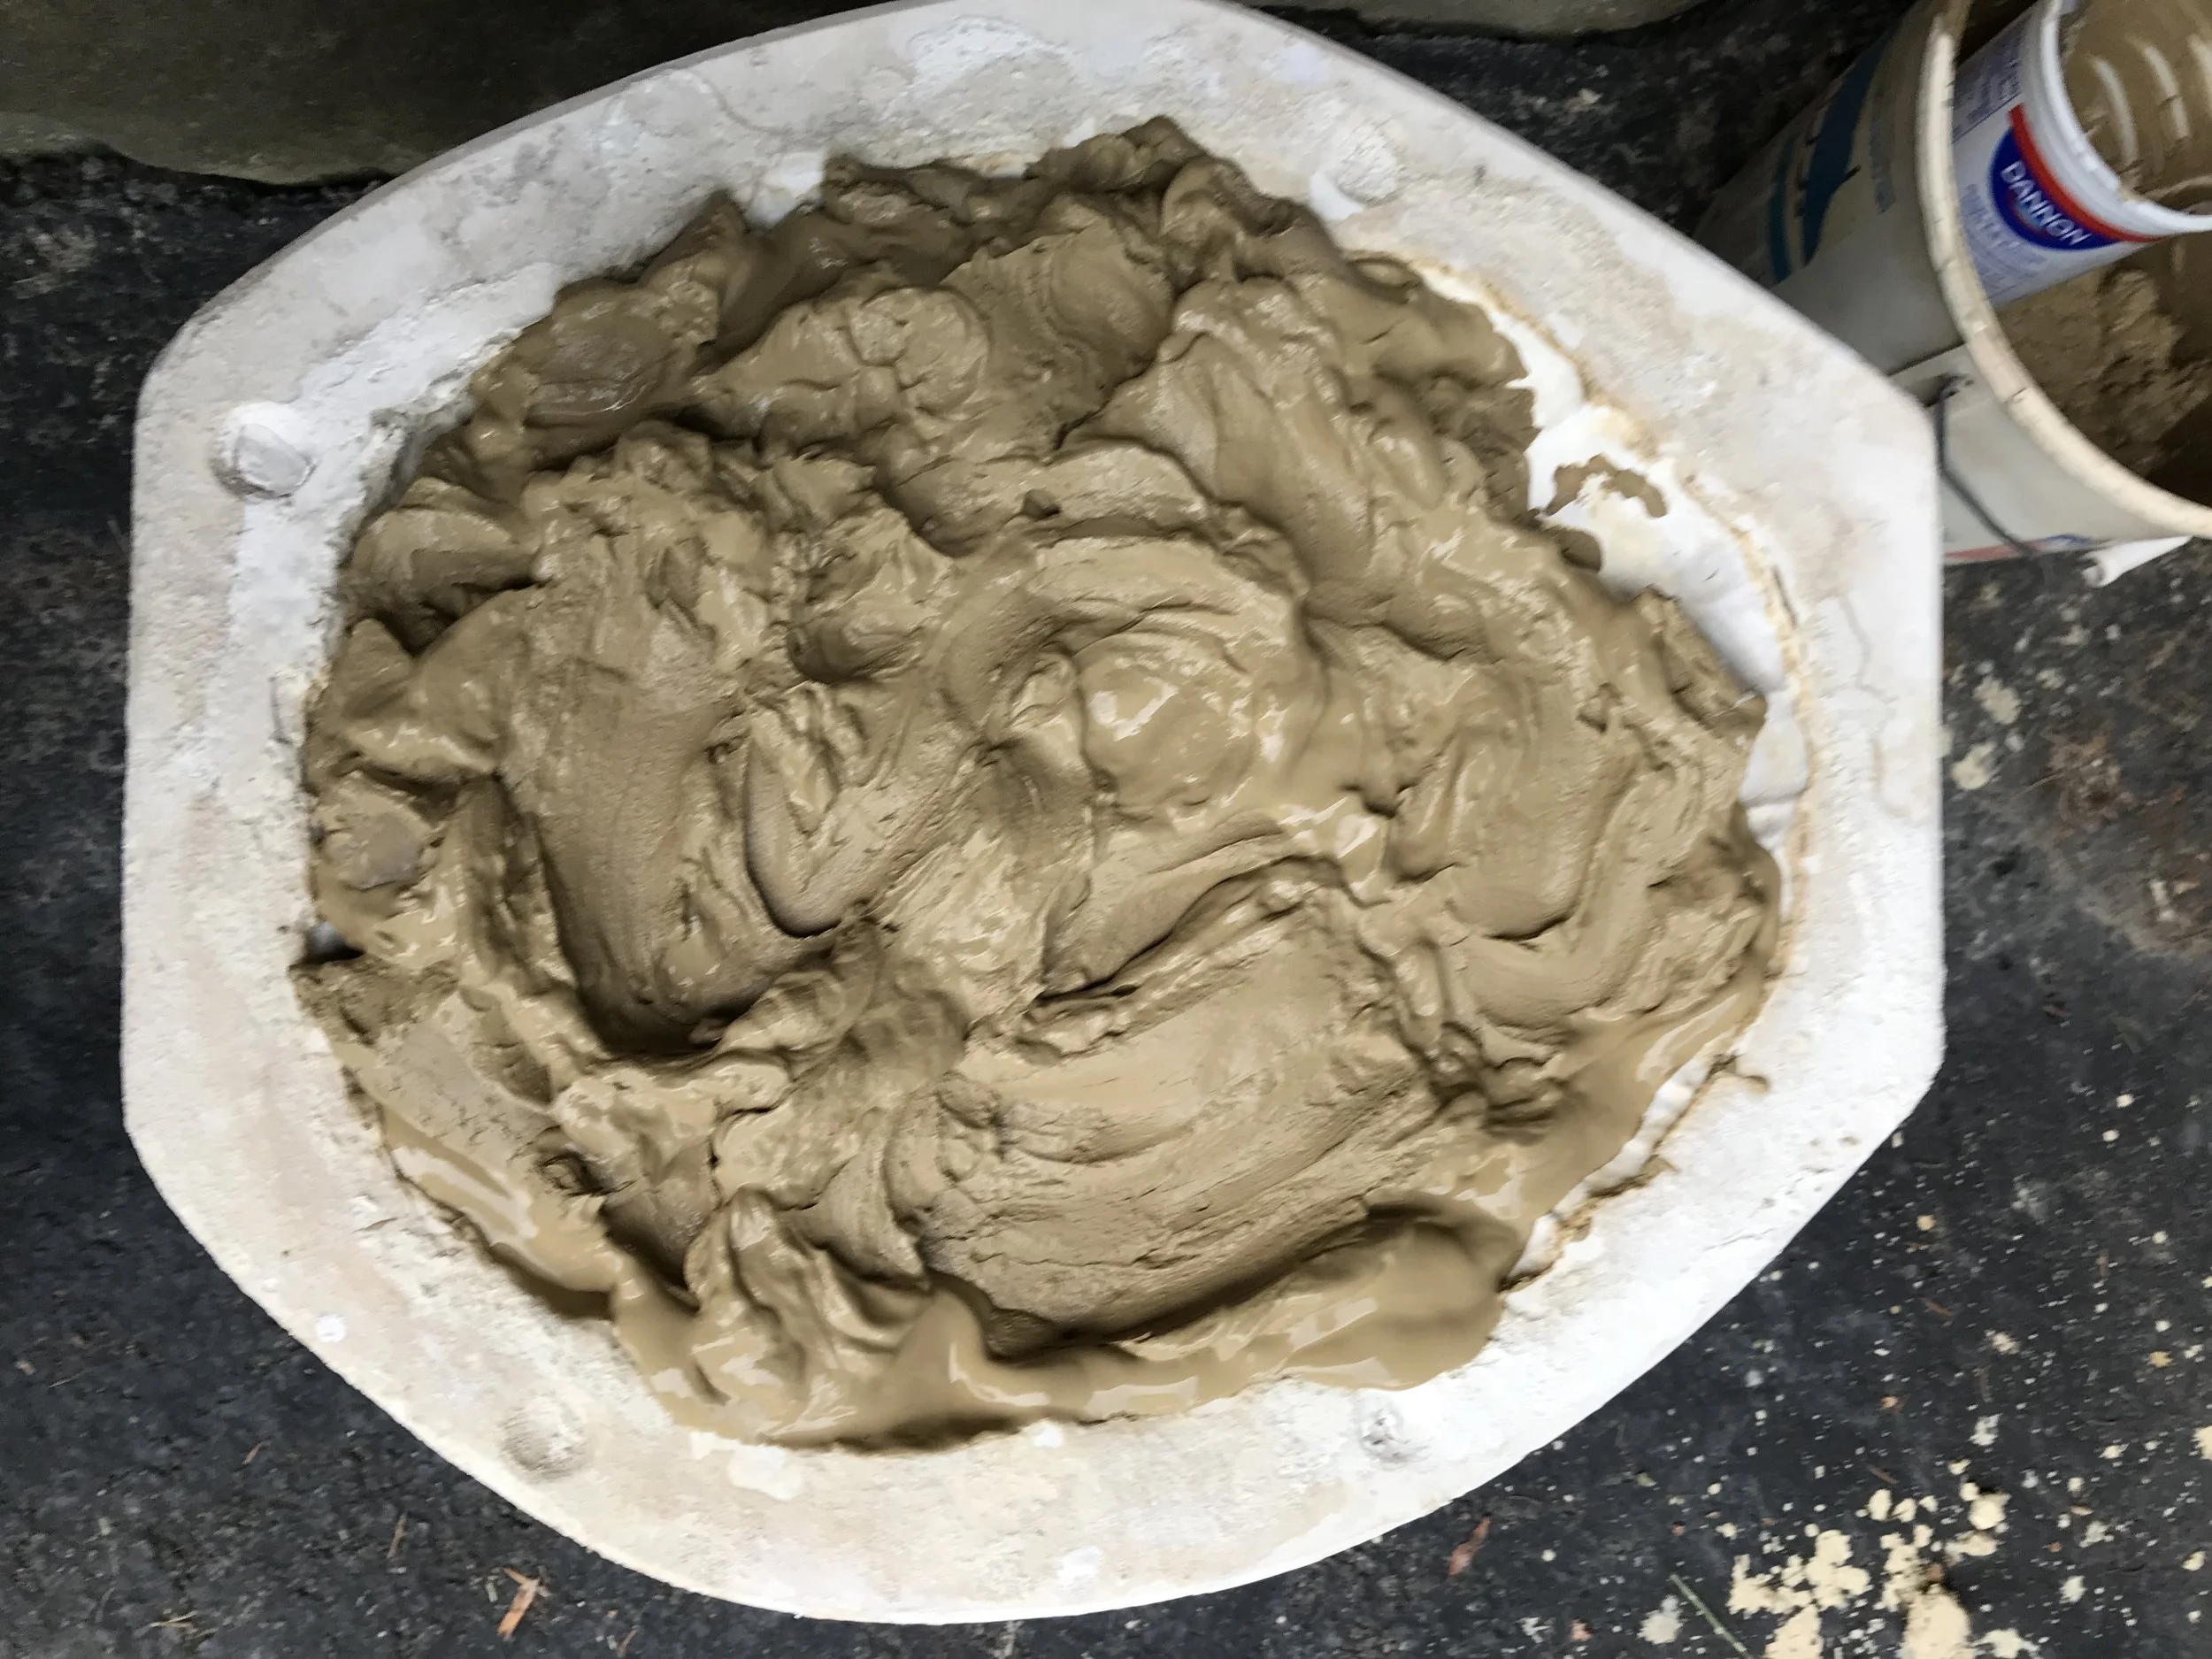
5. When the clay starts drying out, keep mixing it in the bowl to make sure the batch will be consistent by scraping the drying edge and mixing into the wet center.
6. Important — Resting Period Once the clay reaches a workable stage, it needs a resting period to allow the water to bind the particles and help them realign. Form the clay into a smooth, round ball, wrap it tightly in a plastic bag or sheet, and let it rest for at least one day—ideally, for several days. If possible, a three-month resting period will yield the best results. Even if your local clay hasn’t felt particularly plastic up to this point, this resting period may give it a chance to develop better plasticity.
7. Wedge the Clay Thoroughly Before Creating Forms. Wedging helps achieve a consistent texture and removes air pockets, making the clay easier to work with.
Shapes That Are More Prone to Breaking:
•Long, skinny rope-like shapes
•Flat, thin sheets
•Small, narrow, protruding parts
•Parts that are poorly attached
•Solid, thick sections (more than 1 inch in diameter)
Remember: Your piece will go through the fire—so build with durability in mind! For smaller, delicate pieces, you may want to put them in a metal can with convertibles to protect them from fire logs.
Disclaimer / Safety Warning Fire regulations vary depending on where you live, and outdoor firing may be strictly restricted for safety reasons. Always check with your local fire marshal or relevant authorities to obtain proper permission. It's also a good idea to inform your neighbors in advance to avoid misunderstandings or unwanted calls to emergency services. Ensuring safety and compliance is your responsibility.
Materials and tools for this project
•Burnished pots (no bisque fire), bone dry
•Stone, metal spoon or a piece of plastic to burnish clay (hand lotion is optional)
•Metal trash can with a lid, or a pit with some metal sheet to cover
•Newspapers
•Sawdust
•Straw
•Twigs, logs, and other combustible materials
•A bucket of water for safety
•Polishing agents - Furniture polish, floor wax, bee wax, olive oil, etc.
Pit fire method for this project
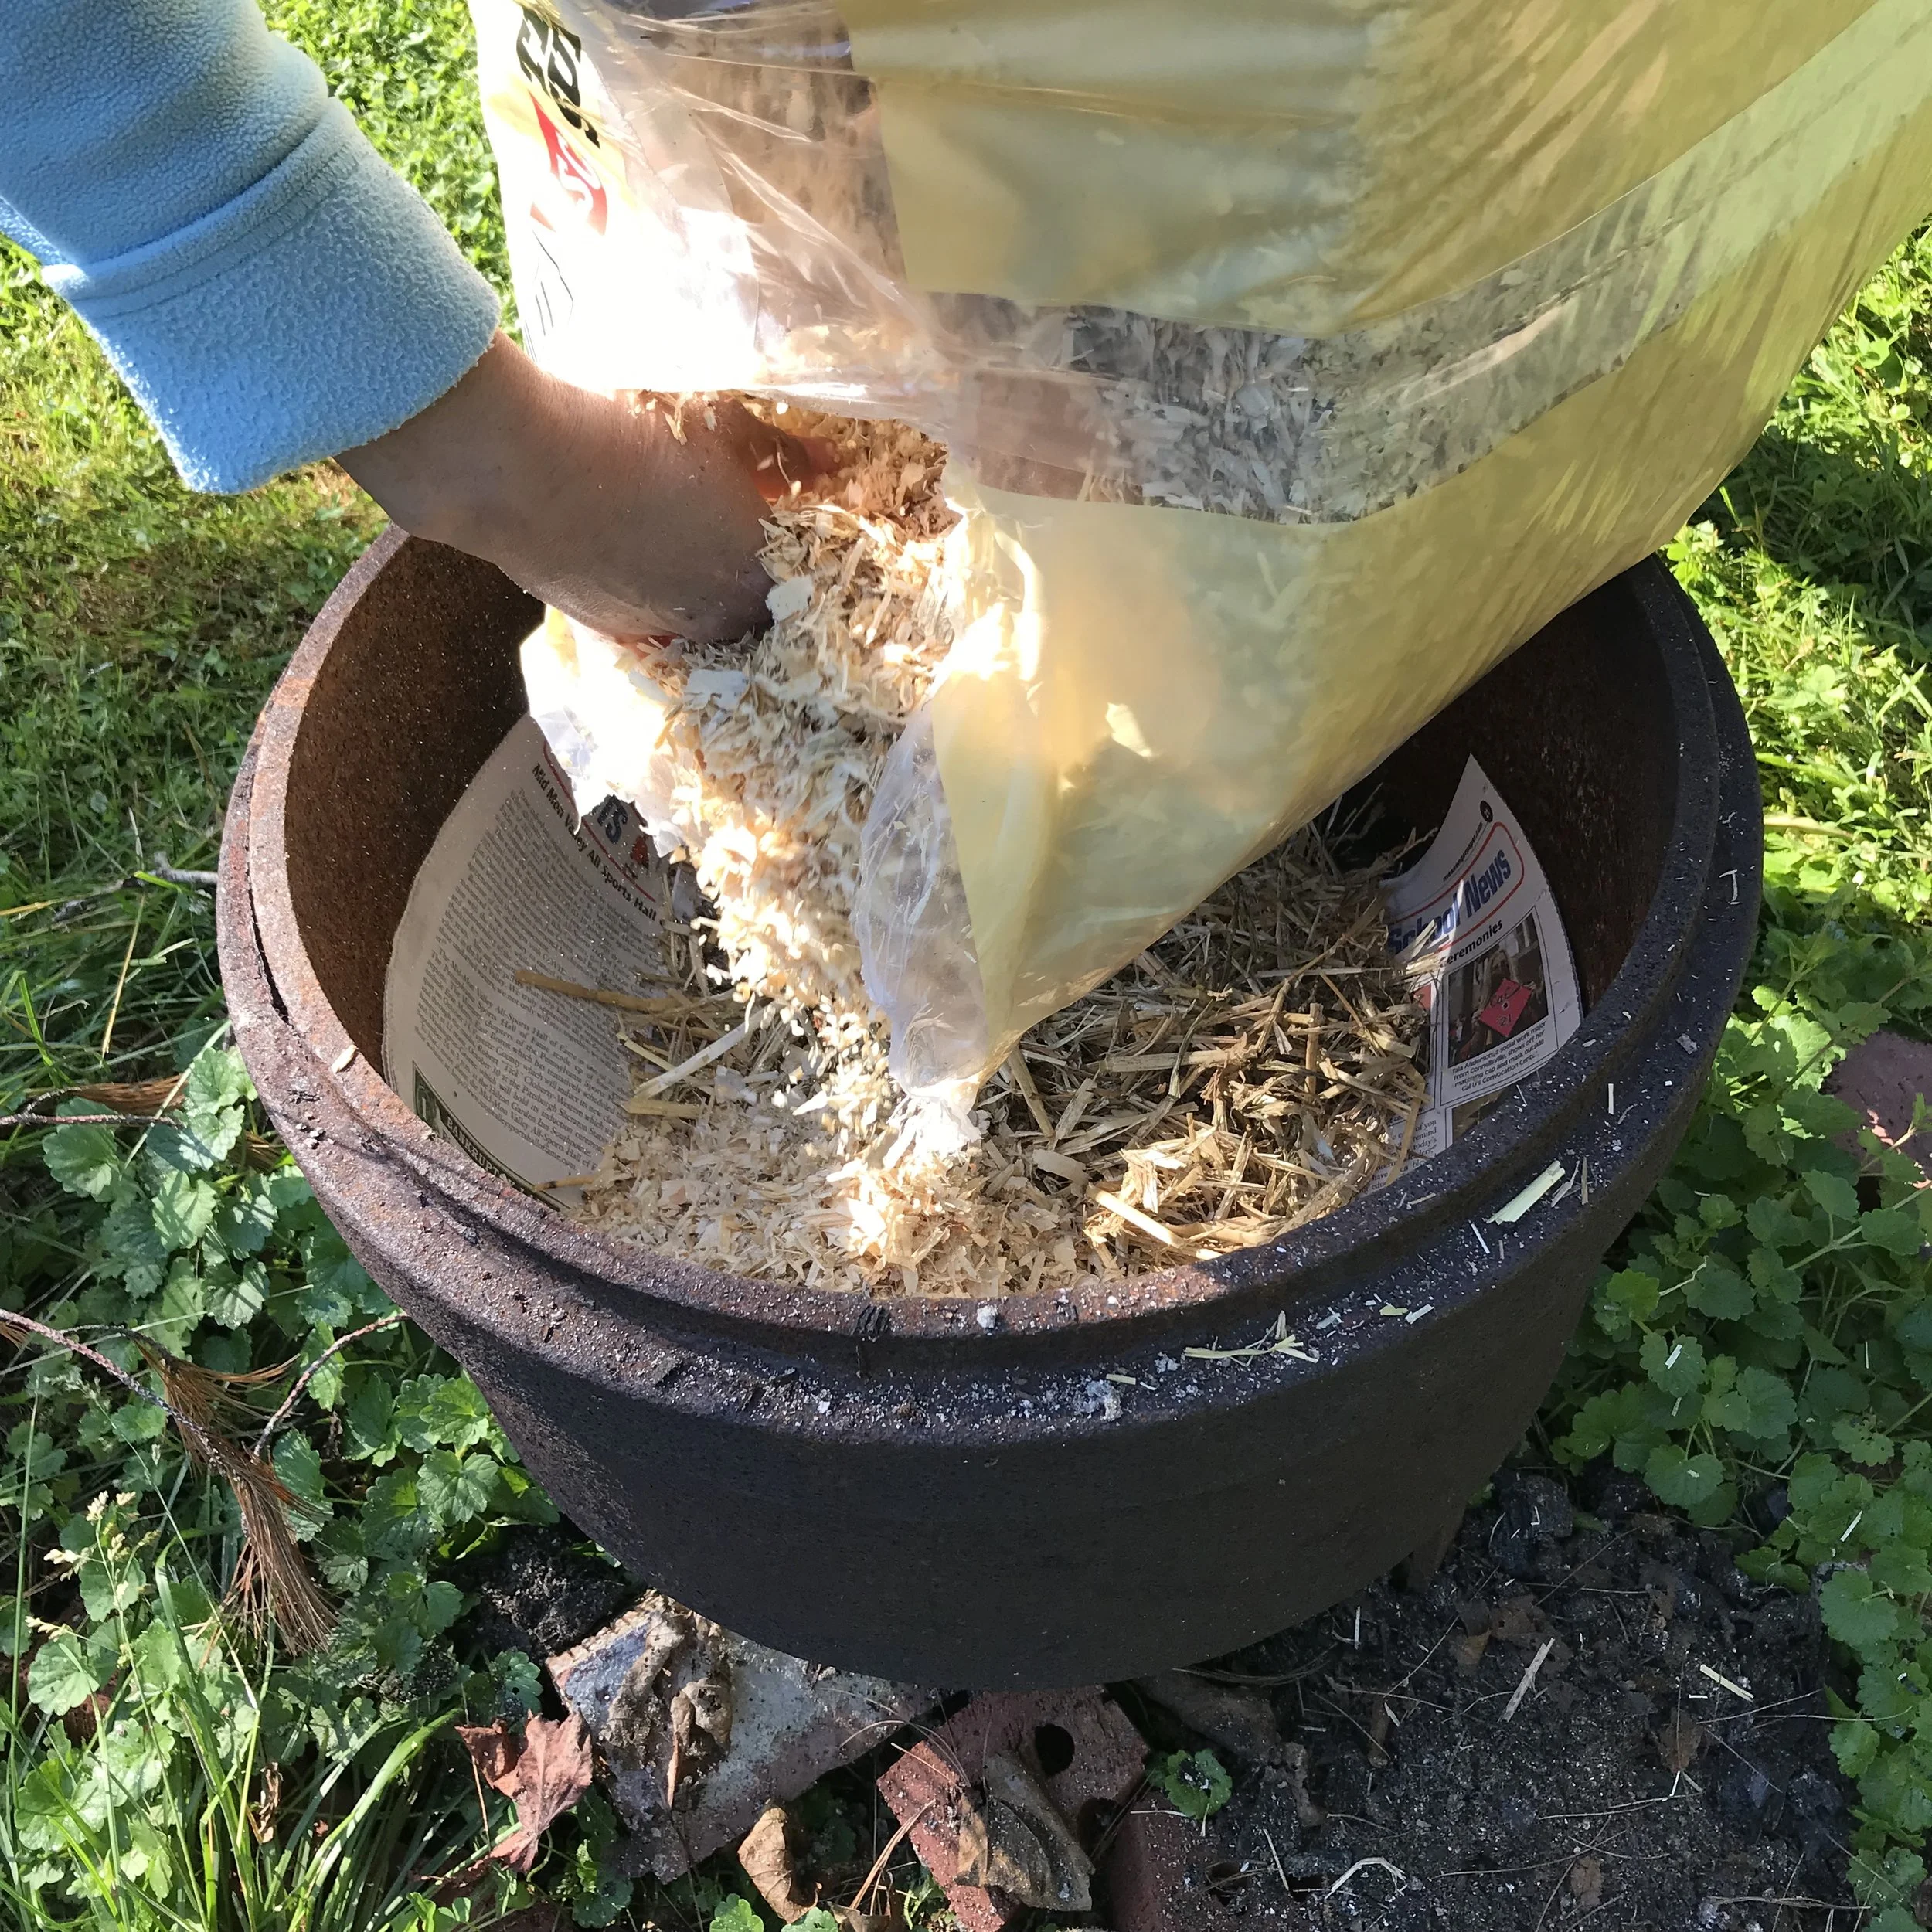
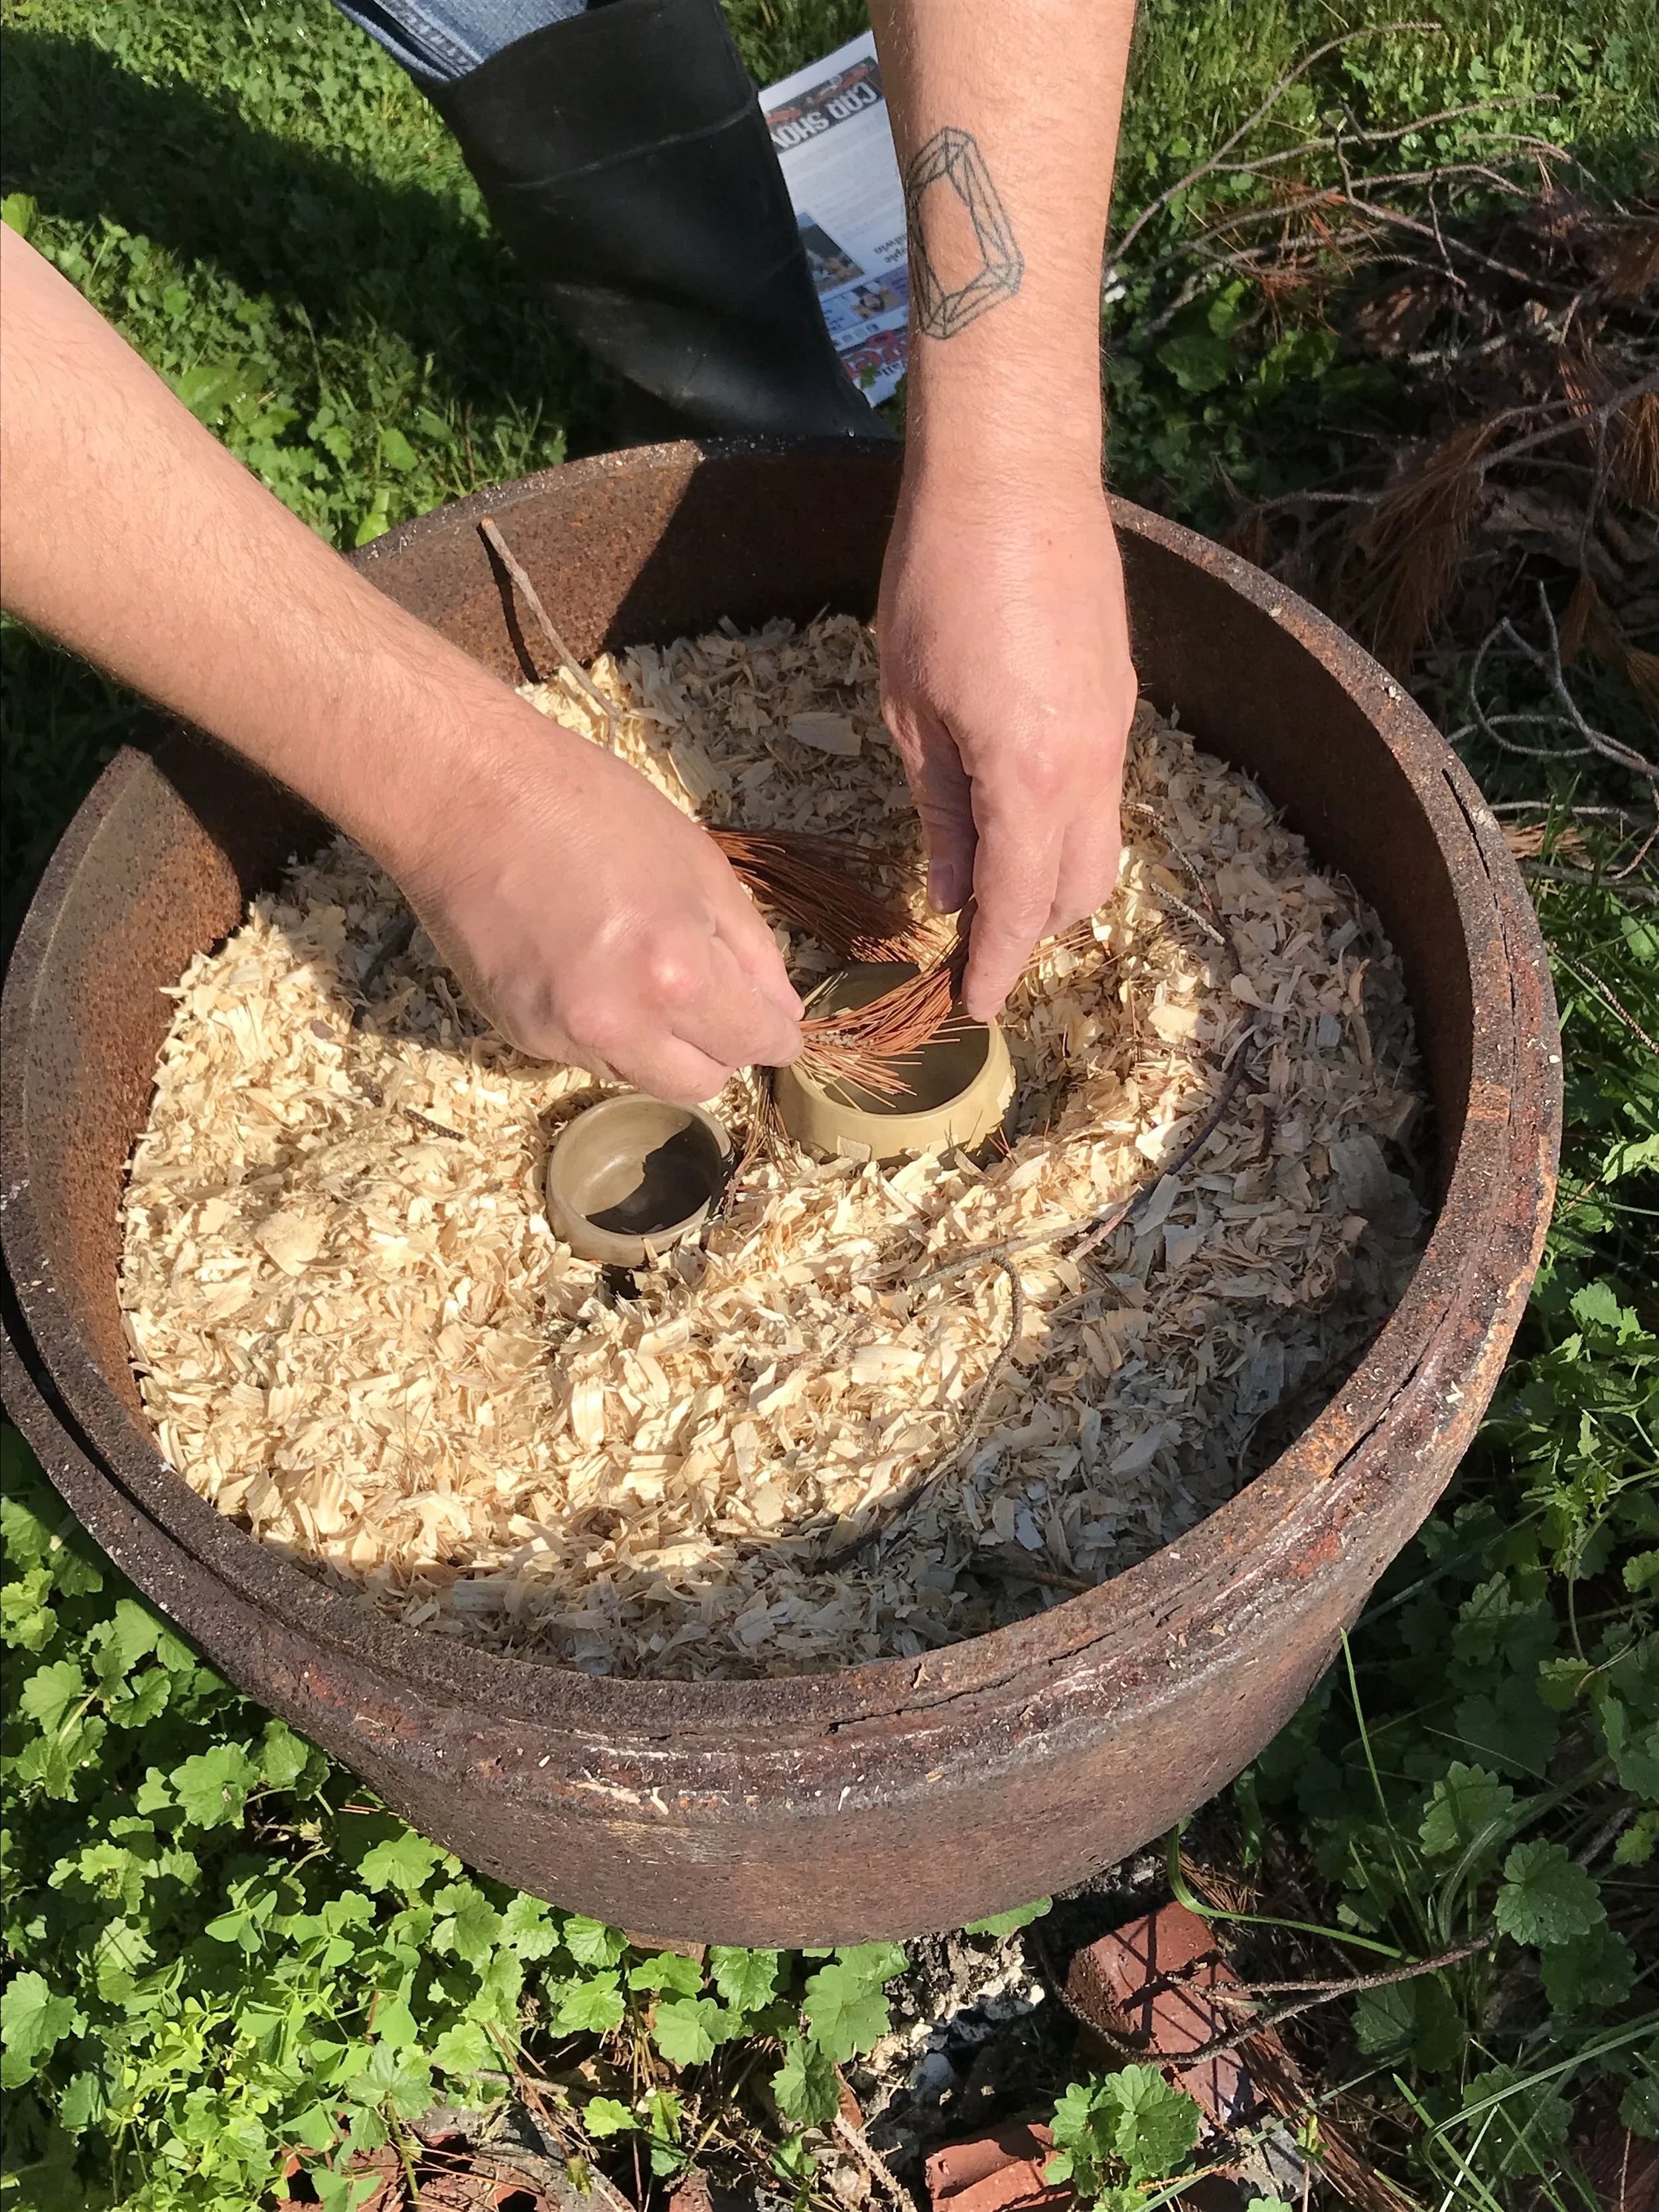
1. the trash can in an open, safe place, make a layer of combustible materials, and place pots.
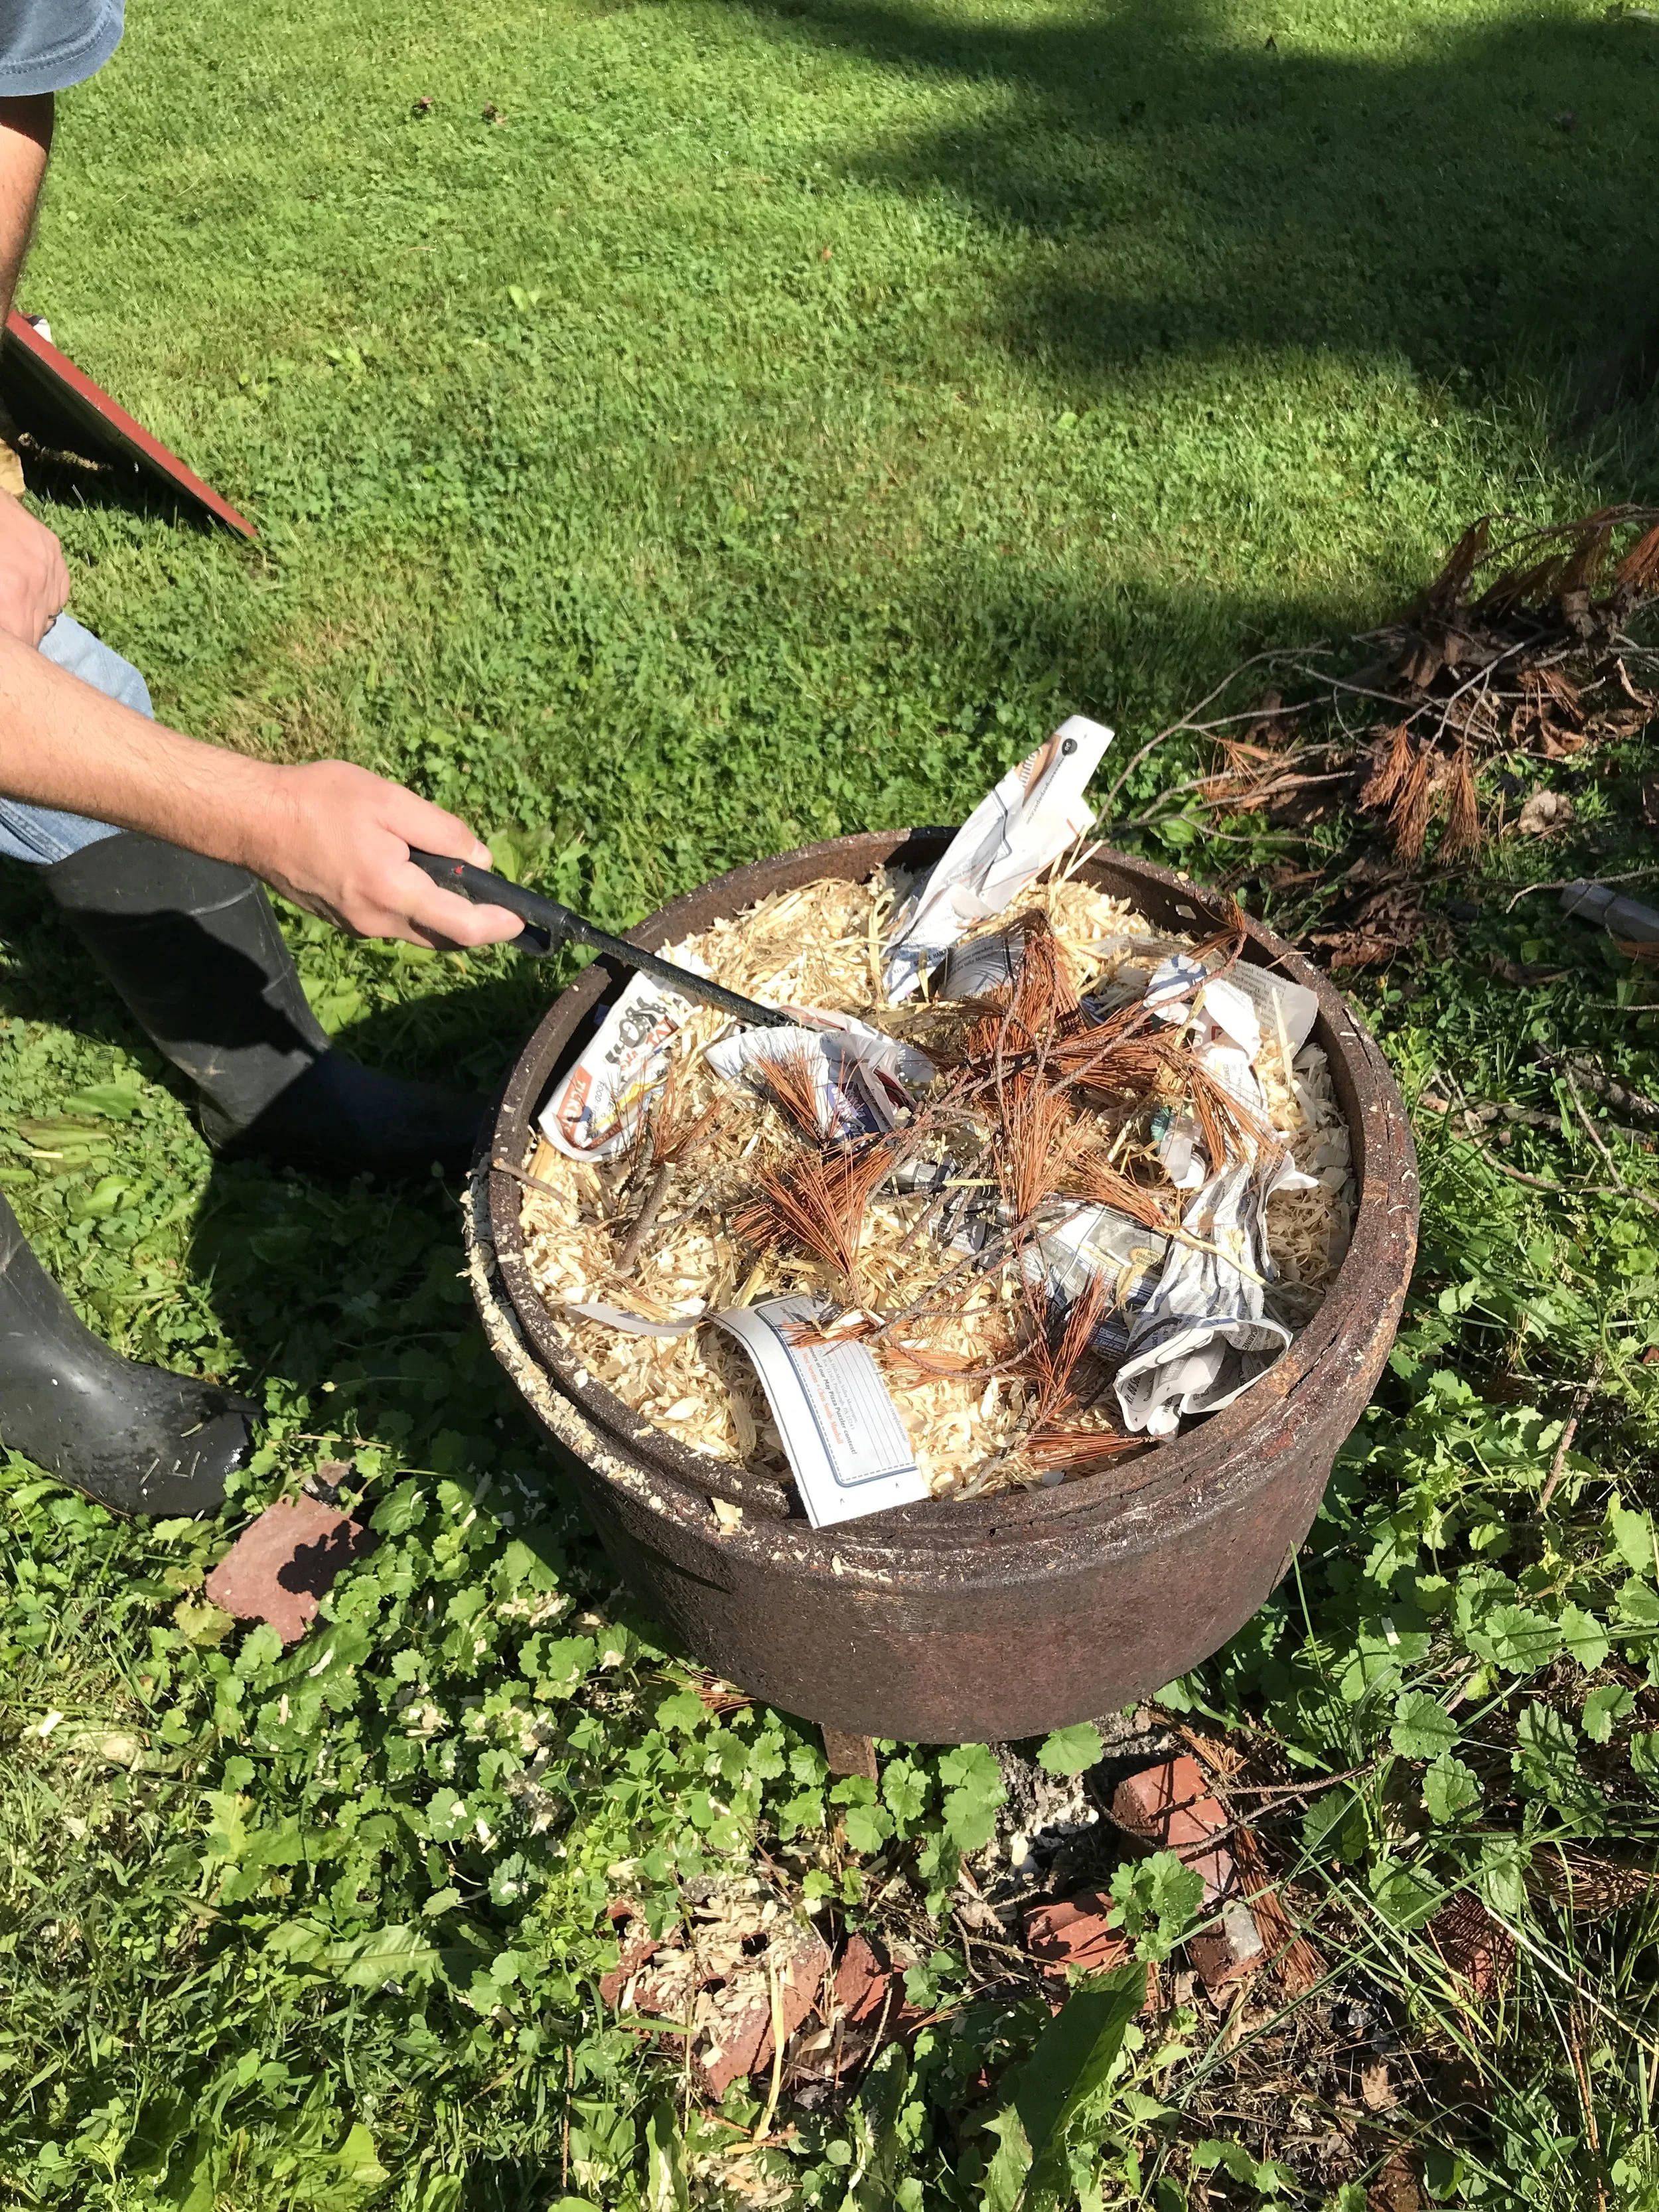
2. Cover the Pots and Start the Fire Cover your pots with combustible materials, then light the fire. Maintain a small, steady flame for at least 30 minutes to ensure the pots are properly exposed to heat.
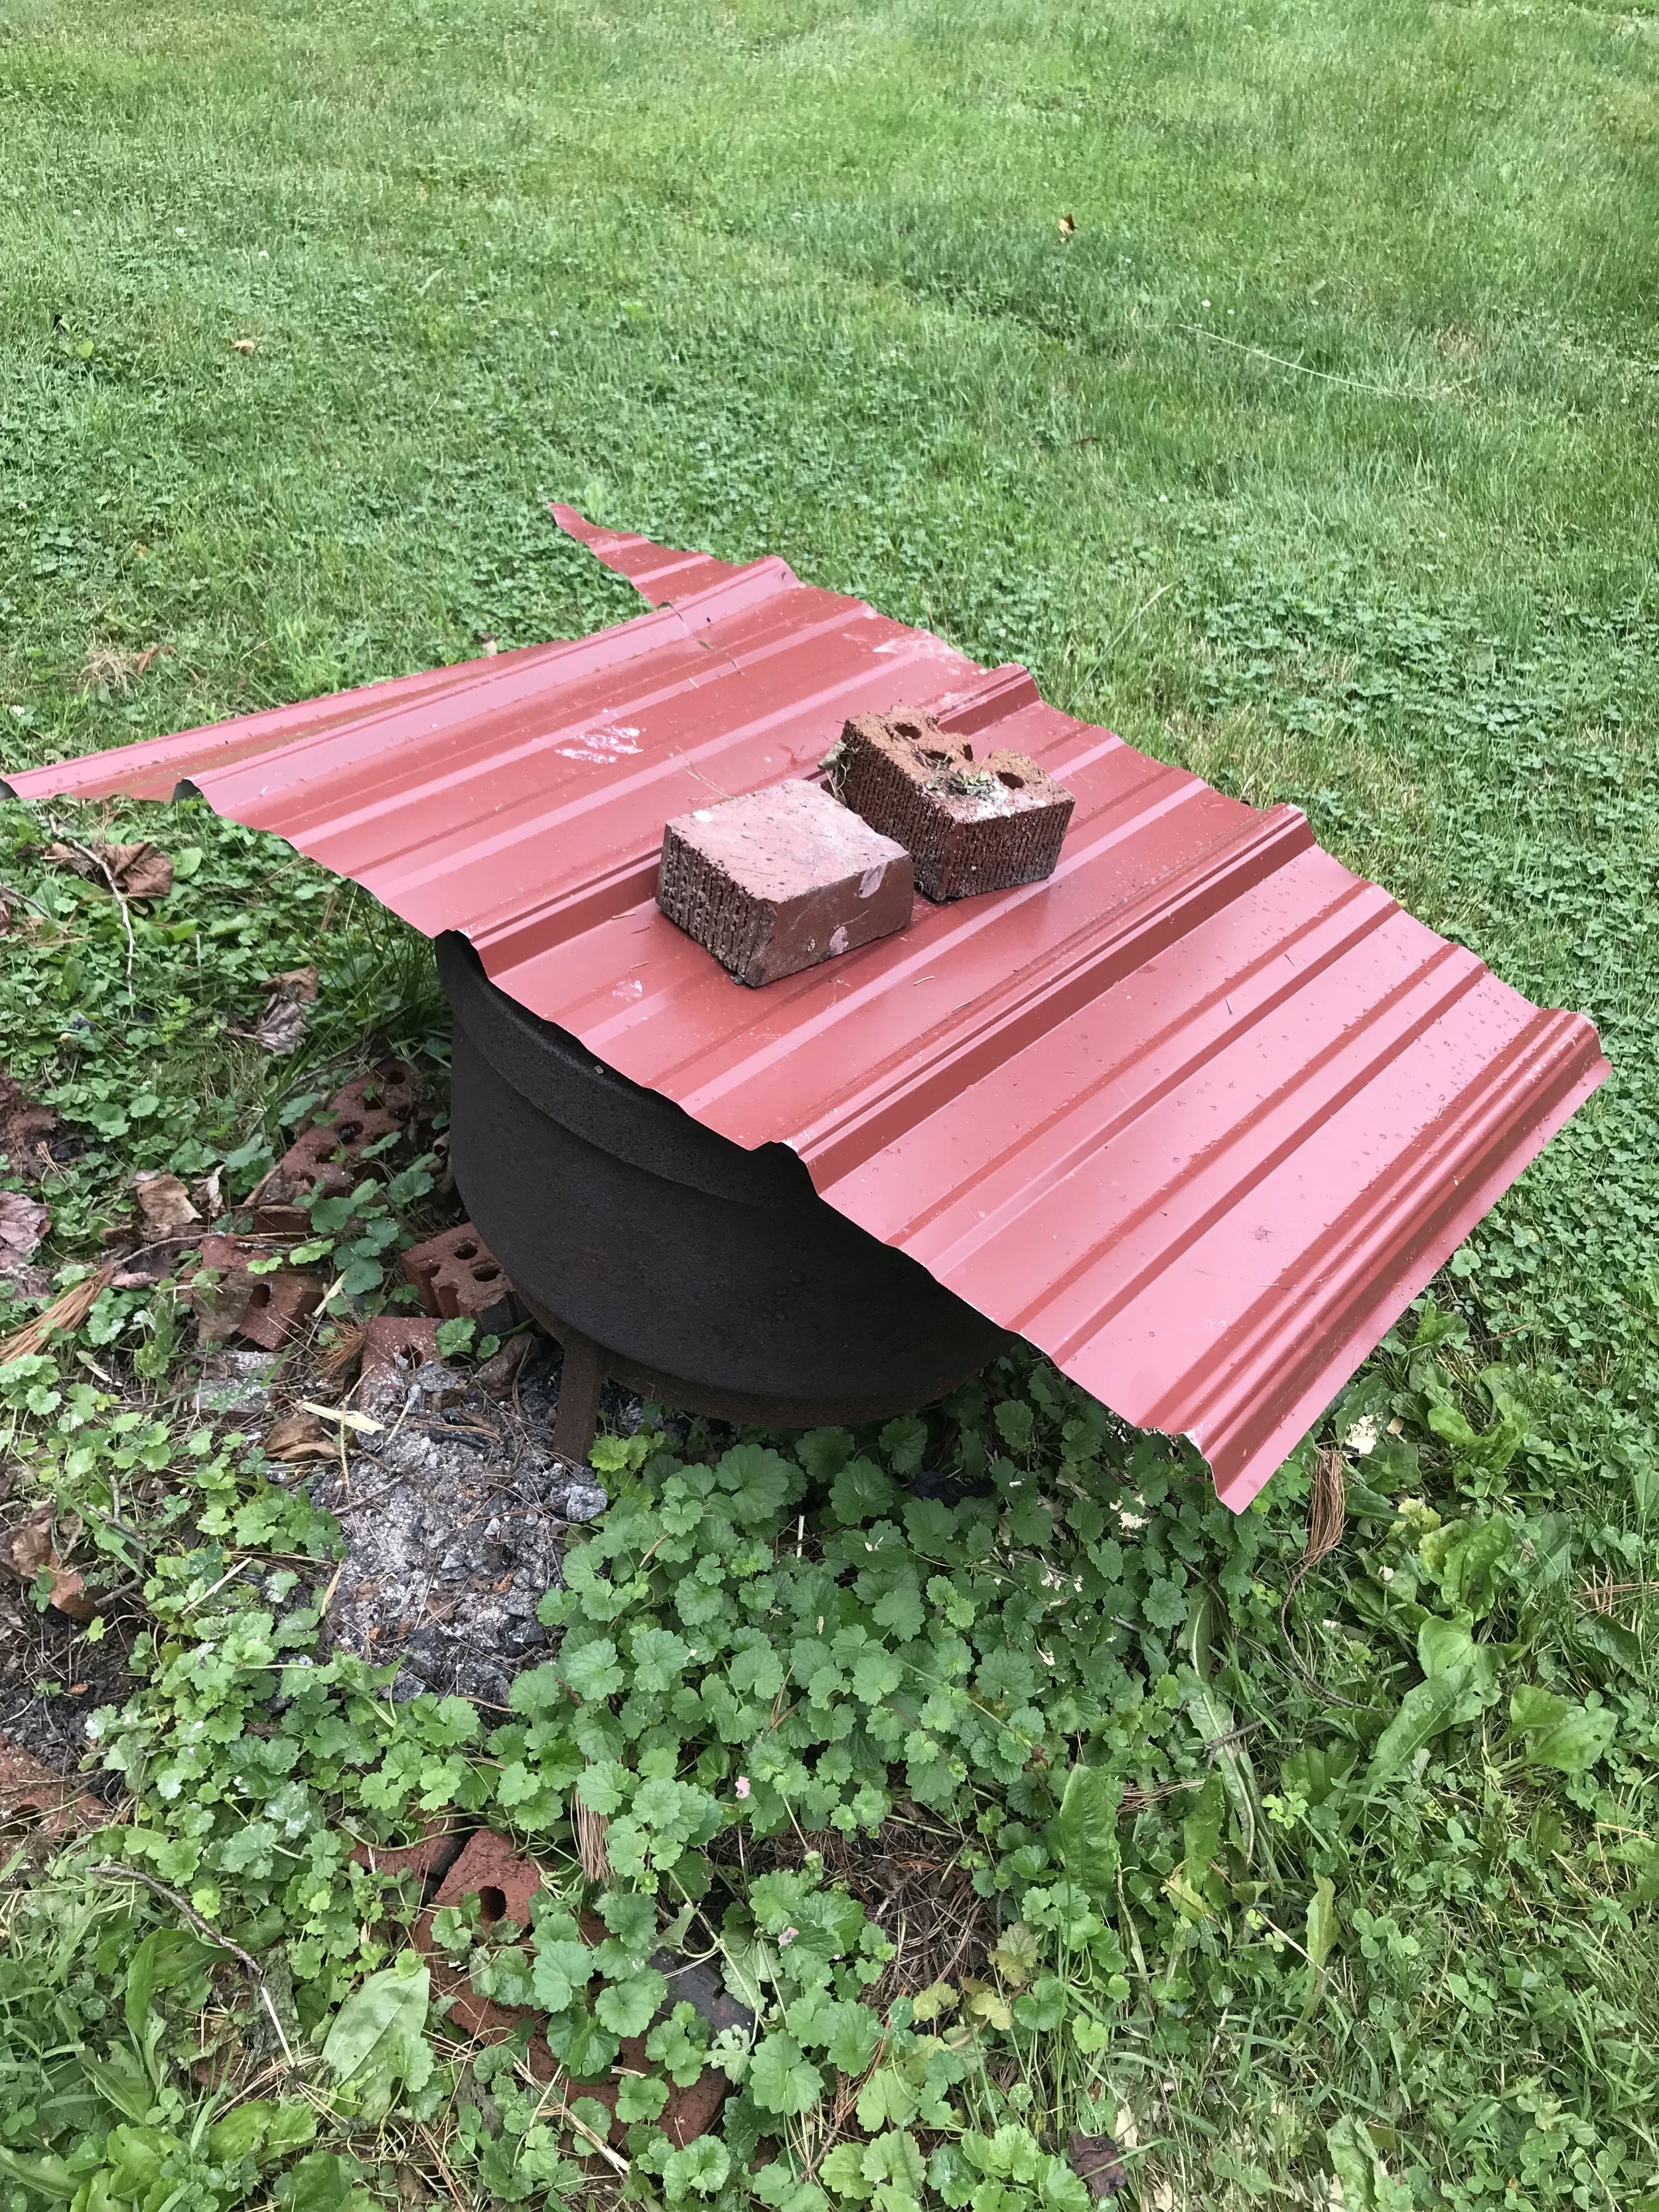
3. Cover the bin and begin the reduction process. Cover the trash bin to trap smoke and allow the pots to absorb it as they slowly cool down. This is known as the reduction process. Be sure to maintain a slow and steady cooling period—if the pots cool too quickly, they may crack or explode due to thermal shock.
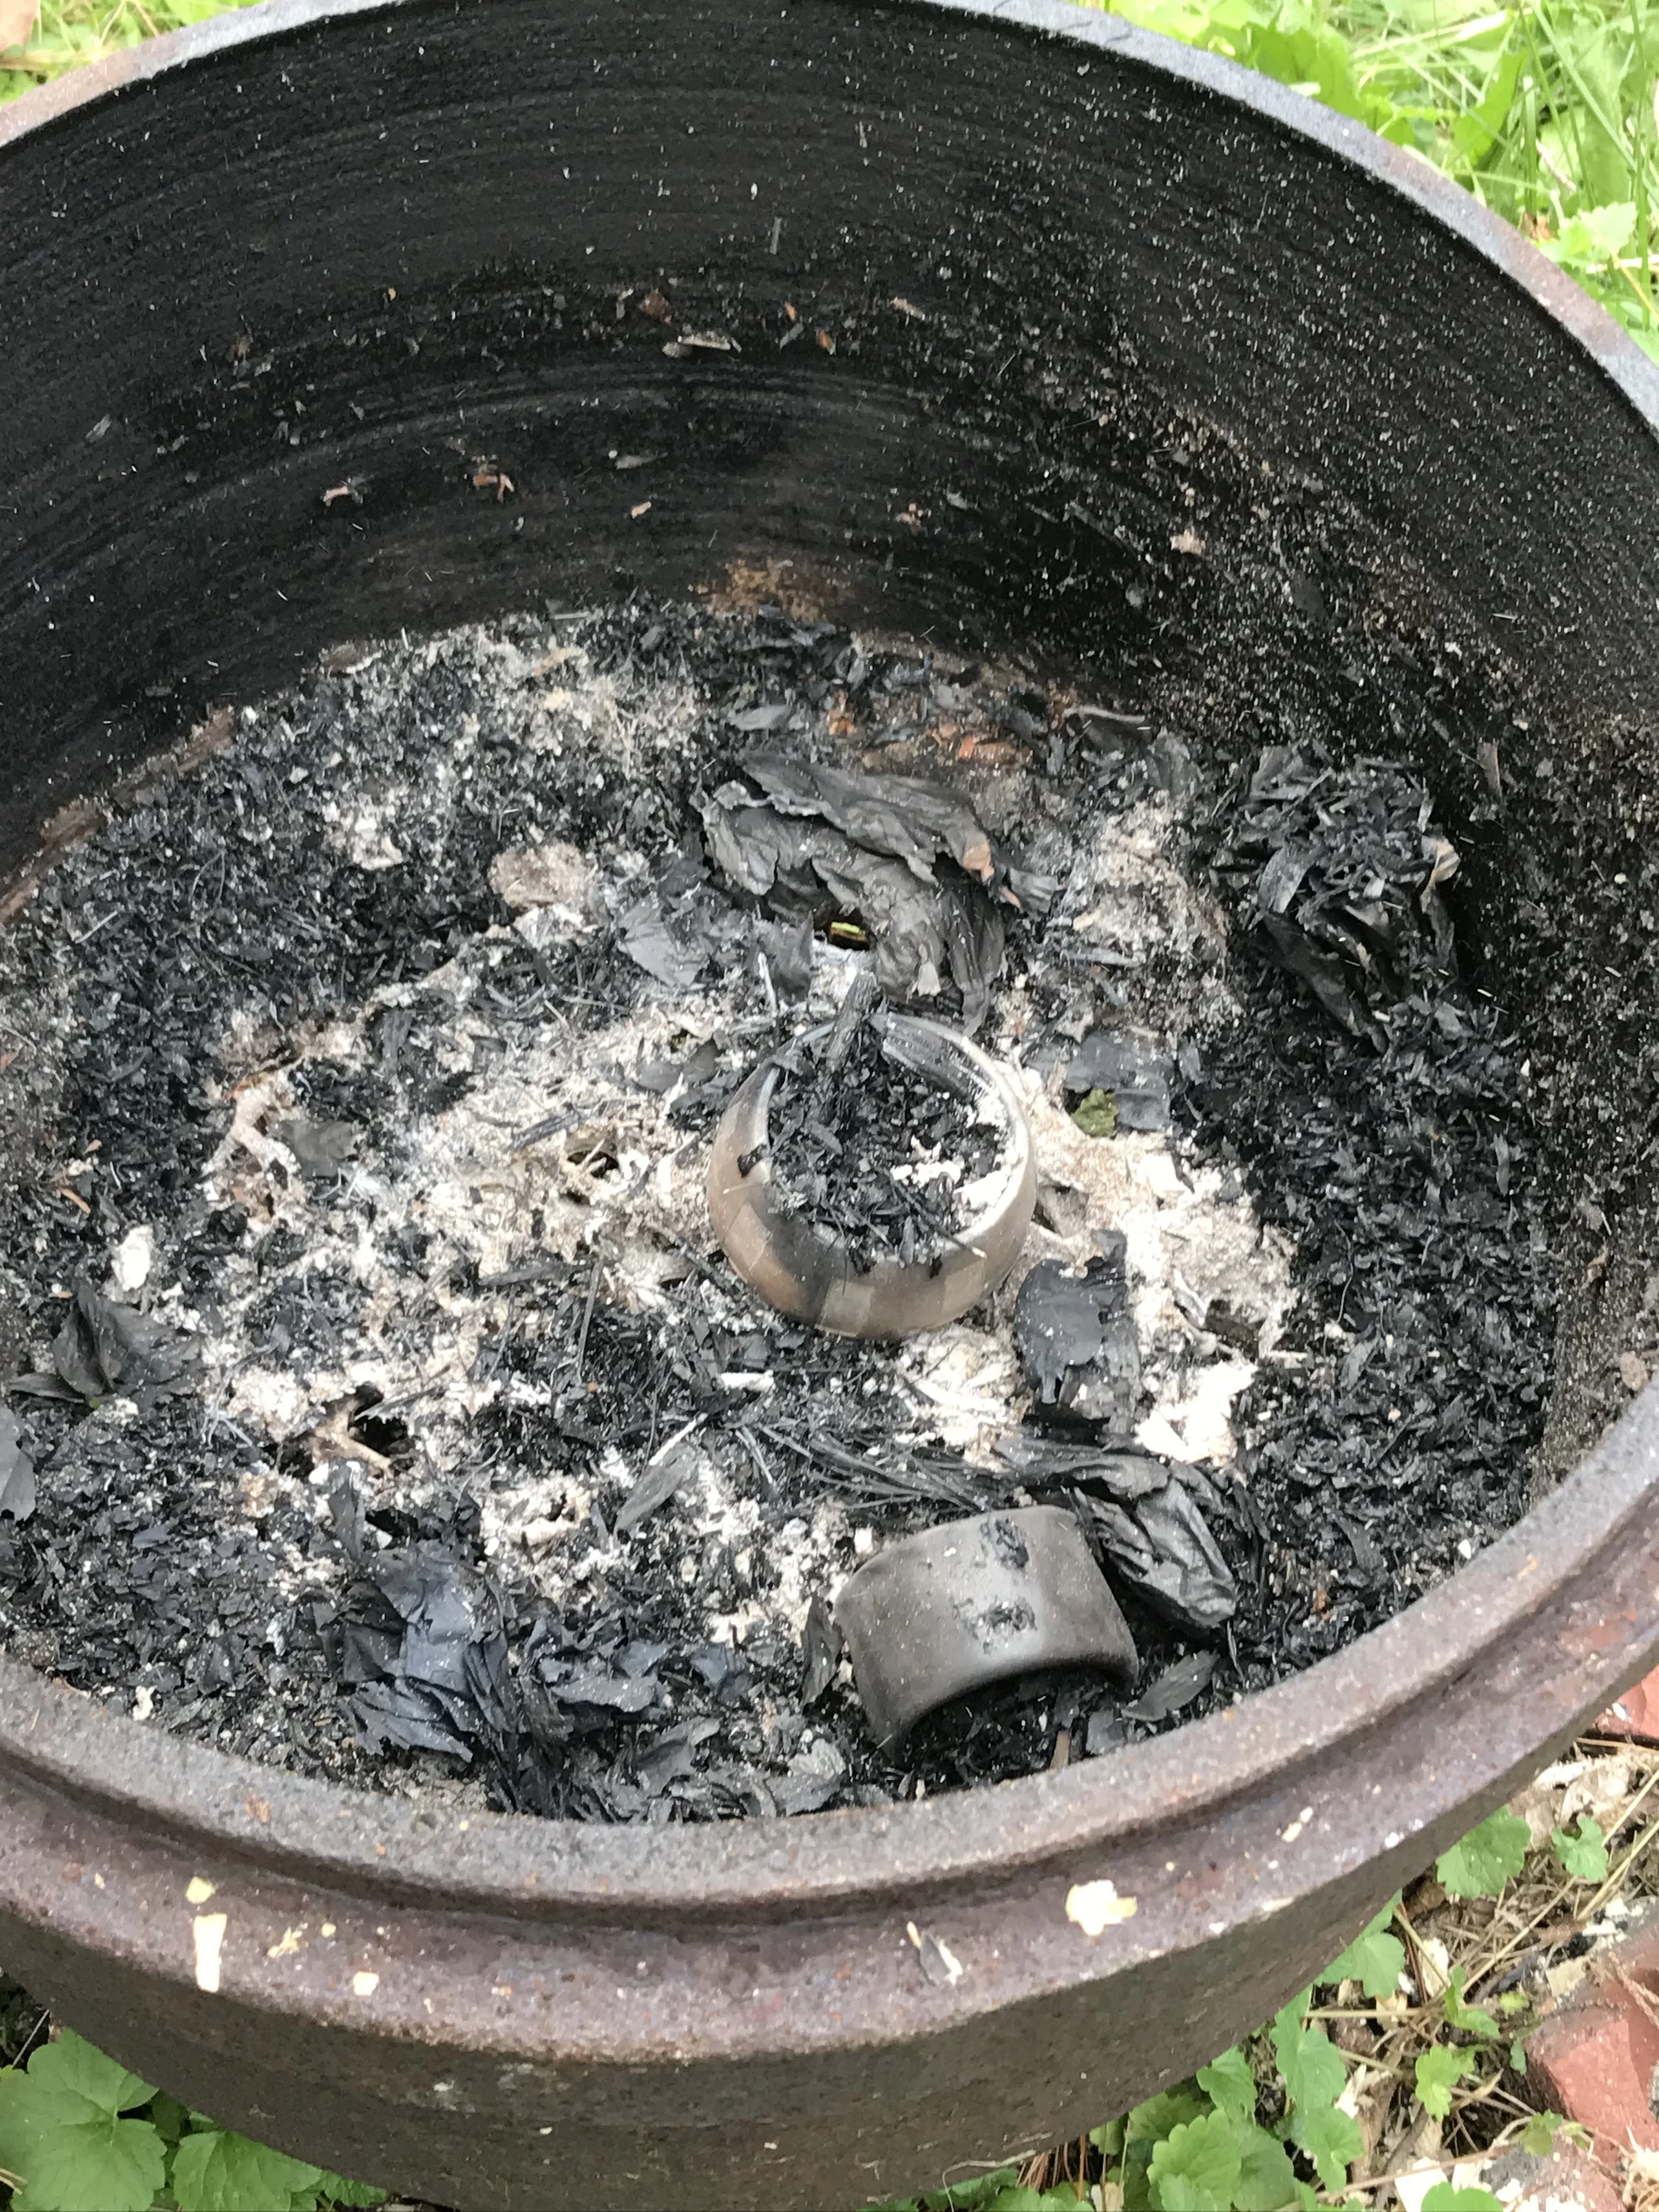
4. Remove the pots once fully cooled. Wait until the metal container is completely cool—usually overnight—before removing the pots. Handling them too early can cause damage or injury.
5. Clean up the pots and polish them with furniture polish, bee wax, floor wax, olive oil, etc.
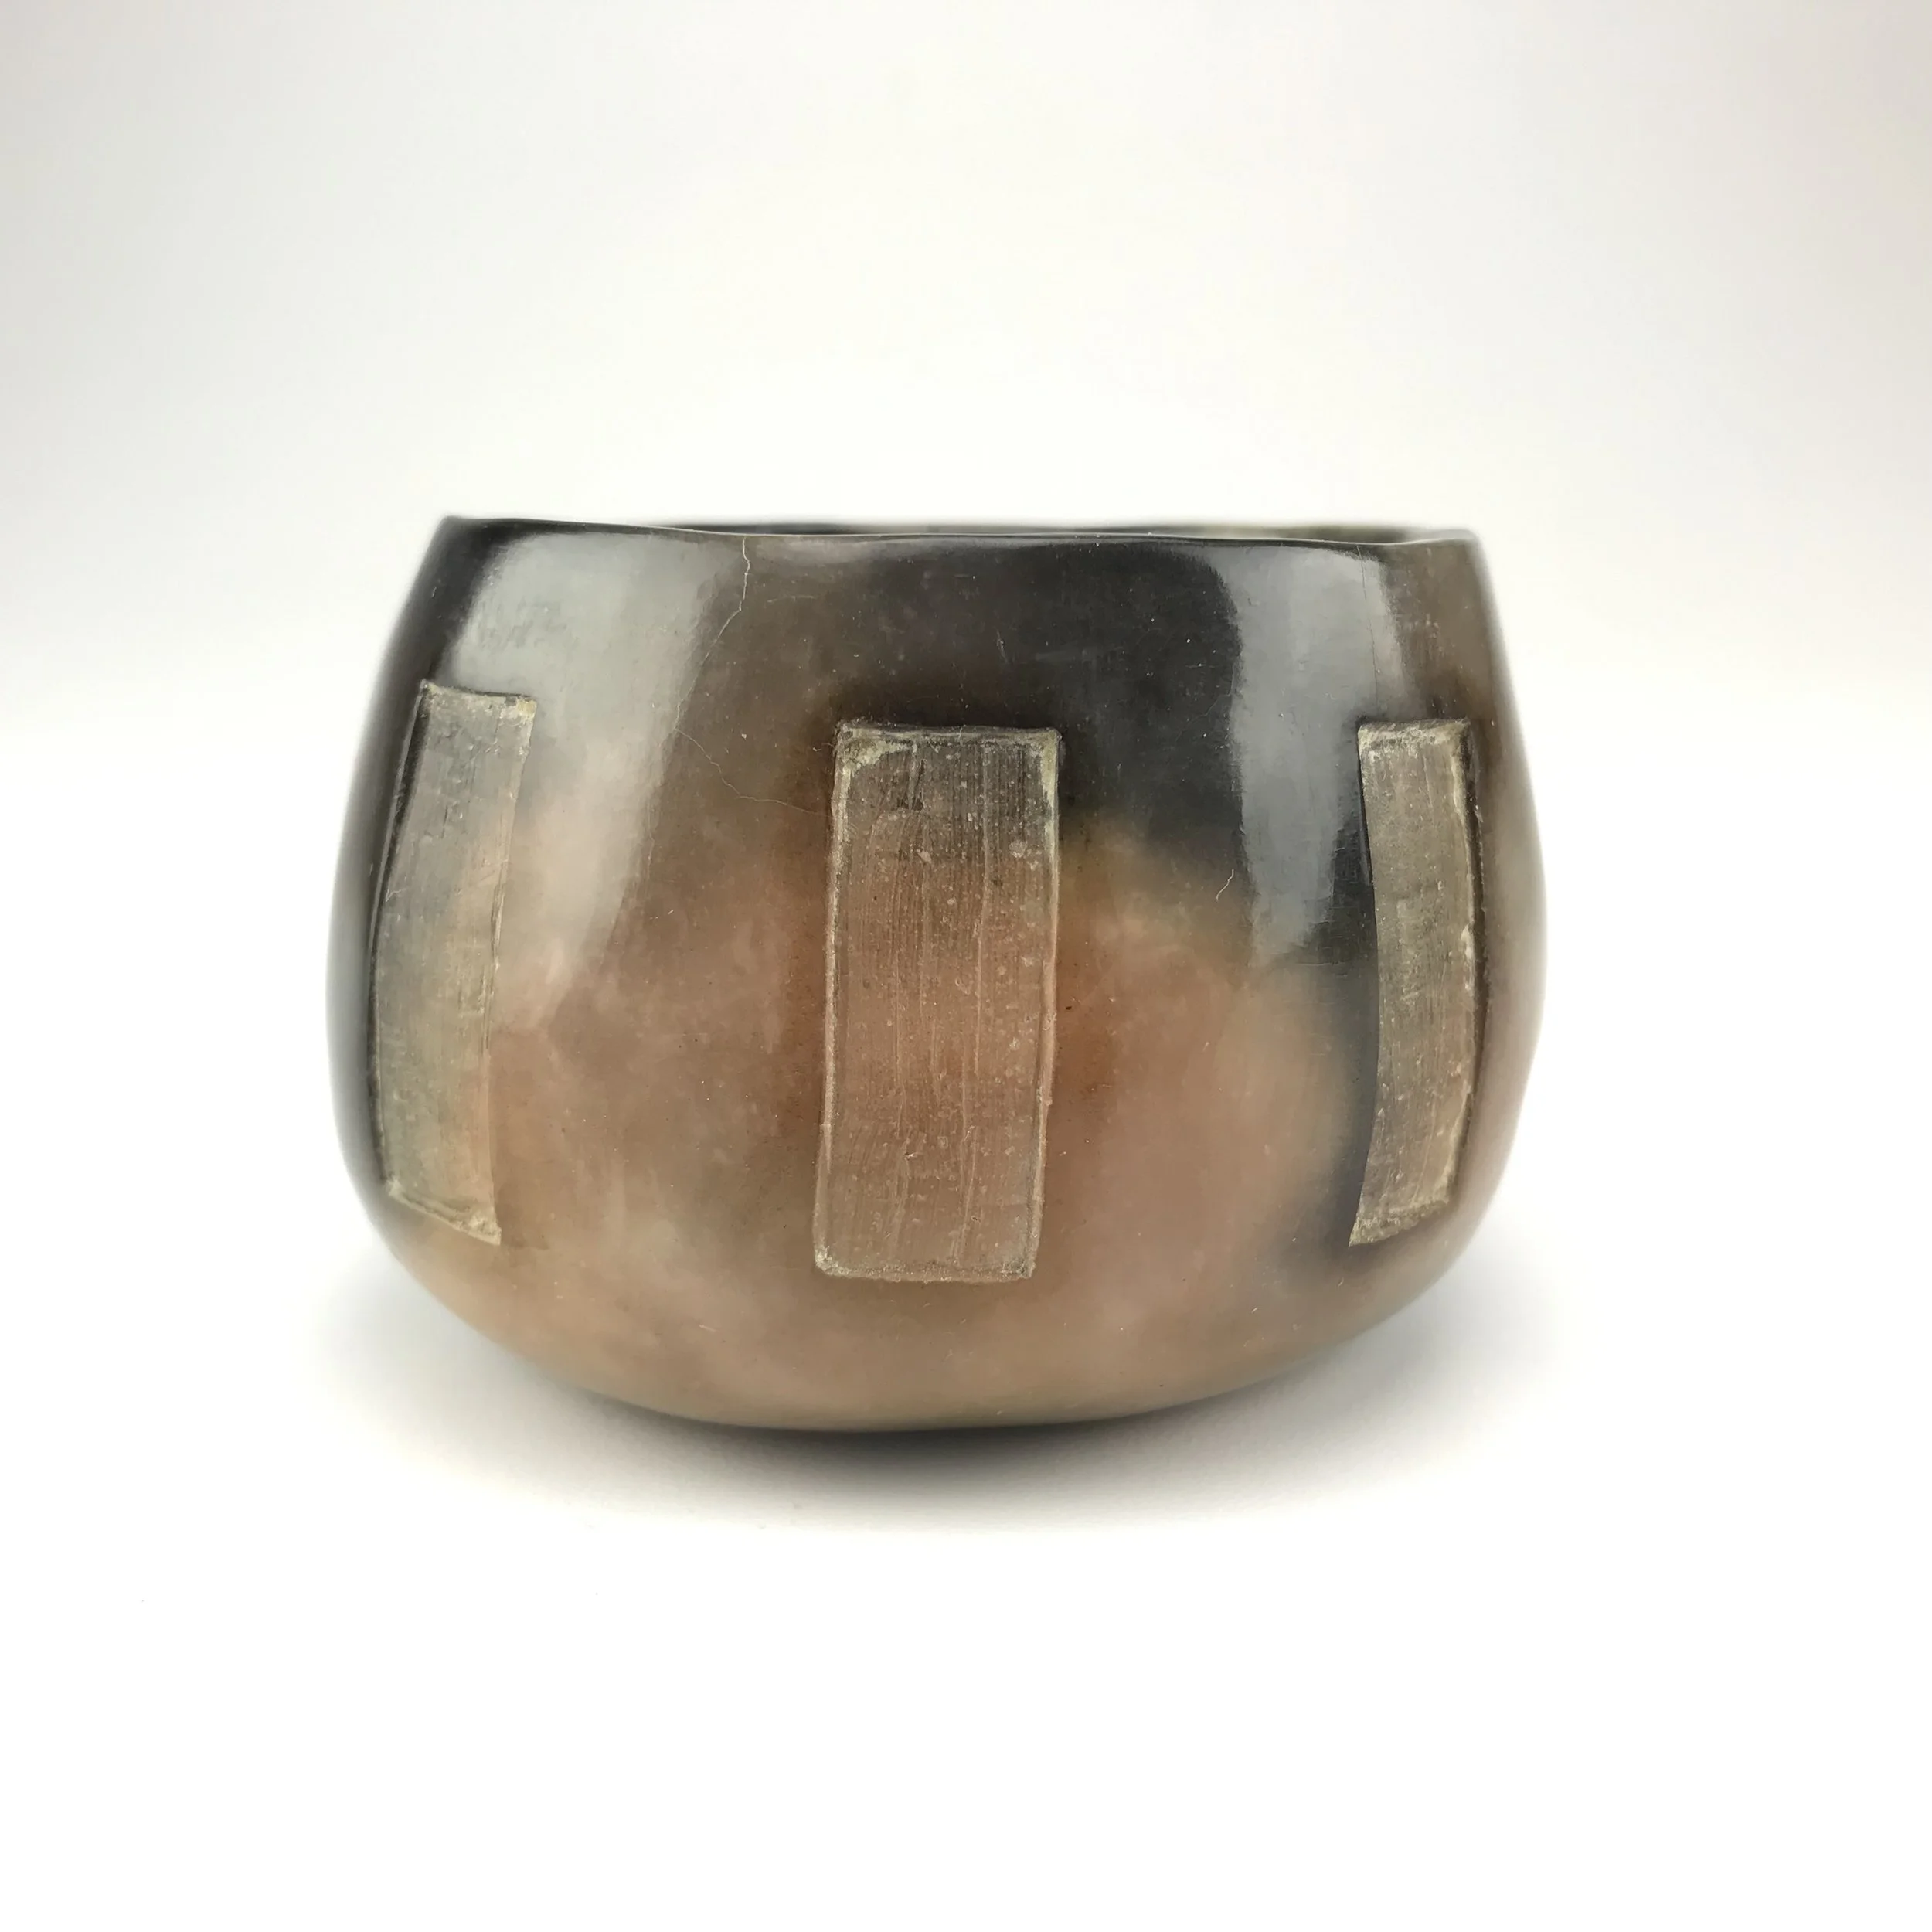
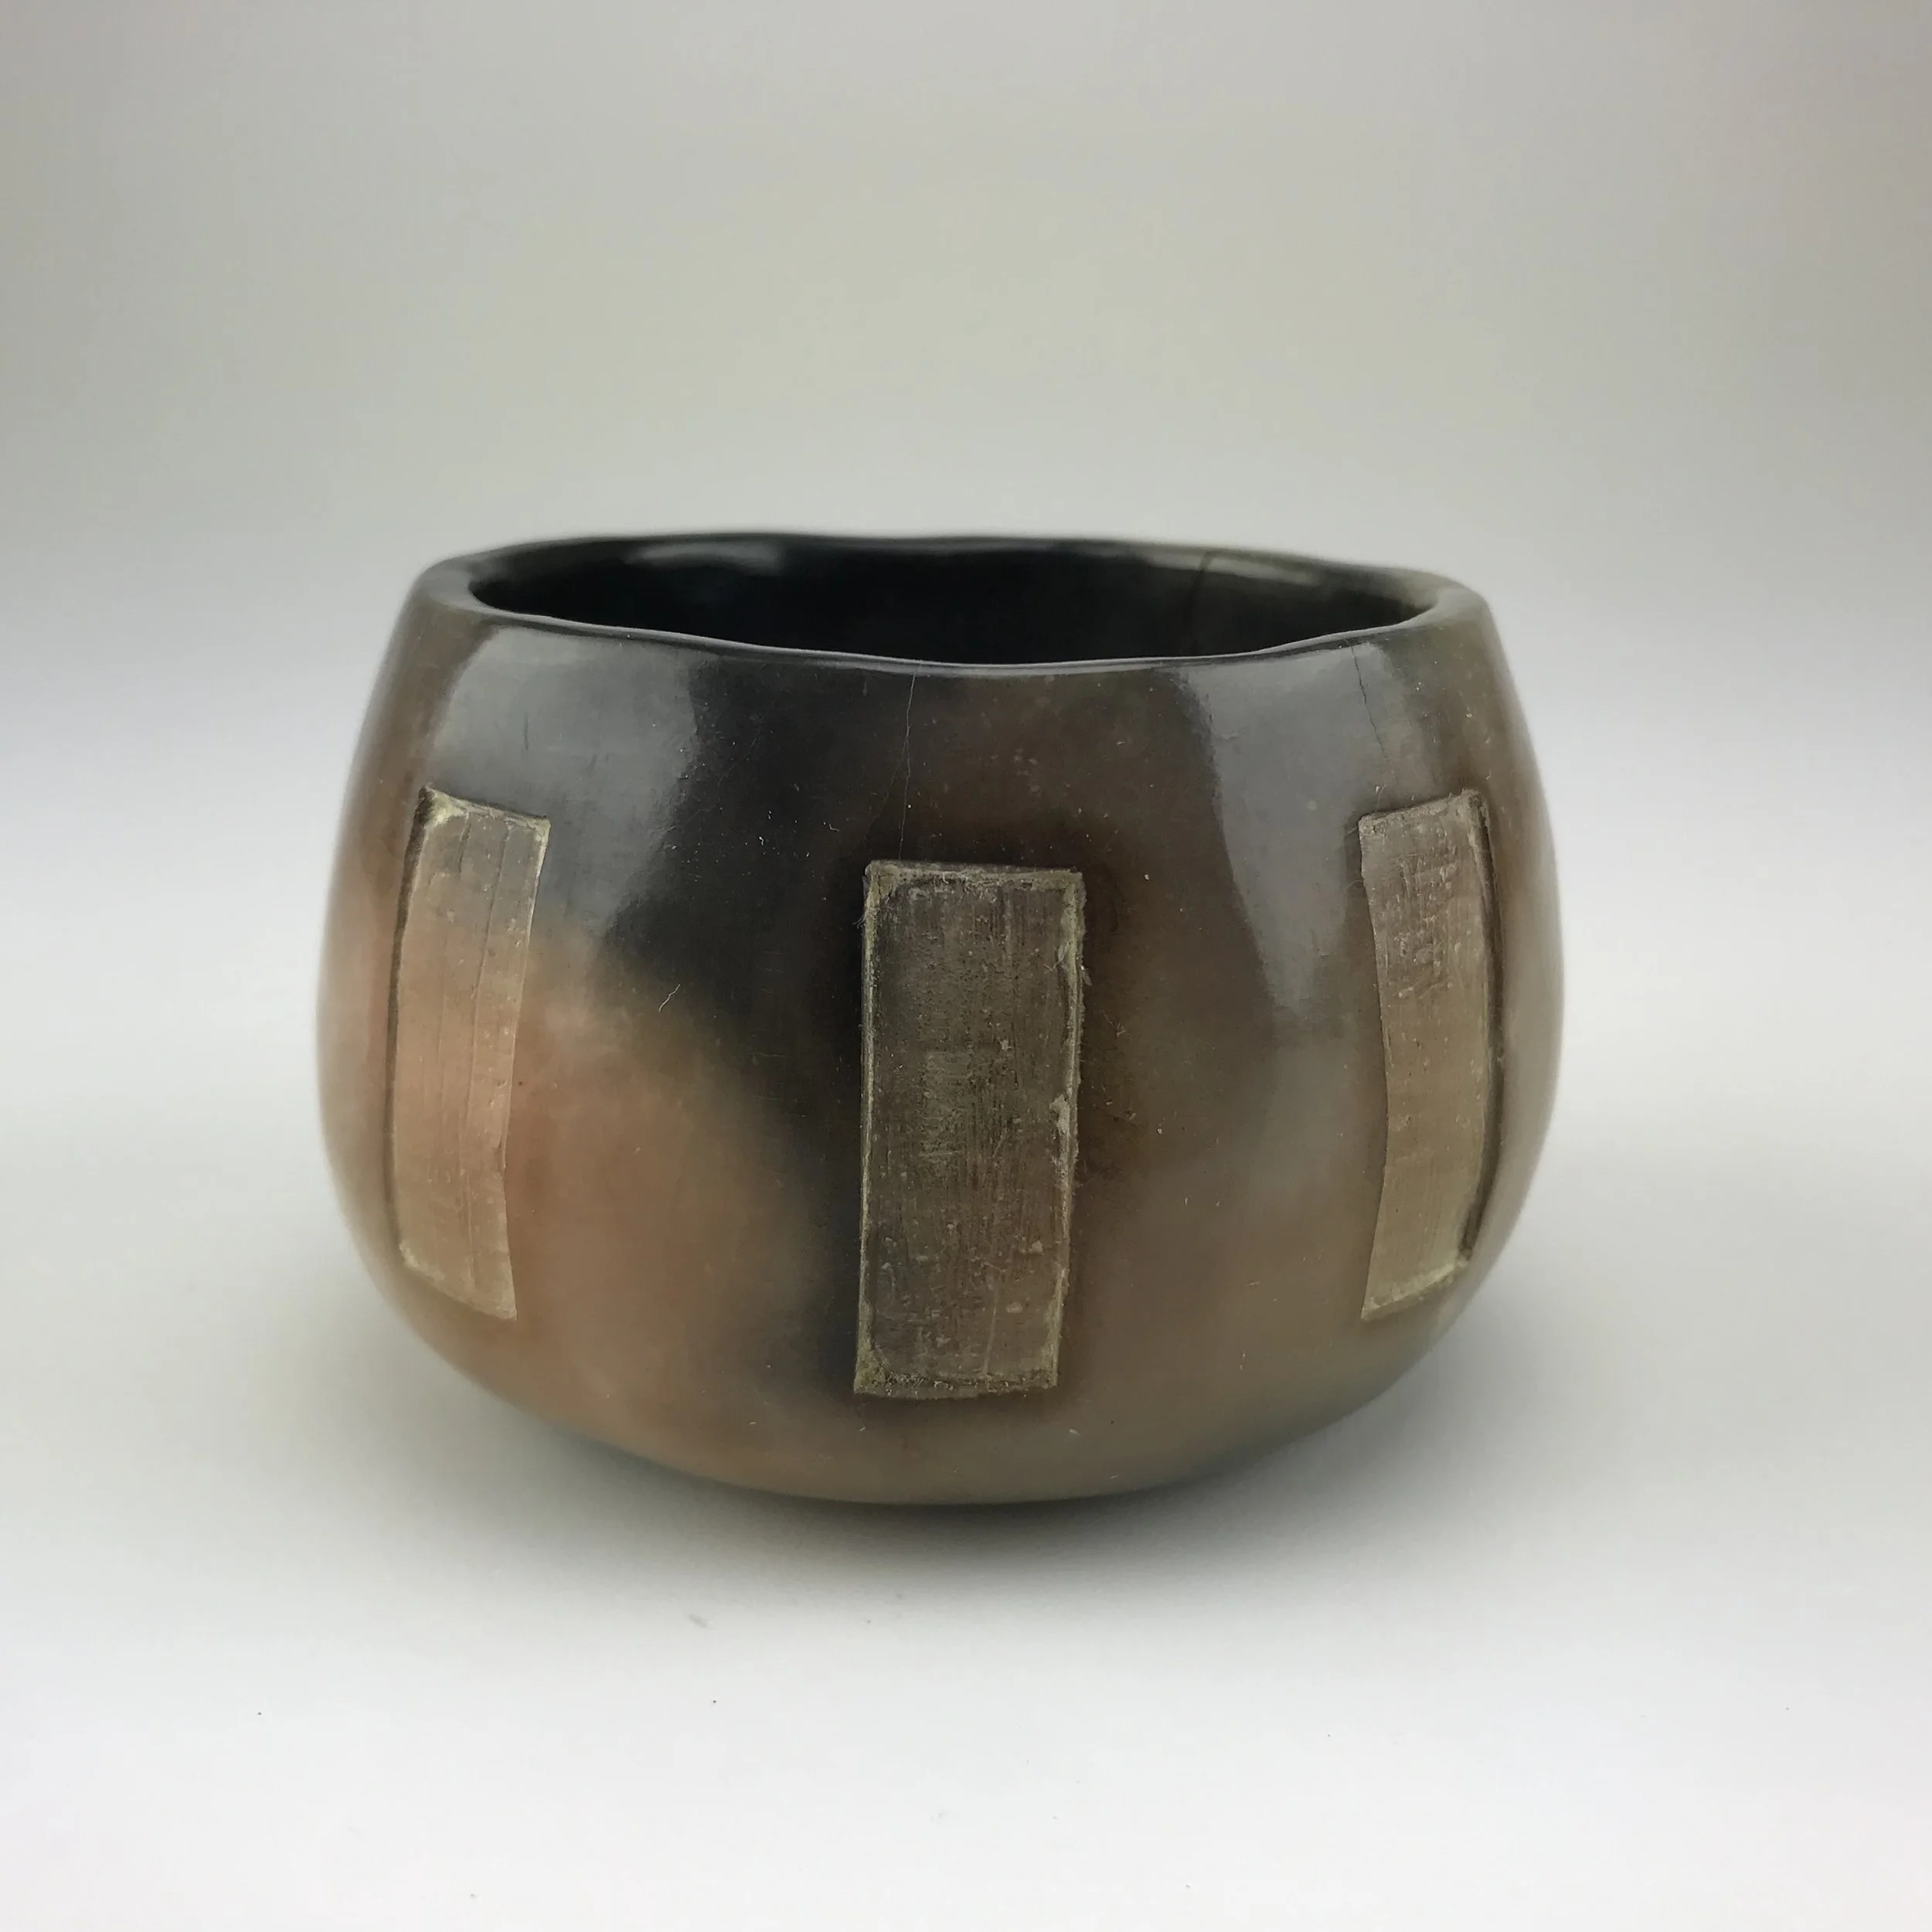
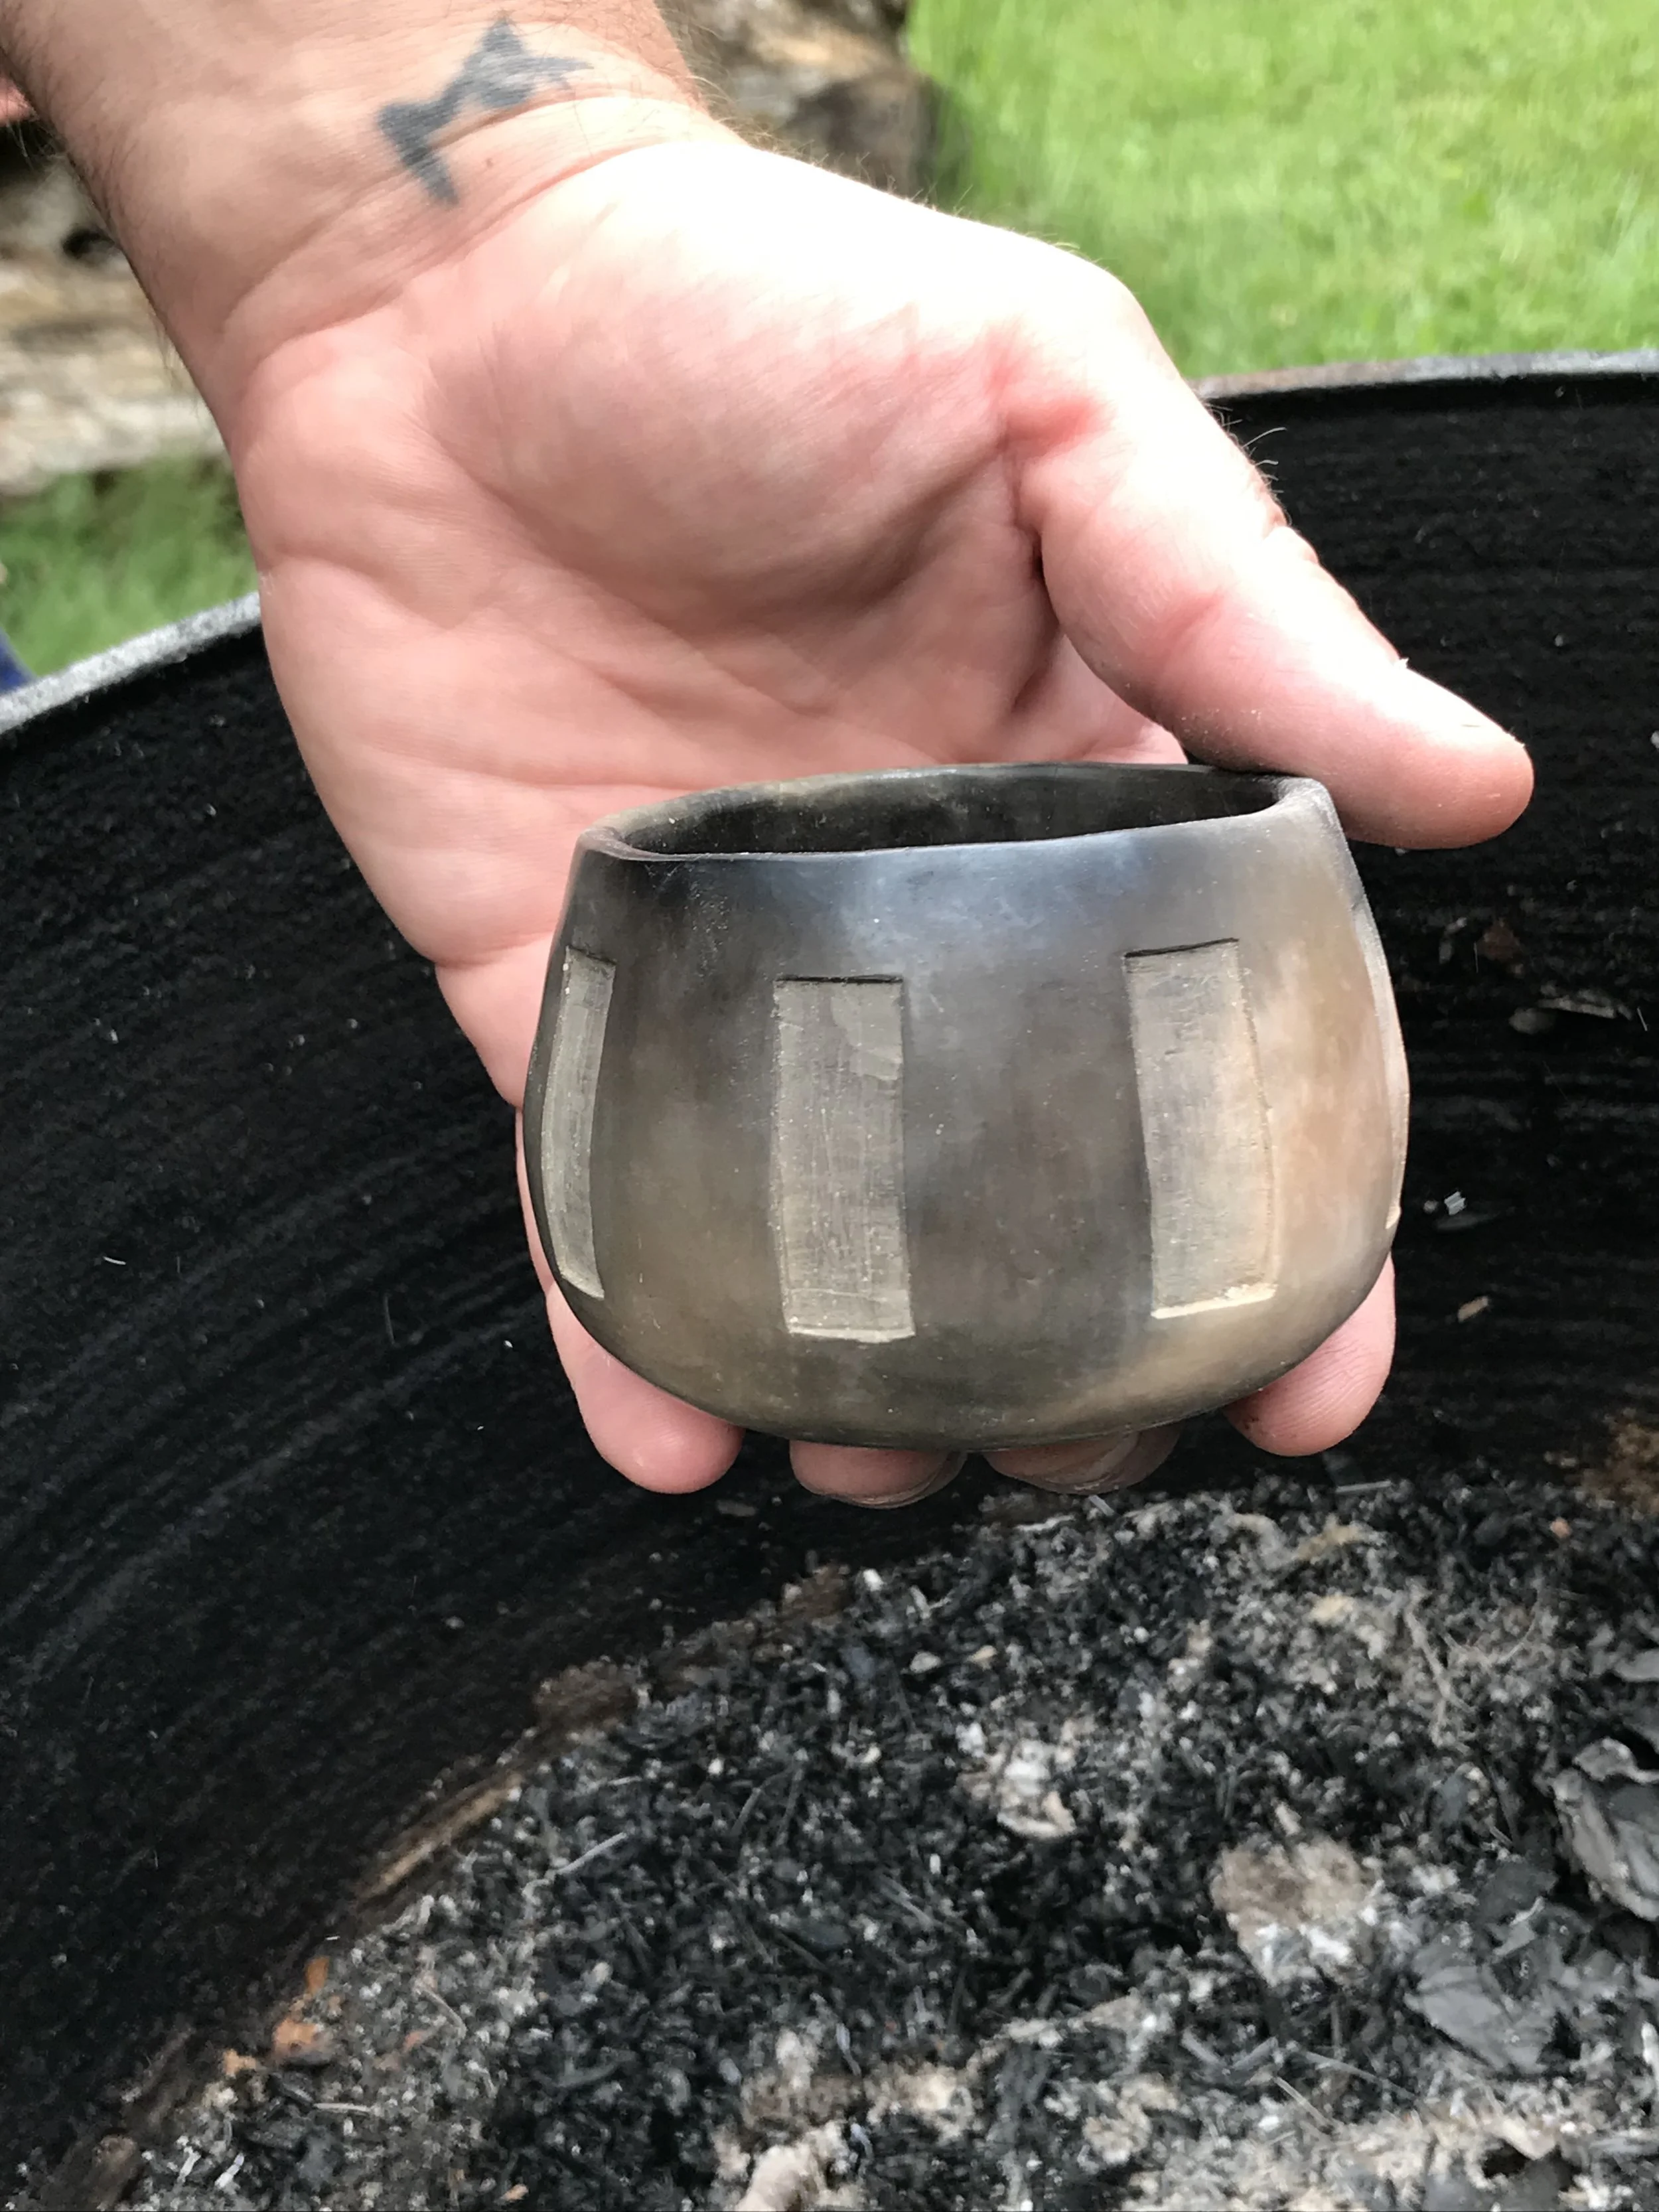
Pit fired bowl, with my garden clay, burnished and polished.