The thirty-minutes teapot by Yoko Sekino-Bové
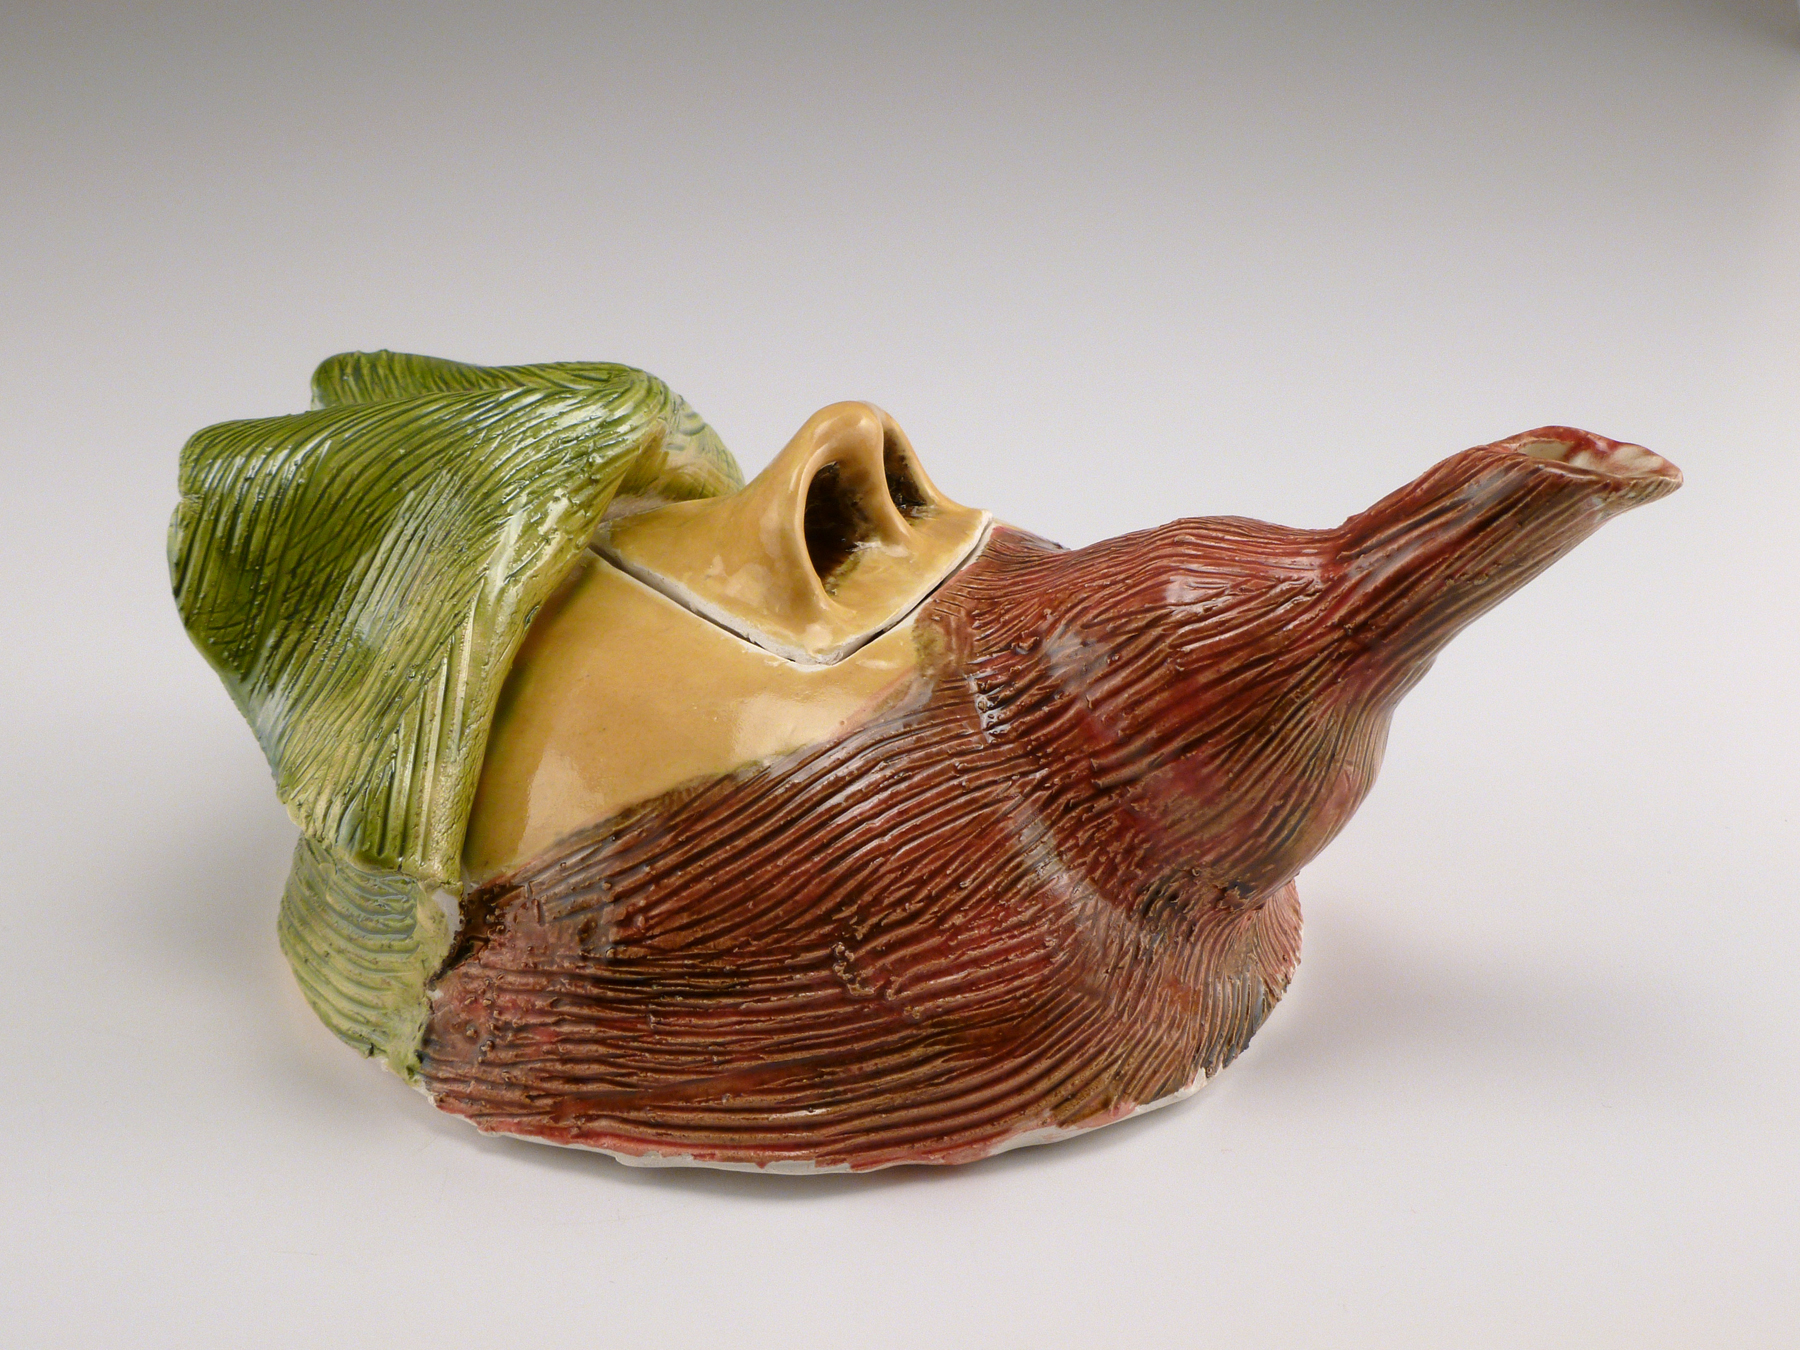
Crazy Chicken teapot
Making a teapot is considered a milestone to many people who are learning pottery, and it is often presented as an intellectual challenge. Maybe that is why some students get intimidated and struggle to complete their first one. But making a teapot becomes easier and more fun the more we make. This is because we gain experience and have chances to experiment. Making a teapot is a great exercise in designing a three-dimensional structure as well as studying function, proportion, and surface decoration.
You can use a cone shape mold as well
This thirty-minute teapot project offers a great opportunity for teachers to talk about teapot functions and structures, while allowing the students to experiment with design elements. It seems easier for my students to make their first teapot with hand-building techniques because they have more control over the forms and sizes. I consider this a good exercise before proceeding to more complicated, time intensive projects. The great advantage of this soft slab project is that the construction is finished in one class session without coming back to trim or clean. It is also a perfect project for the last wet-clay day at the end of a semester, when students have some experience with clay. The teapots will be ready for bisque firing the day after construction. It is entirely possible for the students to complete the whole project within a week.
Students get excited working within the time limit. If some students work much faster than others, giving them an extra assignment of making a few cups to match with their teapots works very well.
Ten steps of 30 minutes teapot:
1. Tools for construction: Fettling knife, rolling pin or slab roller, dry sponge, scoring tool, chopsticks, brush, stamps and other decorating tools. Bisqued or plaster half-doom shape hump mold, a container to put the mold on. A piece of cardboard to put the teapot on.
Materials: moist clay (any firing temperature)
2. Create a sheet of clay: big enough for the body, bottom, handle, and spout, depending on the size of mold. Save the leftover clay for knob, support, and decorations.
3. Create a body: on the elevated mold, you can either tuck the excess or cut and patch up to make the flat sheet fit to the mold. Cut off excess off the bottom following the mold’s rim. Do not push the clay down with fingers; use a dry sponge or the palm of a hand to pat gently instead.
Covering the mold with a sheet of clay, adjusting the drapes
4. Make a spout: with brush stem or chopstick, roll up a thinner sheet of clay. Rock the spout gently on flat surface to make it look even and round. Make a few spouts to choose from.
5. Attach a knob, then cut out a lid on top: with fettling knife. Try to cut with an angle for the lid to sit on the body. The lid can be an organic shape to indicate the direction, or you can put little matching marks. After removing the lid, drape a little strip of newspaper or two on the body to prevent the lid sticking to the body.
A student is attaching the spout to the body
6. Make small holes on the body and attach a spout. Several small holes are safer to keep the tension of wall than one big hole. Score an area on the body and the spout before attaching. Push the spout firmly onto the body and make sure there is no opening in between. You don’t need to use slip or water, the clay gets too soggy and starts collapsing. Later, we will have a chance to insert a support under the spout if the angle is a concern.
7. Make a handle and attach to the body: it is safer to attach the handle while the body is supported by a mold. If the handle is a tube structure, make sure there is a hole to release the air.
8. Place the bottom on cardboard, remove the body from the mold and put on the bottom: Score the bottom before joining it to the body, clean up the seams after joining.
A student is attaching the handle and the bottom
9. Details: Place supports if needed with a piece of paper in between so the support does not stick to the teapot. Make a small air hole on the lid to allow liquids to pour more smoothly. Attach a stopper on the bottom of the lid to prevent the lid from falling when the teapot is tilted.
10. Let the teapot dry with the lid on: Sometimes the lid will not fit if it was separated during the drying process due to warpage. It is safer to let the whole teapot dry out as one piece.
Student works from the workshop - click on the images to see them all

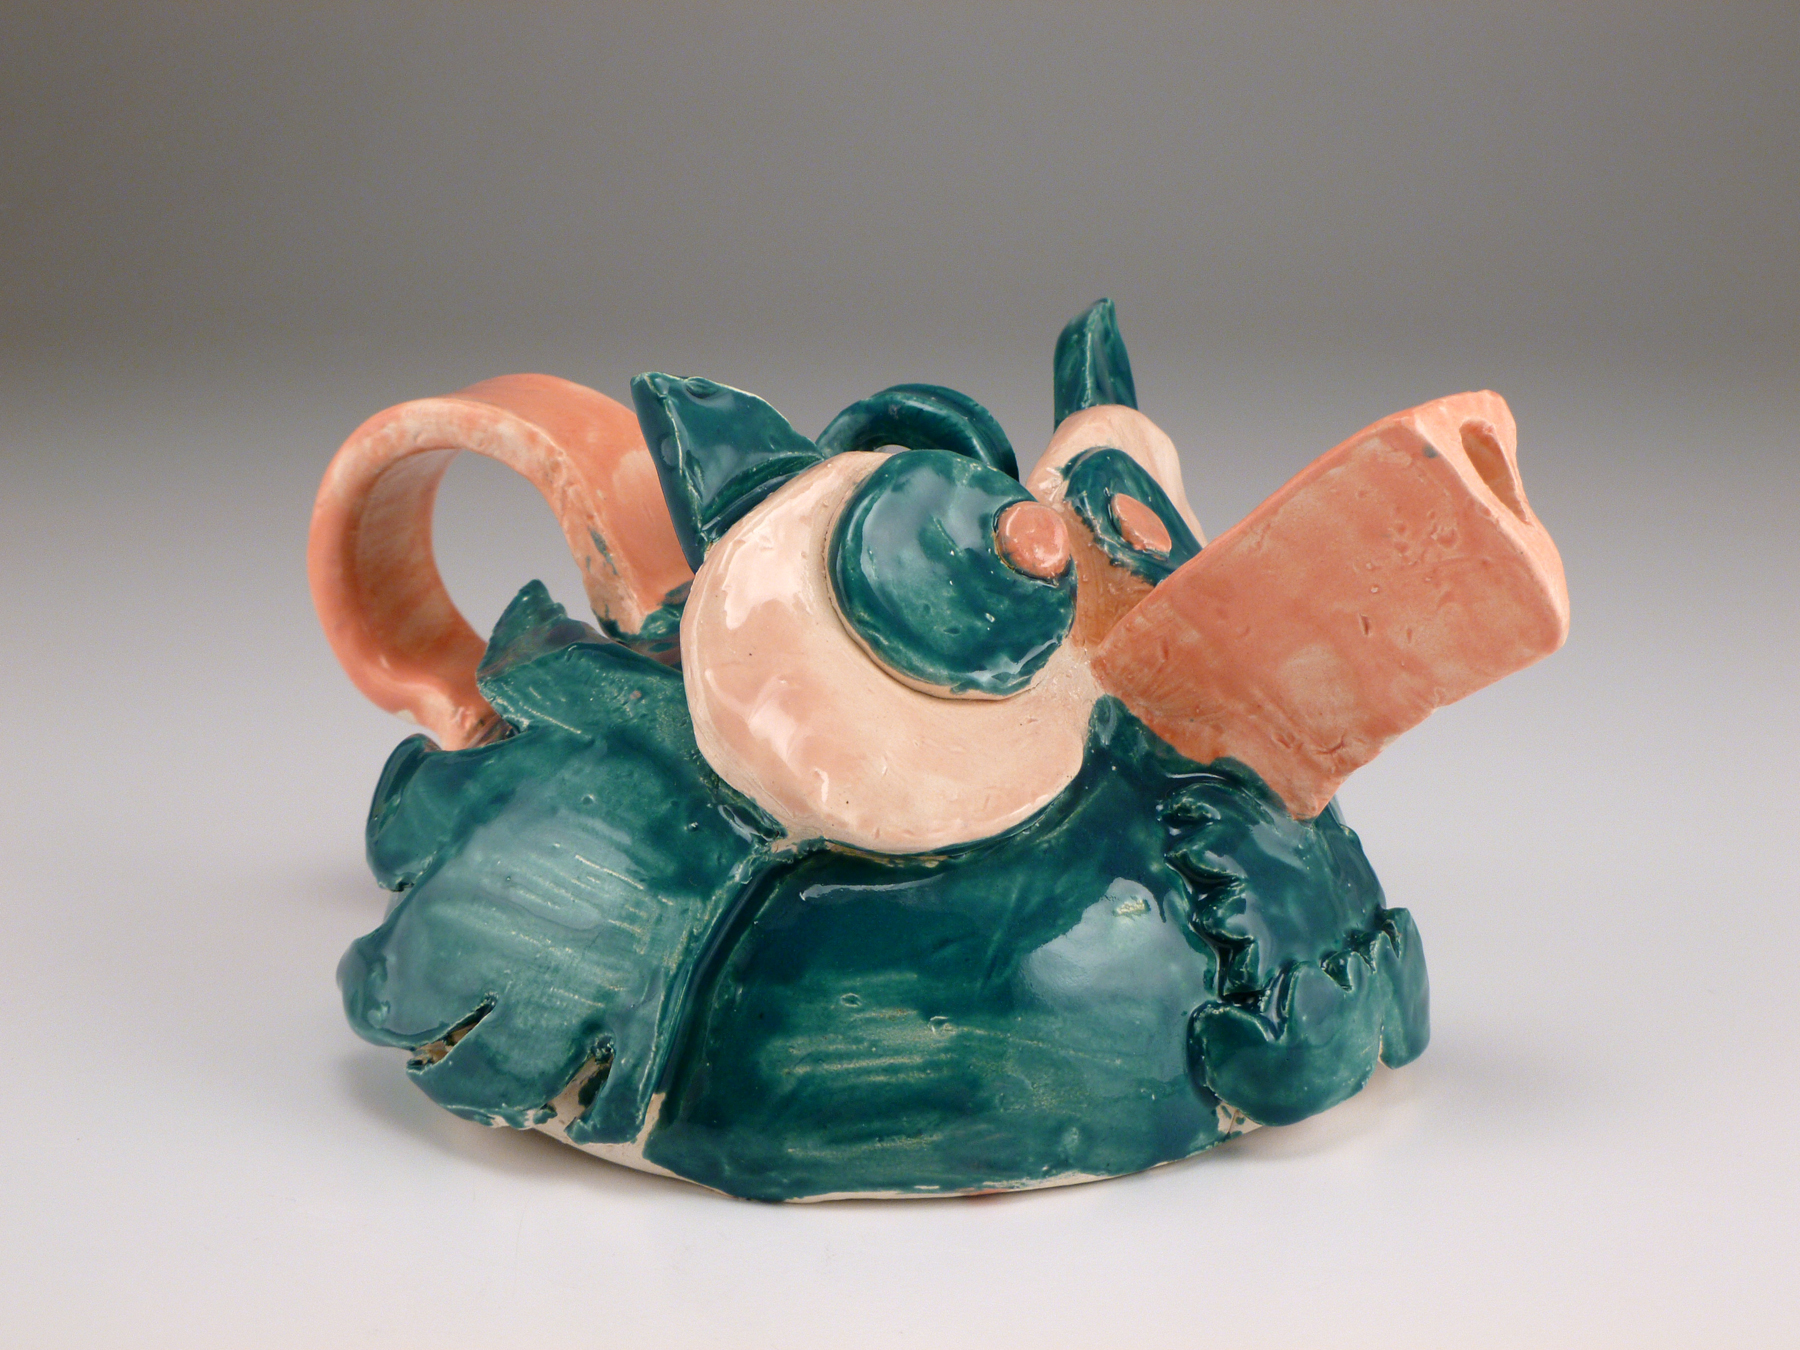
Cactus teapot

Shark teapot
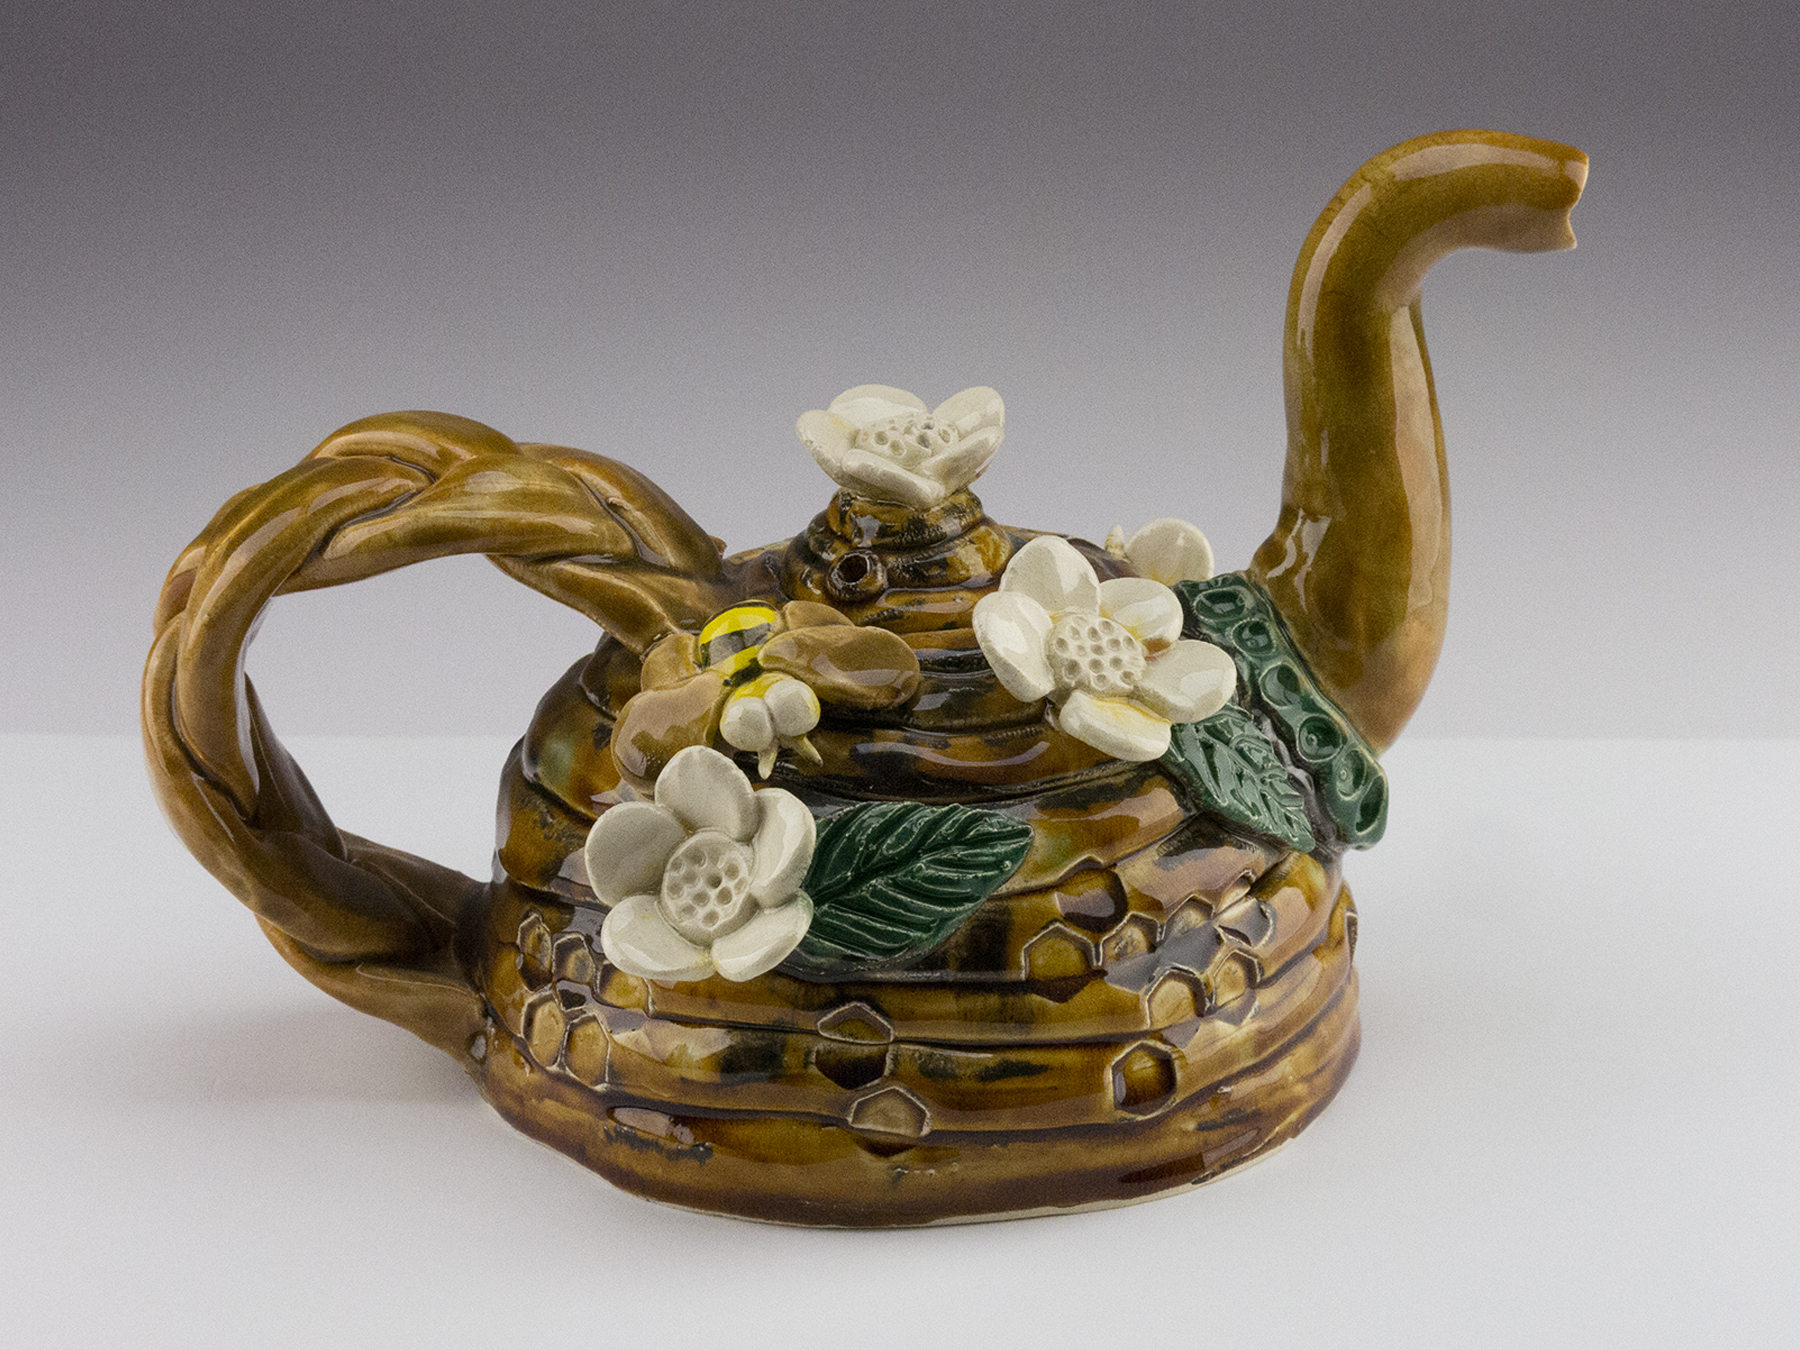
Beehive teapot

Giraffe teapot

Goat eye teapot

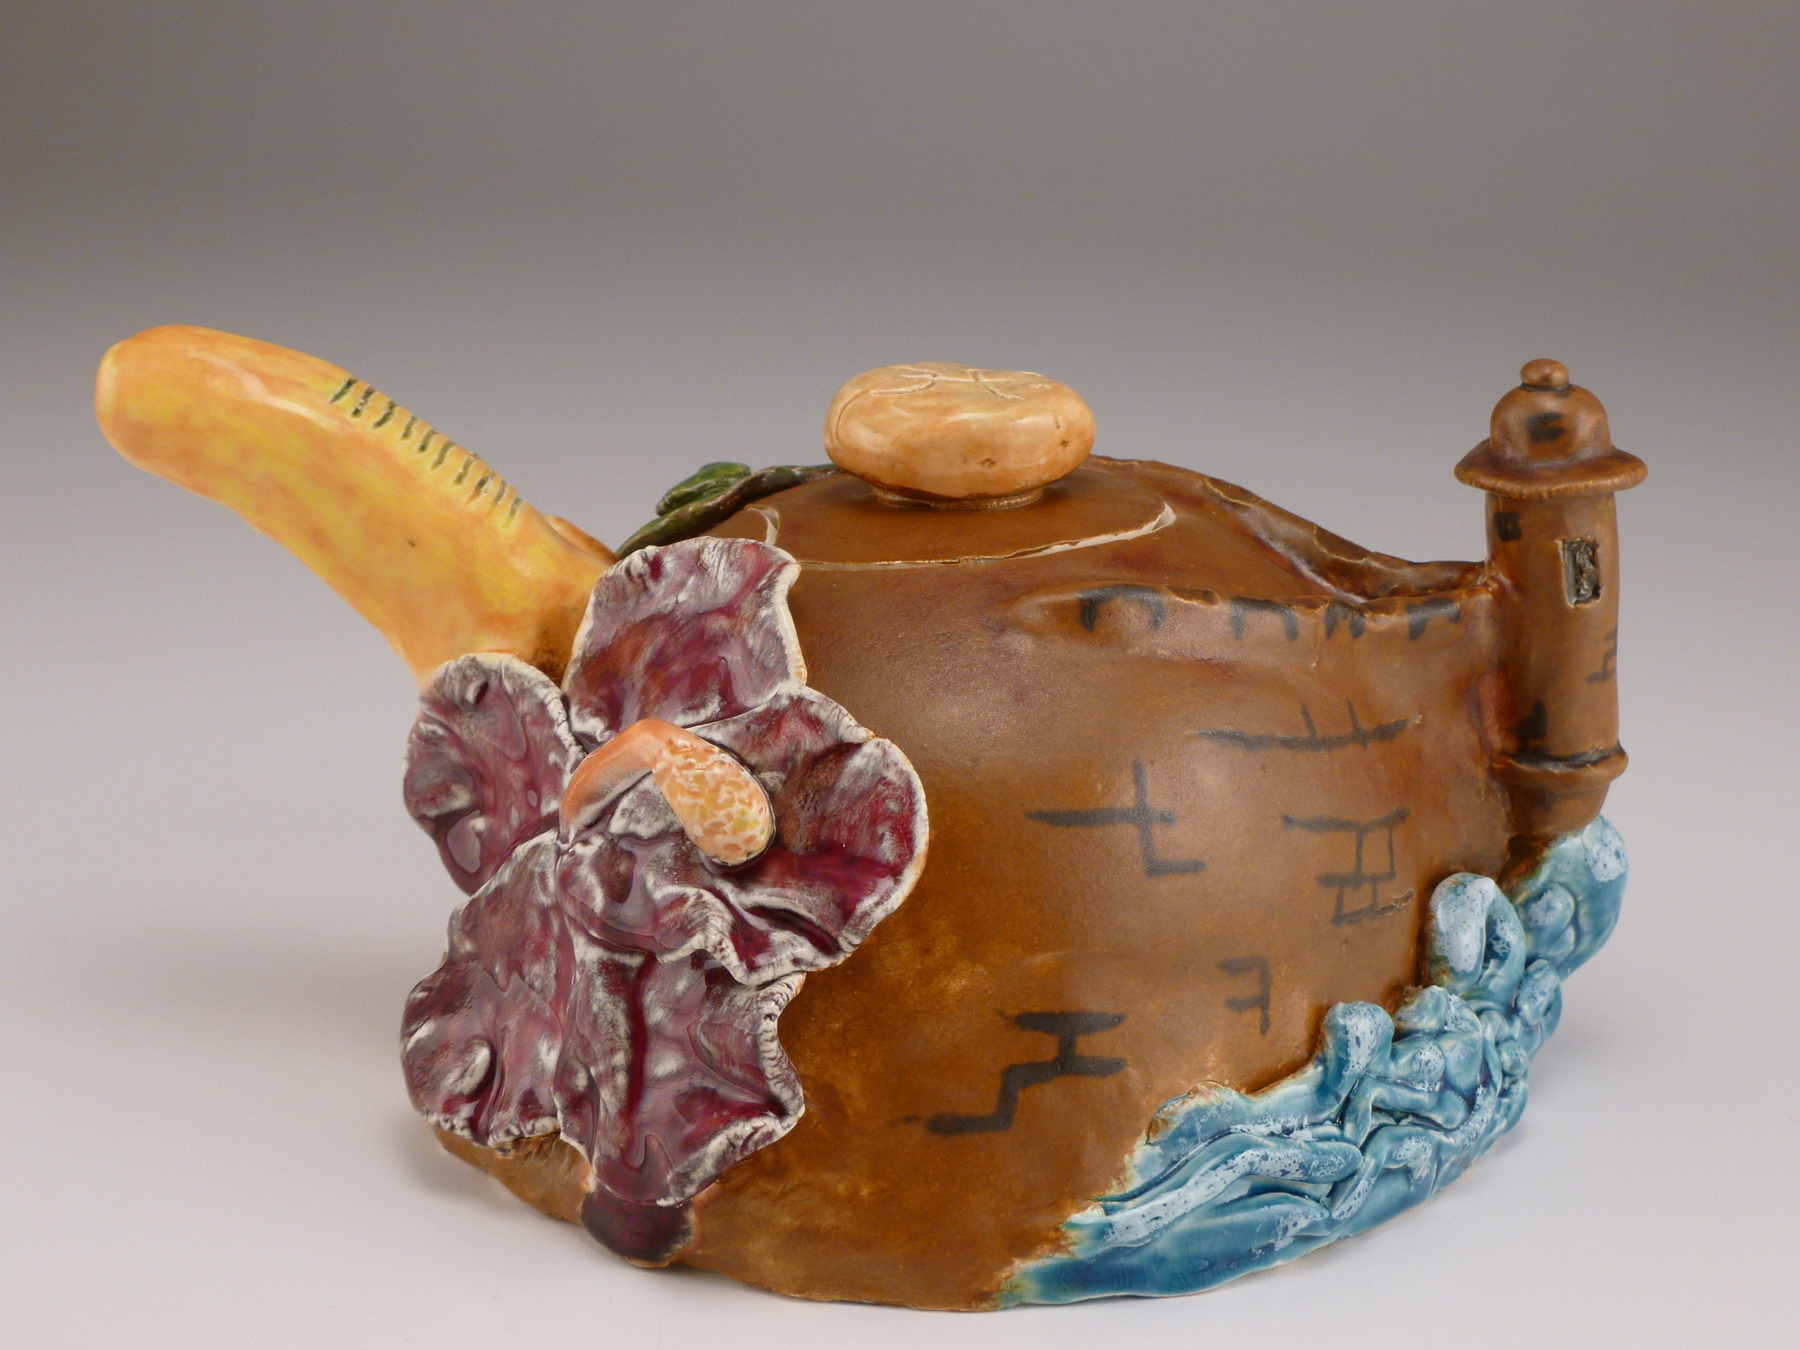
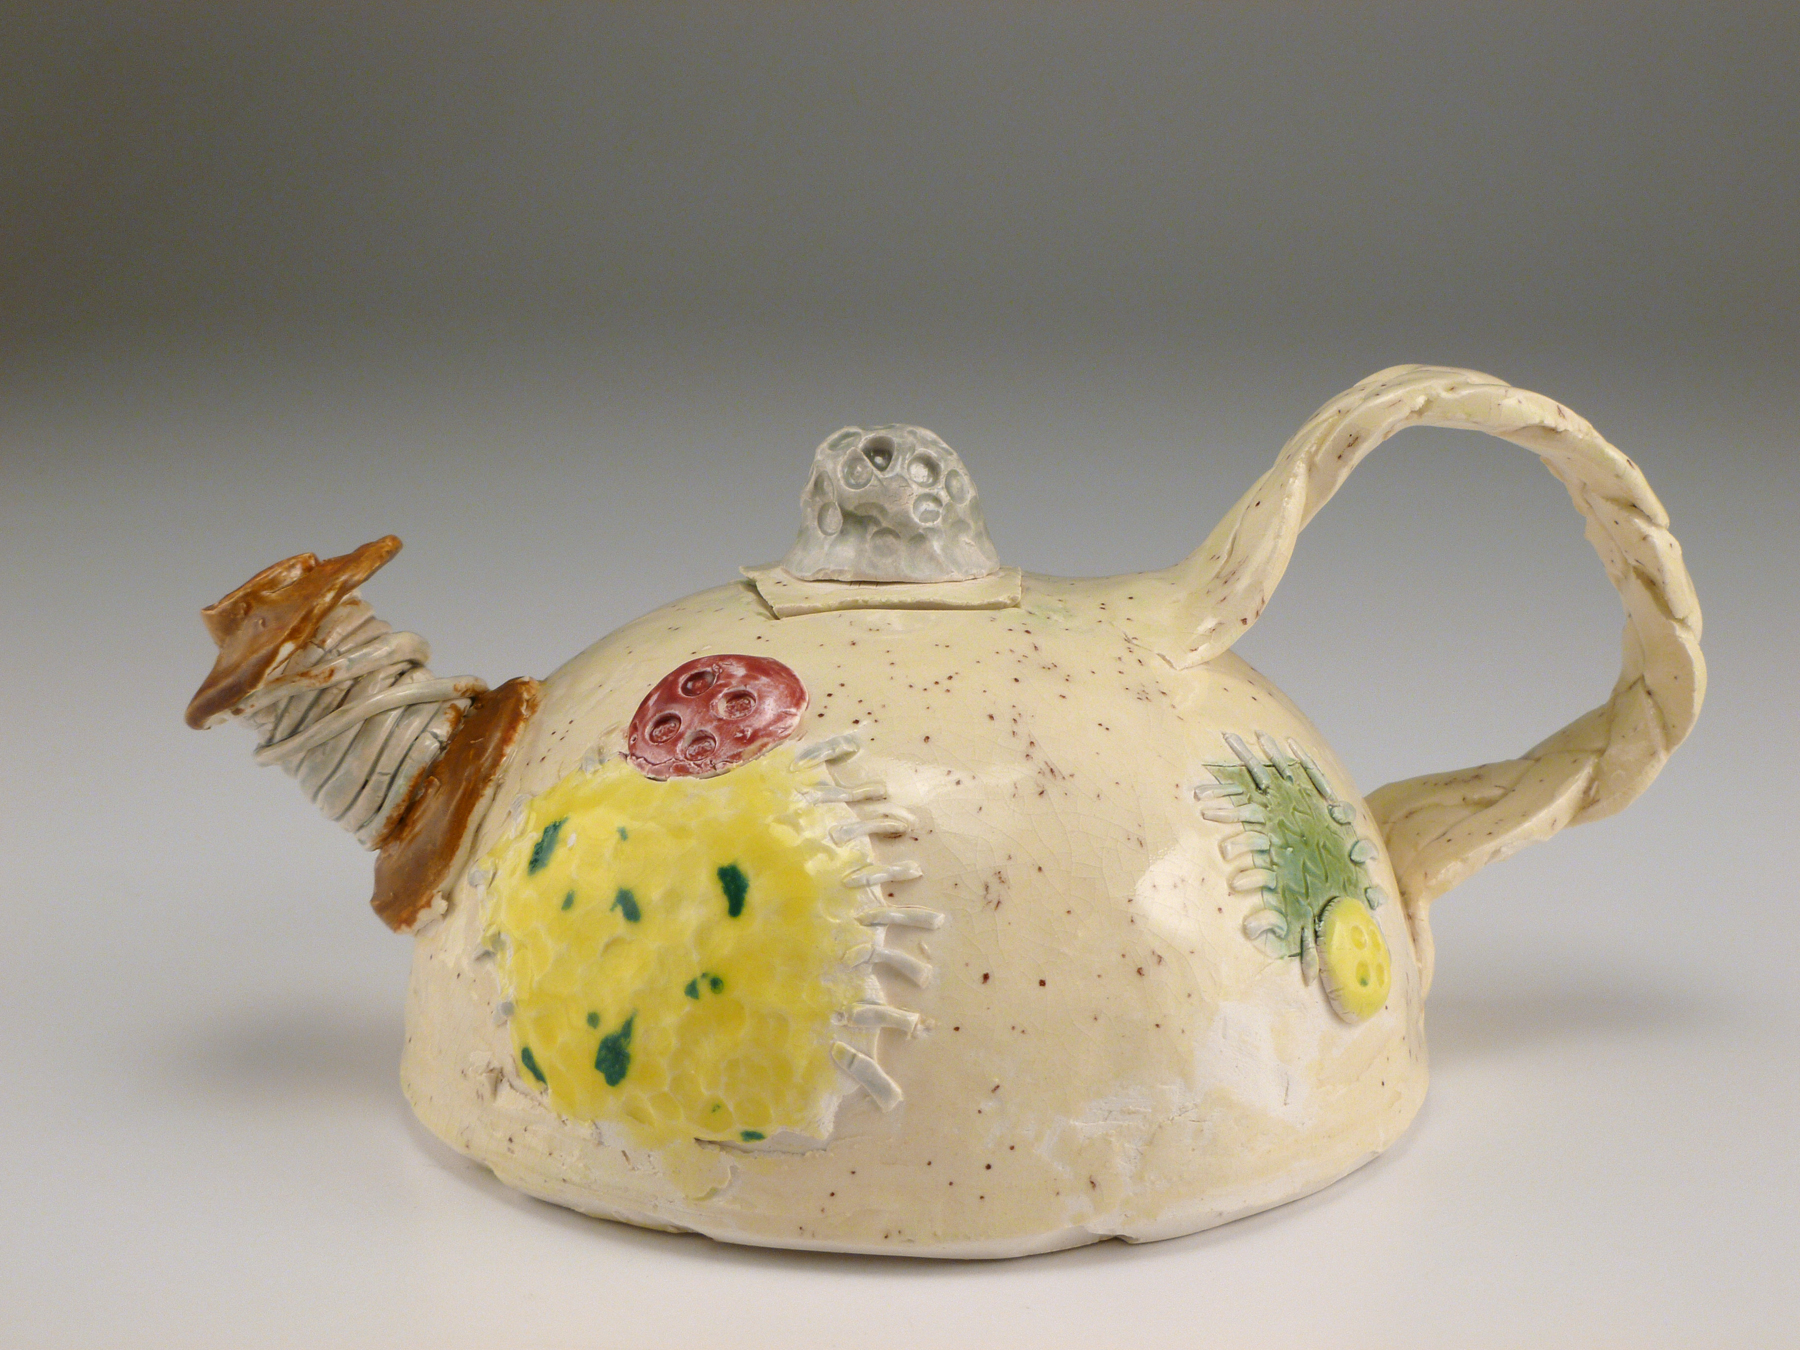
Island teapot

Ribbon handle teapot